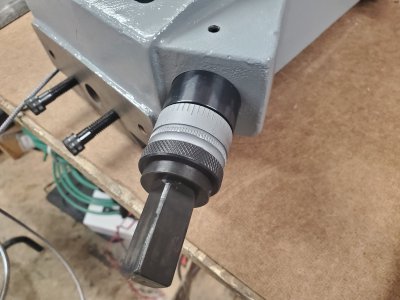
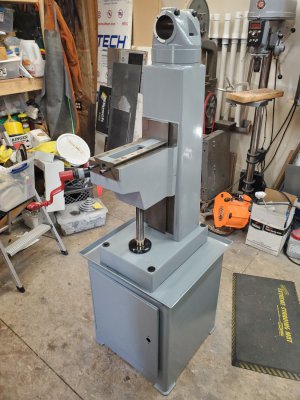
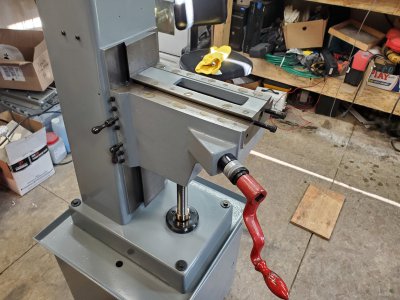
Clausing 8530 Restoration

Here's the old degreasing tank I mentioned, I actually did use it on the base and the turret.
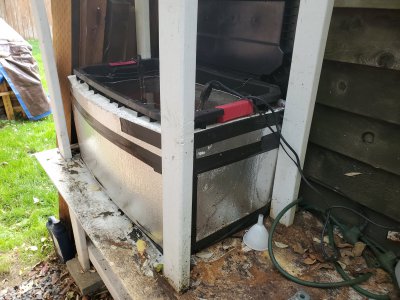
20221015_162352.jpg

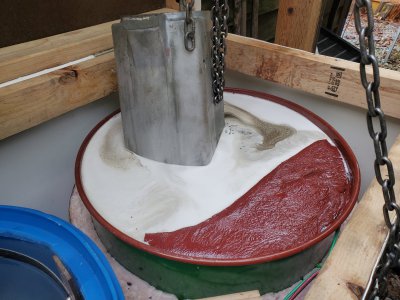
I should also mention I ran Zep purple degreaser diluted with water in this tank. The new tank I tried using just sodium hydroxide (lye, caustic soda, whatever you want to call it) but it wasn't stripping the paint like I wanted with a dilution of 10lbs/~50gal of water even when heated to 180F. I ended up spiking it with about 2.5gal of the Zep, now it's eating paint and grease like nobody's business.

This is the first run on the new tank, you can see the red paint that lined the barrel is coming off in sheets. The tank was overfilled due to the last minute addition of zep, so I had to ease the column in there as the water evaporated.
20230102_141425.jpg
 
From what I've read, electrolysis works best when there is line-of-site between the rusty surface and the anode. Is this true? Or, with rust removal, is it the cathode? Ha ha. Shows how much I know! I do know about zinc plating, since I do a fair bit of that, but that's a horse of a different color...
 
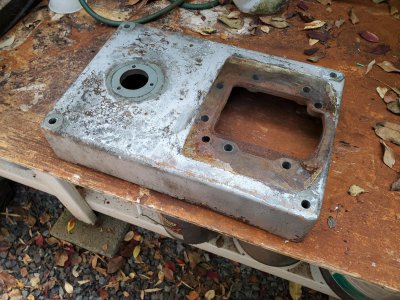
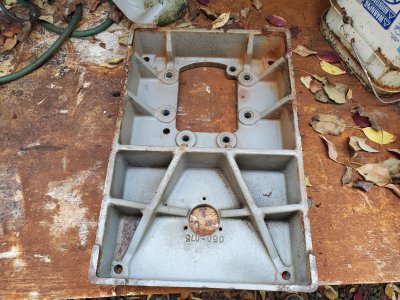
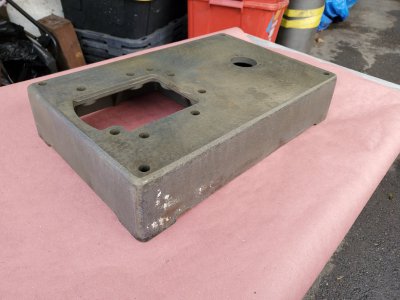
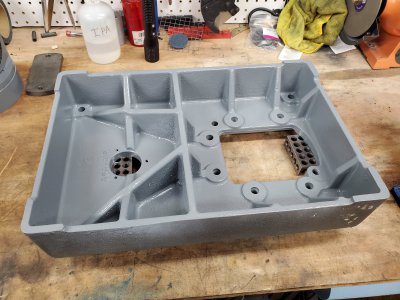
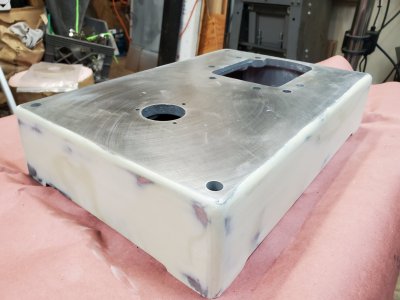
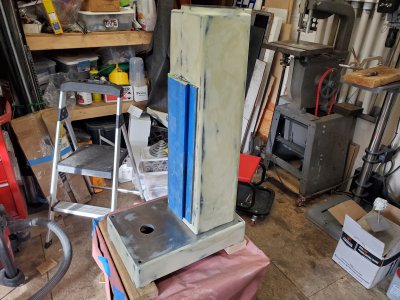
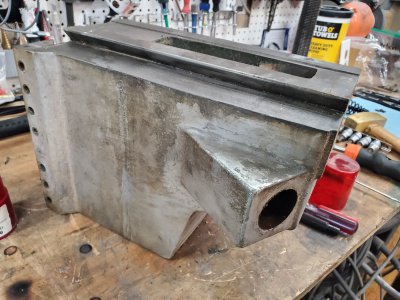
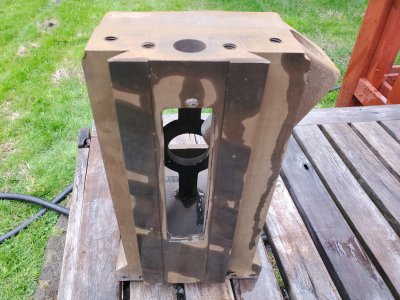
Here's the base before dgreasing.
20221015_162350.jpg20221015_162334.jpg

After an hour or so I pulled it to check and found the body filler was putting up a fight. It could be that the degreaser was tired in that old tank, it had been run quite a bit on previous projects. Anyway I hit it with a wire hand brush to help it along, then plopped it bank in the tub.
20221015_212551.jpg

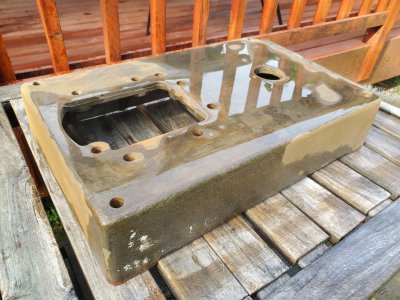
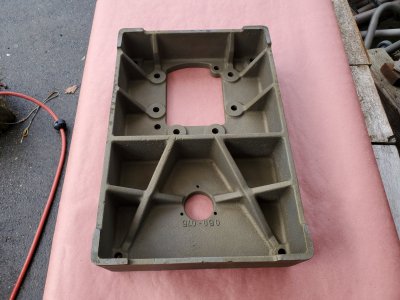
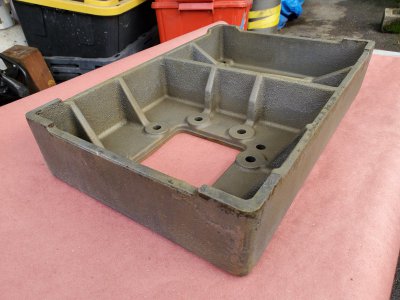
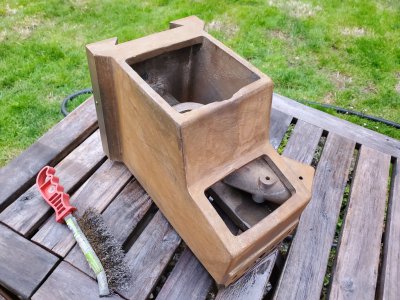
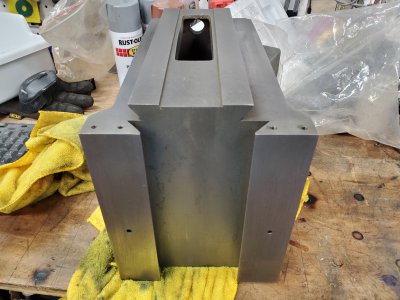
Here it is after the "degreasing" and a rinse.
20221026_115159.jpg

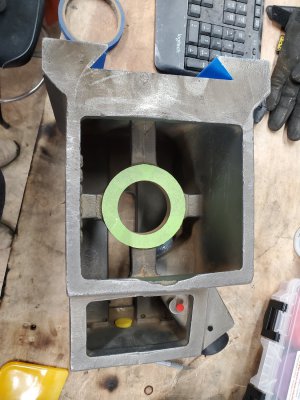
I kind of rushed the electrolysis for some reason, I guess maybe because this was my first part and i didnt know what i was doing. So I ended up hitting it with phosphoric acid to neutralize some remaining rust, but this was how it looked just prior to paint.
20230105_123819.jpg
20230105_123908.jpg20230105_123921.jpg

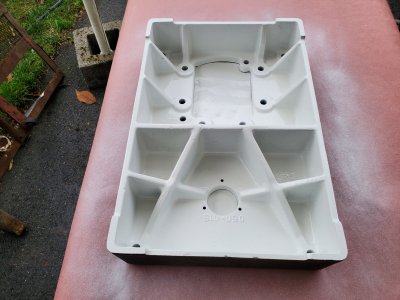
I decided to paint the bottom first because I need to get the column back on before the top can be painted. I fear the column could be misaligned due to paint between the top of the base and bottom of column, note Clausing assembled them before paint.
20230105_133029.jpg
20230106_181131.jpg


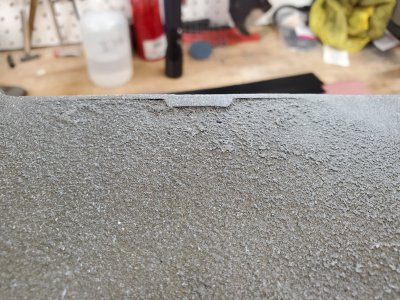
There was some flashing left from the casting process so I ground them off with the phneumatic angle grinder and 2" roloc disk.
20230106_181937.jpg
20230106_182414.jpg

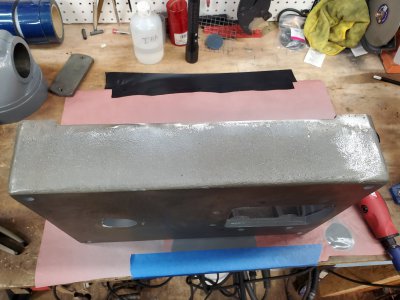
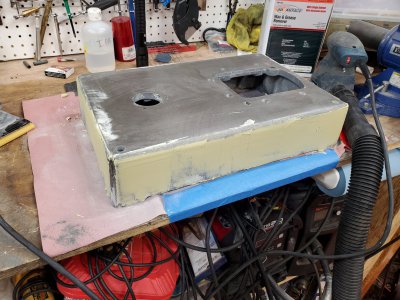
Body filler sucks...
20230107_113211.jpg

I think that's good enough. At least for now. I'm moving on to the column.
20230110_172138.jpg
 
From what I've read, electrolysis works best when there is line-of-site between the rusty surface and the anode. Is this true? Or, with rust removal, is it the cathode? Ha ha. Shows how much I know! I do know about zinc plating, since I do a fair bit of that, but that's a horse of a different color...
Yes that's my understanding as well, line of site is needed. I think you're right my cage is the cathode.
From the googler...
"The Anode is the negative or reducing electrode that releases electrons to the external circuit and oxidizes during and electrochemical reaction. The Cathode is the positive or oxidizing electrode that acquires electrons from the external circuit and is reduced during the electrochemical reaction."

So yeah the cathode cage was intended to provide line of sight by sounding the part. I think the top/bottom ends don't get as much action for this reason. Also some corners in the bottom of the base were tough. Overall I think if I'd left it in longer it wouldn't have needed the phosphoric tune up afterwards.
 
I'm a huge phosphoric acid fan! Kleen Strip Etch and Prep, or Concrete Cleaner, as sold by Home Depot! I use that stuff to clean out motorcycle gas tanks! Save it to reuse again and again. It seems to last forever.
 
Well once again I'm way behind on my updates here. I've been quite busy on the project, let me bring you up to speed.
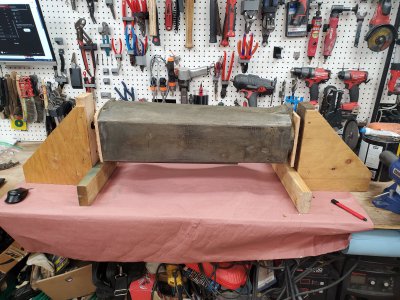
Because the column was so heavy and awkward to work on, I threw together a little rotisserie for it on my bench. Using some scrap plywood and a piece of 1/2" black iron pipe.
20230108_150256.jpg

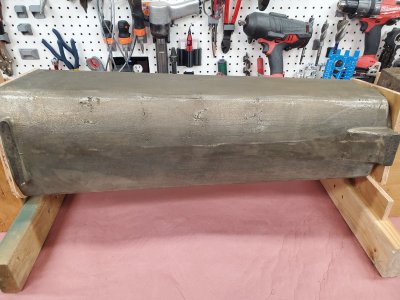
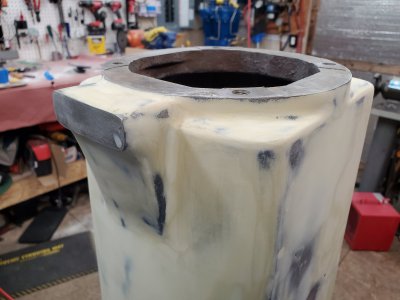
There was some pretty bad pitting in some places.
20230108_151805.jpg

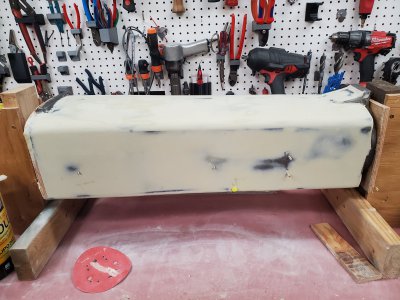
It lived here on my bench for a little over 2 months as I applied/sanded layer after layer of bondo.
20230113_125332.jpg

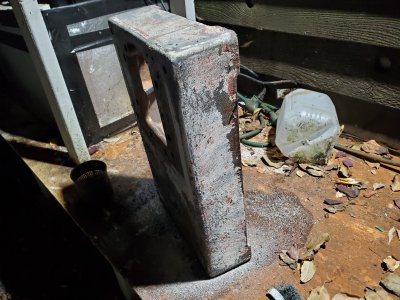
Once I was satisfied with the bulk of the sides it was taken off the bench and mounted to the base.
20230325_165217.jpg

Some final touch up had to be done around the top where I couldn't get in and apply/sand bondo while on the rotisserie.
20230325_165417.jpg

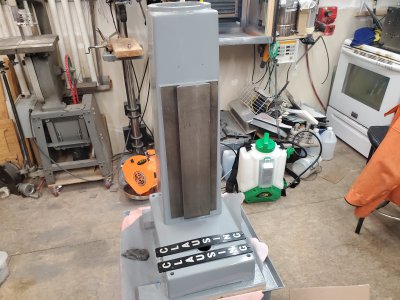
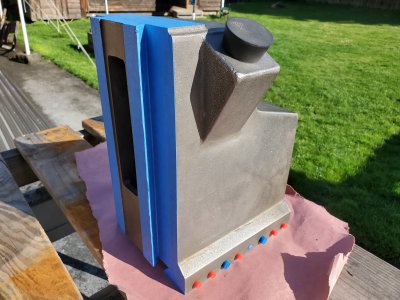
Finally primer and paint were done in place on the stand. As a side note, the badges cleaned up really nice with just some oven cleaner applied for a short time, it removed all the silver spray paint from the black plastic, leaving behind the original silver paint on the letters.

20230405_172201.jpg

All told I took me 3 months to get the column done. Granted that's just working on it off and on in my spare time.
 
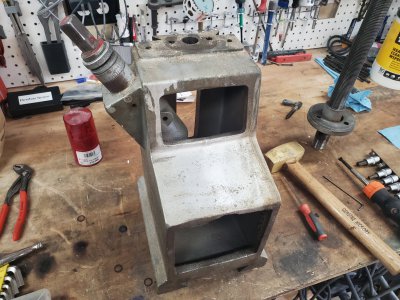
Next up was the knee, here's some before/disassembly pictures.
20230407_172213.jpg
20230407_170818.jpg20230407_184057.jpg
20230407_184141.jpg

Here it is after degreasing...

20230408_074253.jpg
20230408_074309.jpg

Then post electrolysis and masking...
20230410_155959.jpg
20230410_190607.jpg
20230411_164904.jpg

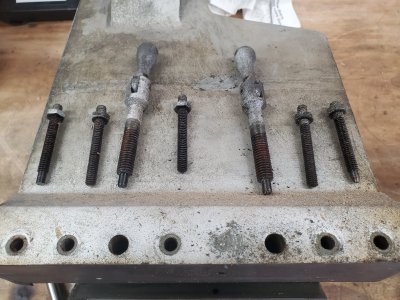
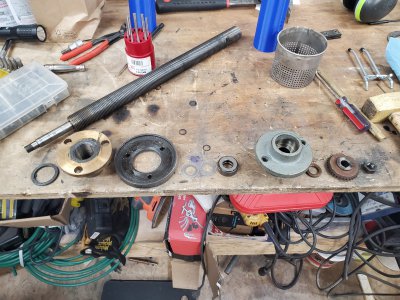
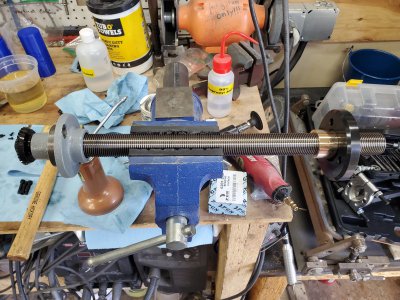
The knee lift screw disassembled.
20230407_191740.jpg

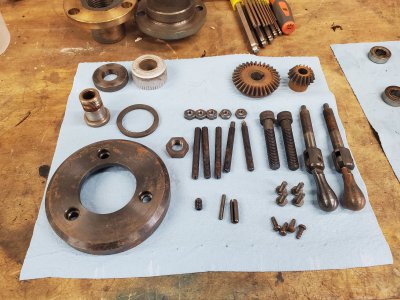
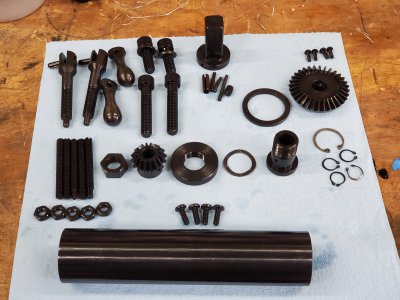
I took apart the knee lift drive gear/crank assembly but didn't get any photos. It was frustrating and confusing, mistakes were made. Here's most all the hardware from the knee post degreasing.
20230408_170927.jpg

Here's where things got exciting... I made my own black iron oxide (BIO) salts from 2.5 lbs of lye, 1.25 lbs of sodium nitrate, and 1 gallon of water. Following the instructions I found here. https://bbs.homeshopmachinist.net/forum/general/1900598-anyone-done-hot-caustic-bluing

Some items came out better than others and I haven't been able to narrow down the variables. So far I have been degreasing, pickling in muratic acid for 5-10min, rinsing (dipping) in water, soaking in the BIO salts for about 30 min, rinsing in running hot water for ~10min, then soaking in WD-40. Most pieces then get a coat of Vactra way oil during reassembly.

20230411_184022.jpg

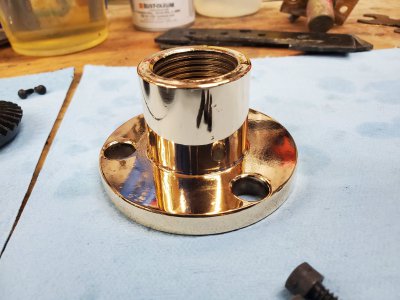
Here's the nut from the knee lift screw, all polished up.
20230419_110707.jpg

I degreased the knee lift screw, chucked it up in my lathe and ran a wire bush over it to remove the crud stuck in the threads. Here's it reassembled just before installation.


20230419_121601.jpg

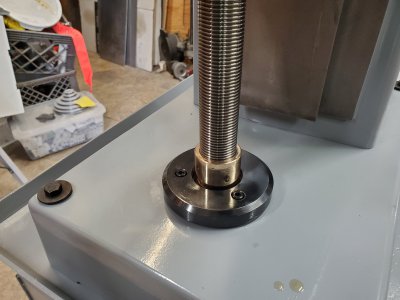
Post installation shot of the screw, nut, retainer plate.
20230419_182342.jpg

Now that we've seen all the sub components getting processed, let's circle back to see the knee after paint with them all installed.
20230415_183020.jpg
20230415_183012.jpg
20230415_183014.jpg


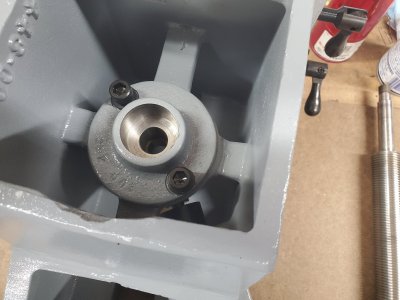
Here's the knee installed on the machine with the turret and spacer on there as well.
20230419_182307.jpg
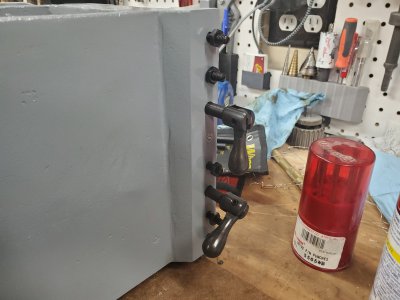
Going to have to address that red crank handle soon, looks like it's got some chrome under the paint, so I'm hopeful it's in good shape.
20230419_182348.jpg
 
Last edited:
I like the way you work. You needed tanks, you built tanks. Needed a gantry, built a gantry. Good stuff!

I am looking to switch from cold blue (looks great, not nearly as durable as nitre) to hot. I wanted to point out that HCL is an excellent pickle for plating or painting, but for bluing, you want either a nitric acid wash or a phosphate soak. It leaves an oxide layer more amenable to blackening than chlorides.

It looked like your hand levers came out a little brown. Did you try boiling the part for one minute in water to convert that iron III oxide to iron II? It seems that is the practice for hot caustics as well as carded rust blues.
Thanks! Yes, the levers on the gib locks are a bit brown, those were some of the ones I was less impressed with. I did read something about boiling water after the hot caustic, I thought it was just to rinse the salts off, so I was compromising by using the hot tap water. I'll get another hotplate and try boiling water post rise.

Could you tell me more about the nitric acid wash or phosphate soak and/or point me to some references where I could read up on those? I did some googling, it seems nitric acid is extra dangerous and possibly more difficult to obtain compared to HCI & phosphoric. I've got some phosphoric acid, kleen strip etch & prep, would that be a phosphate soak? I also have sulfuric acid that I had bought for some plating process which I never got around too, possibly the nickel plating. I had bought the HCI for zinc plating some time ago, so when I read about an acid etch as part of the prep for hot caustic I went with it first.

Another route I might try is to glass bead blast the pieces before putting them into the hot caustic, not sure if that'll help though, it sounds like they need an acid etch.
 
Last edited:
Back
Top