- Joined
- Feb 2, 2014
- Messages
- 1,060
This is what started this project.
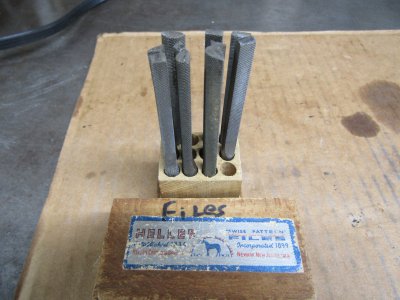
I bought these at a flee market a few months back for $5 and thought they may come in handy some day. The other day I was looking for something else and ran across them again so I decided it was time to make a powered filer for them.
I wanted to try to use materials I had on hand so this is what I started with.
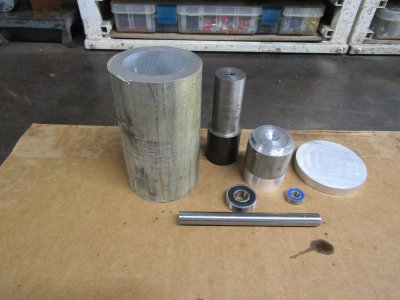
Some of that turned into this.
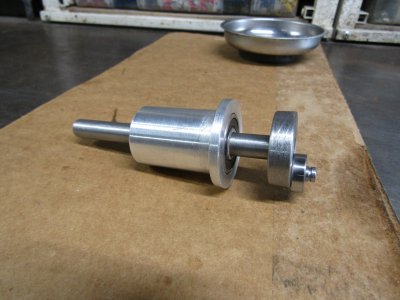
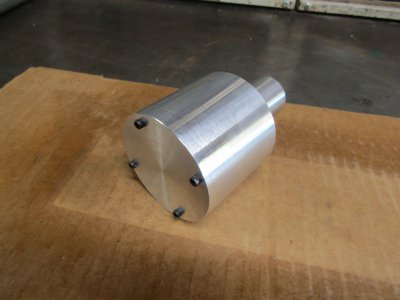
And that mounted to the and cap on to the main housing.
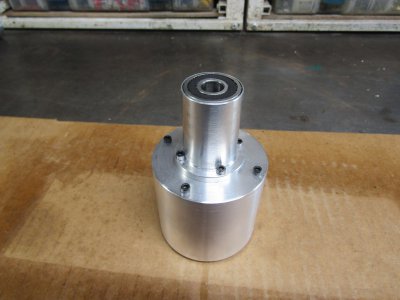
I also caped up the other end.
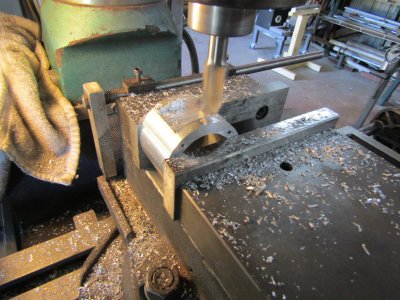
Her I am milling an opening for the piston support.
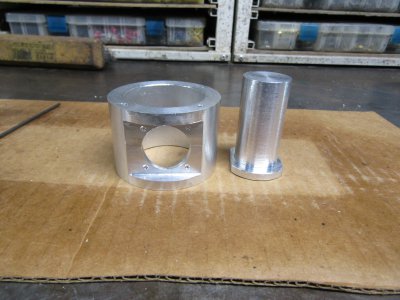
The main body and the piston support.
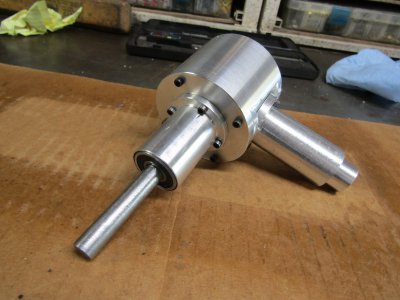
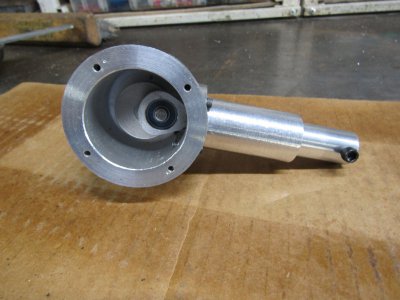
This shows the shaft housing, the piston, and the connecting rod.
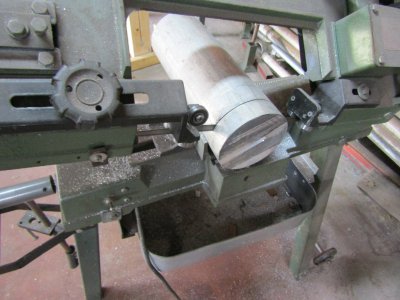
Time for a pulley cut from this 4" round piece. This took almost an hour to cut through.
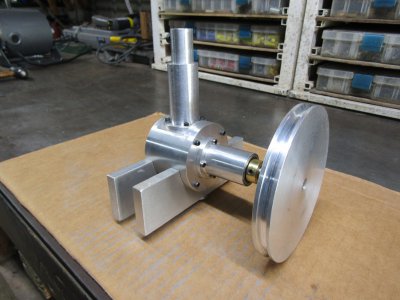
Made some supports and installed the pulley.
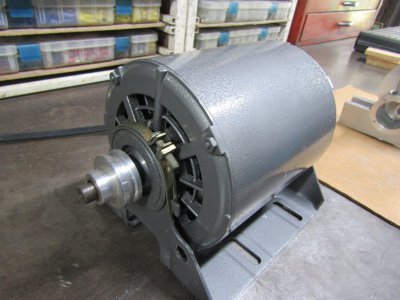
Time to start thinking about a motor and looking around to see what I had. I didn't have one that I really wanted to use as they were either too small, too fast, or too big. Then I remembered this that I got from a garage sale I went to 6 months back and gave $10 for.
I cleaned it up and painted it.
Now that is really too large for a die filer not in HP 1/4 but in physical size. That is when I hit me to mount the filer above the motor and not beside it.
I made supports off the motor frame to attach the filer and the top table. (repurposed aluminum serving tray)
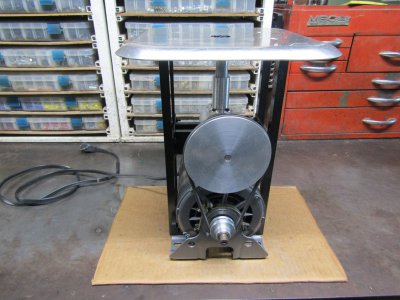
I made a pulley guard and added four rubber feet.
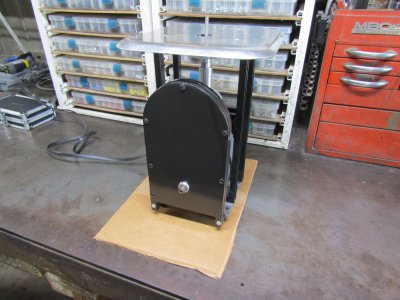
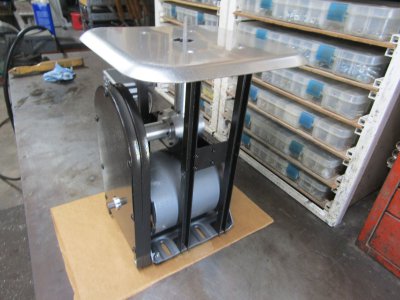
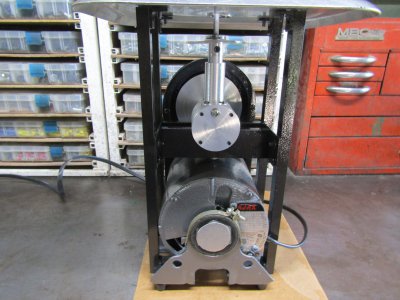
Total project took a couple of weeks and the only thing extra I had to buy were the rubber feet.
Thanks for looking
Ray

I bought these at a flee market a few months back for $5 and thought they may come in handy some day. The other day I was looking for something else and ran across them again so I decided it was time to make a powered filer for them.
I wanted to try to use materials I had on hand so this is what I started with.

Some of that turned into this.

And that mounted to the and cap on to the main housing.

I also caped up the other end.

Her I am milling an opening for the piston support.

The main body and the piston support.

This shows the shaft housing, the piston, and the connecting rod.


Time for a pulley cut from this 4" round piece. This took almost an hour to cut through.

Made some supports and installed the pulley.

Time to start thinking about a motor and looking around to see what I had. I didn't have one that I really wanted to use as they were either too small, too fast, or too big. Then I remembered this that I got from a garage sale I went to 6 months back and gave $10 for.
I cleaned it up and painted it.

Now that is really too large for a die filer not in HP 1/4 but in physical size. That is when I hit me to mount the filer above the motor and not beside it.
I made supports off the motor frame to attach the filer and the top table. (repurposed aluminum serving tray)

I made a pulley guard and added four rubber feet.


Total project took a couple of weeks and the only thing extra I had to buy were the rubber feet.
Thanks for looking
Ray

