- Joined
- Jul 28, 2017
- Messages
- 2,367
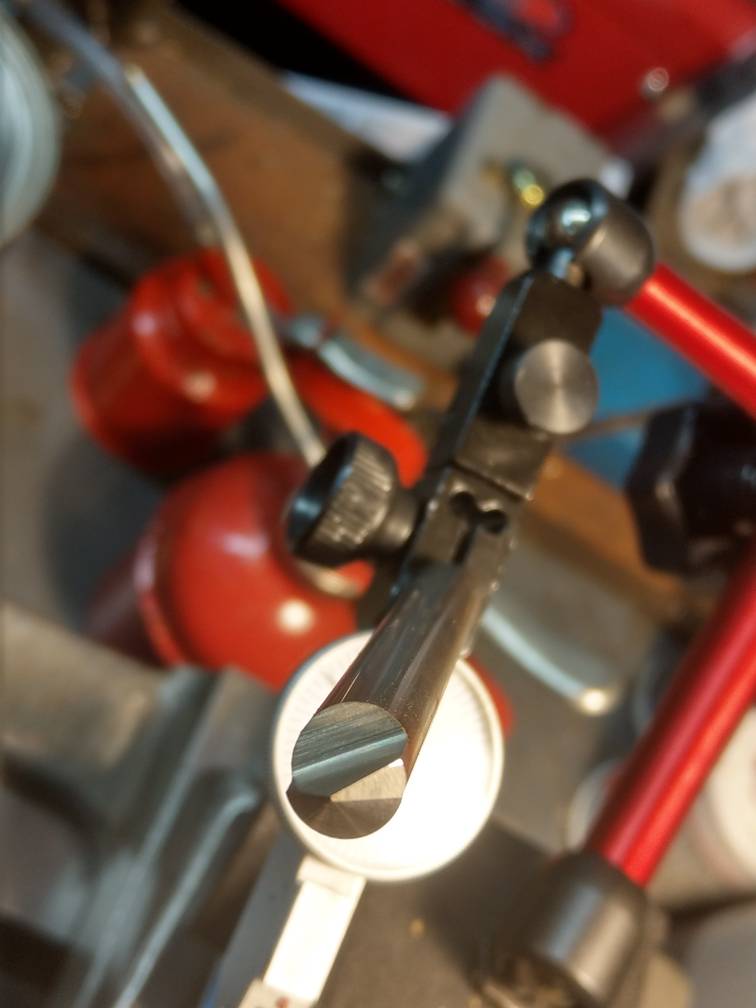
I am working on an improvement for my cheap Craftsman table saw that uses a length of U-shaped aluminum extrusion that is attached to the left edge of the table. It is to add an additional guide for a sled. To attach it I want to use flat head screws that are counter-sunk so they are flush with the side of the extrusion. My plan is to drill all the way through the sides of the U so I can feed the countersink (and eventually a screwdriver) through the outer hole (which will be enlarged to accommodate the counter sink). The problem is that all the countersinks I've got are shorter than the width of the channel; and they also are pretty large in diameter (although the length is the most significan issue). So I'm looking at making my own countersink out of some 1/2" O1 drill rod.
My plan is to turn the drill rod down to clear the outer hole and then cut a cone on the end with the right angle. The business end of the CS will be a little larger in diameter than the head of the screw. Then put the countersink-to-be on my horizontally-mounted rotary table and mill a flat down to the point of the cone. This will only give me a neutral rake so I will rotate the workpiece 10-15 degrees and again mill down, but just down to the cutting edge. I believe this will give me some decent positive rake while leaving the cutting edge in line with the center of the bit. I will harden the tool and hone it afterwords -- I only have a air-propane torch but this part is small enough I figure I can heat the business end up enough to harden it.
I haven't done this before so I'm wondering if I missed anything, or if my idea on how to get some positive rake is faulty.