Enco 105-1110/RF-30 just landed in my shop...

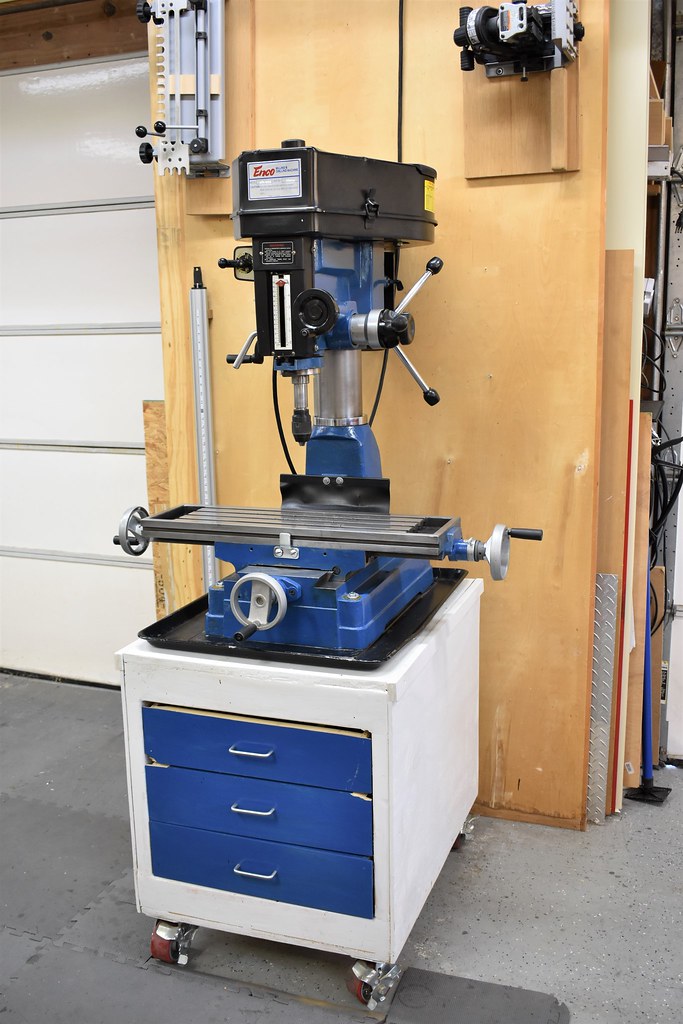
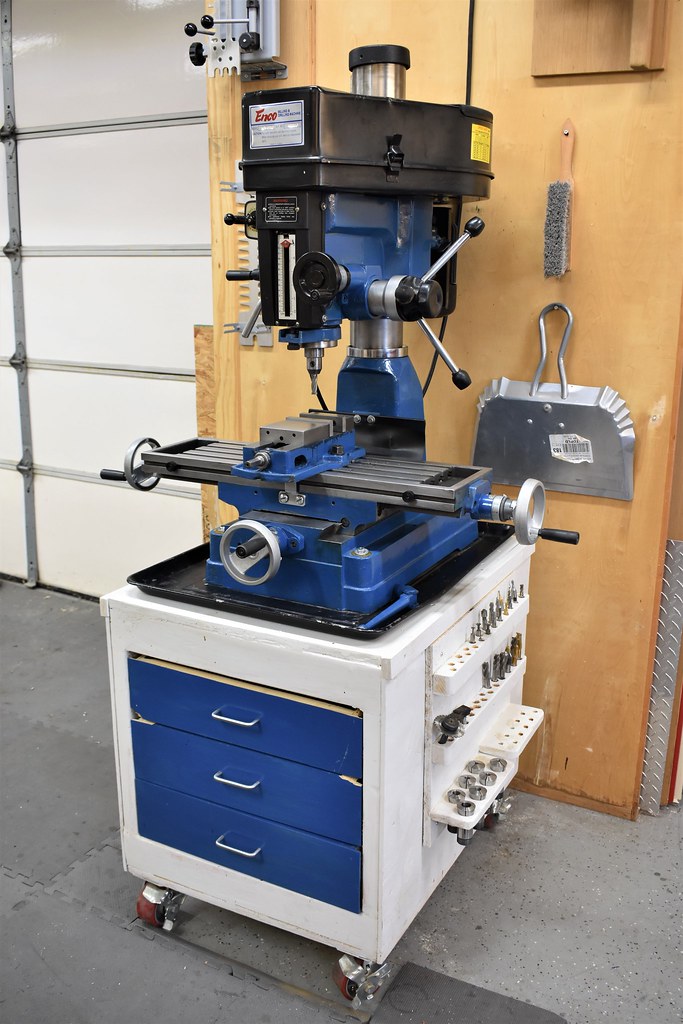
You got a very good deal, perhaps 1/2 of what I would see in my area.

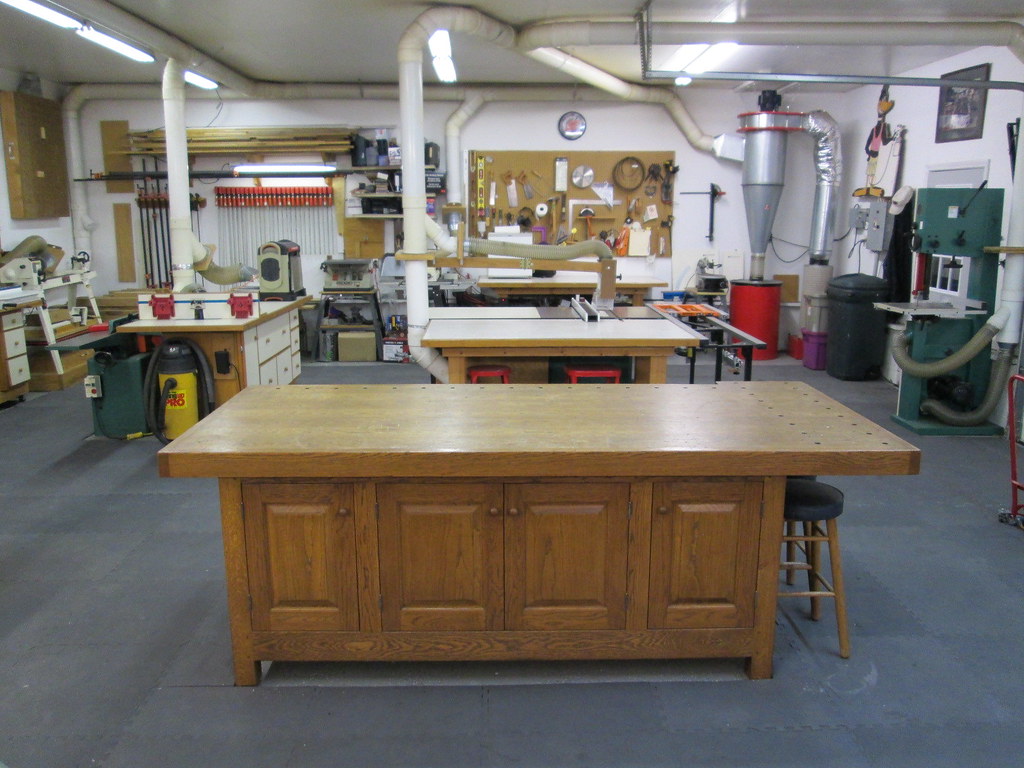
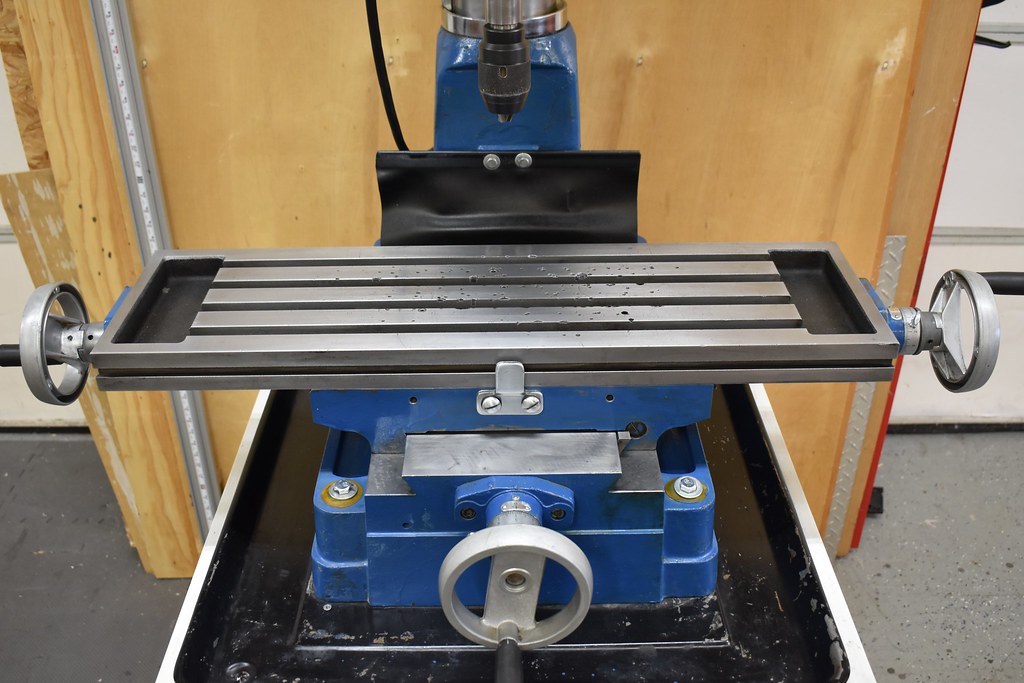
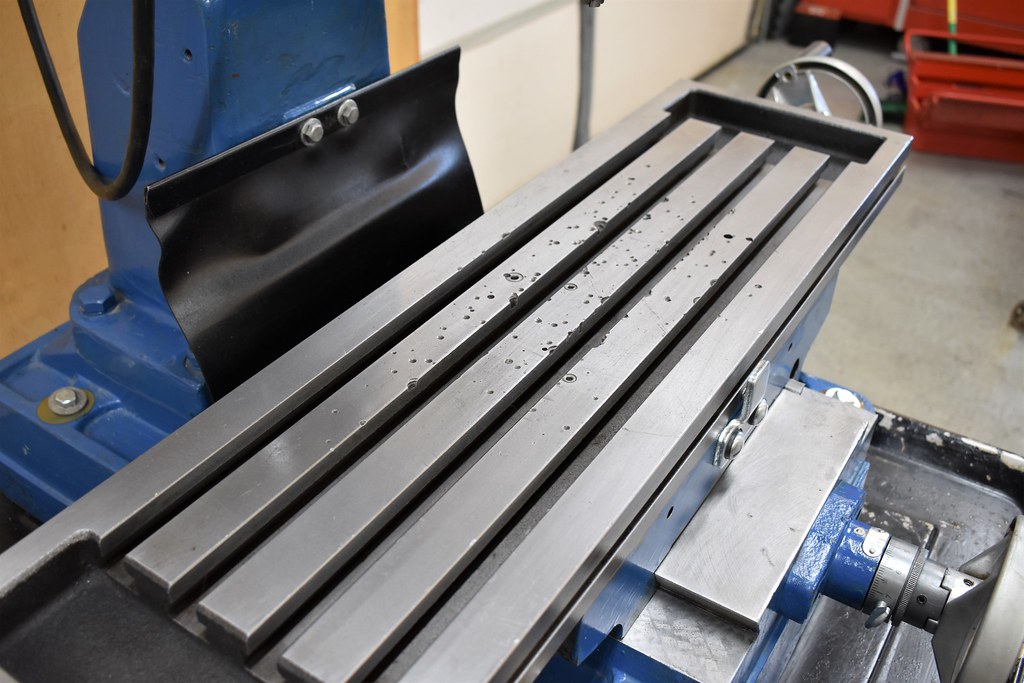
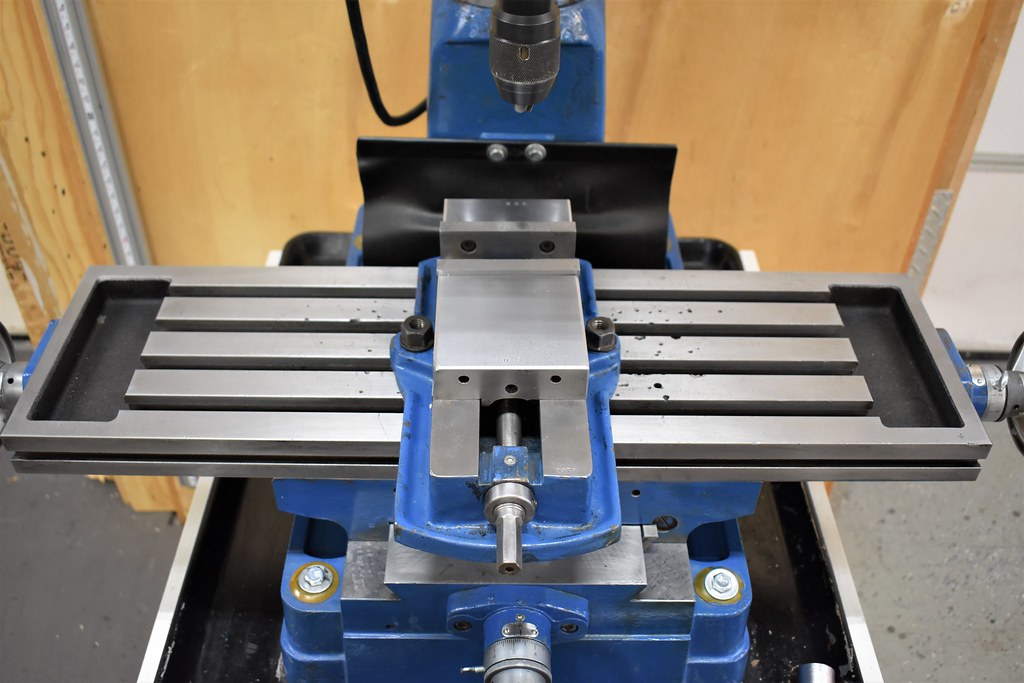
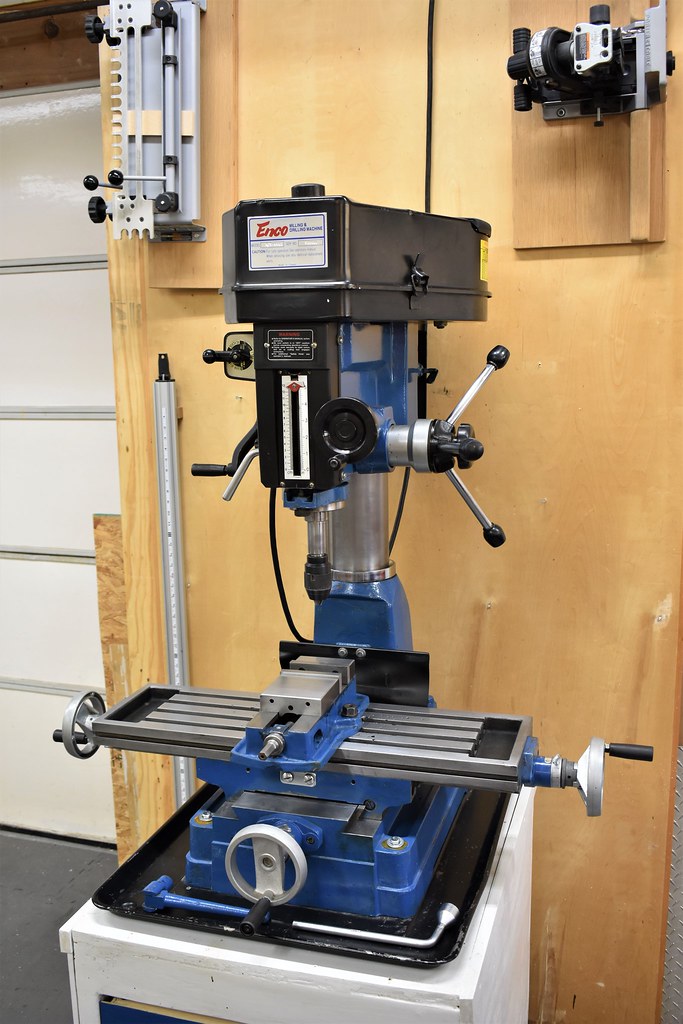
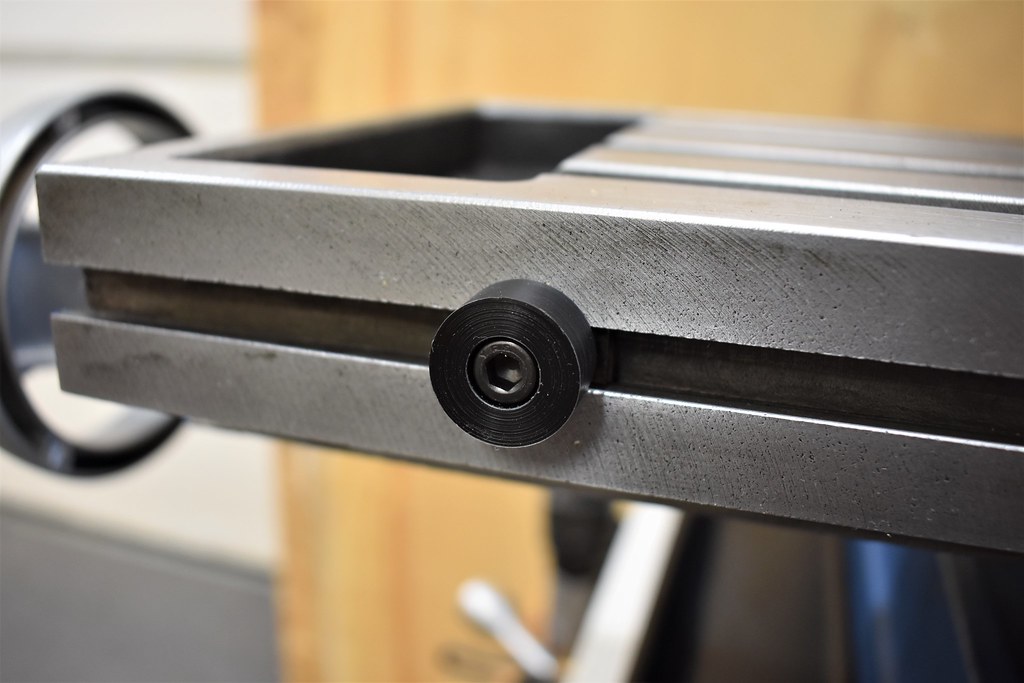
The picture of the mill in his shop with the piece of wood explains how he got so many hiccups in the table due to not having sacrificial boards behind the pieces being drilled.

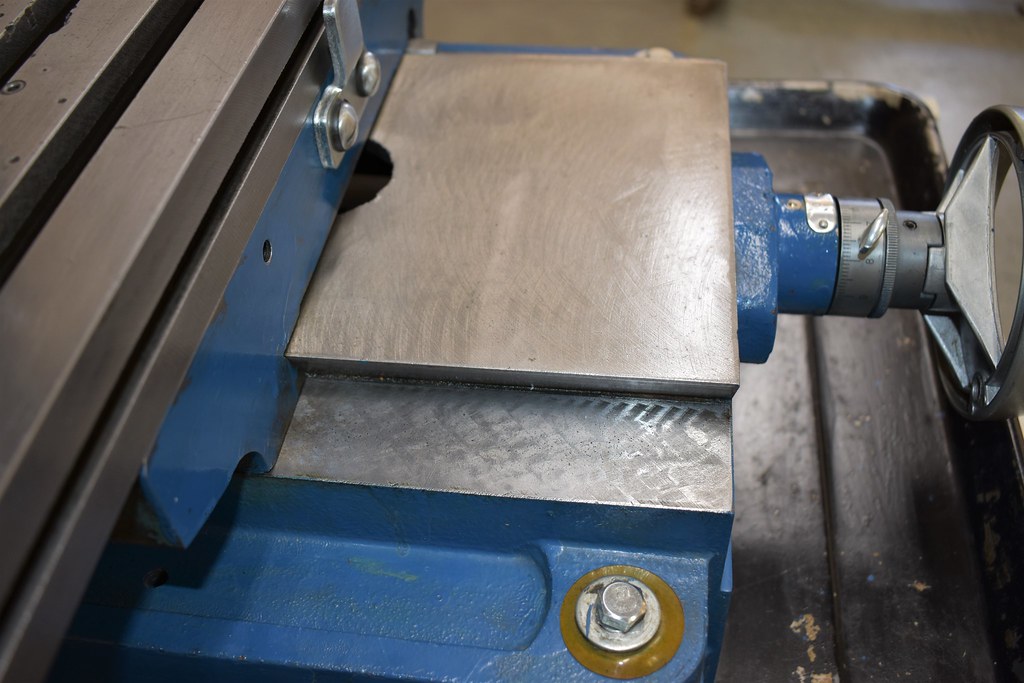
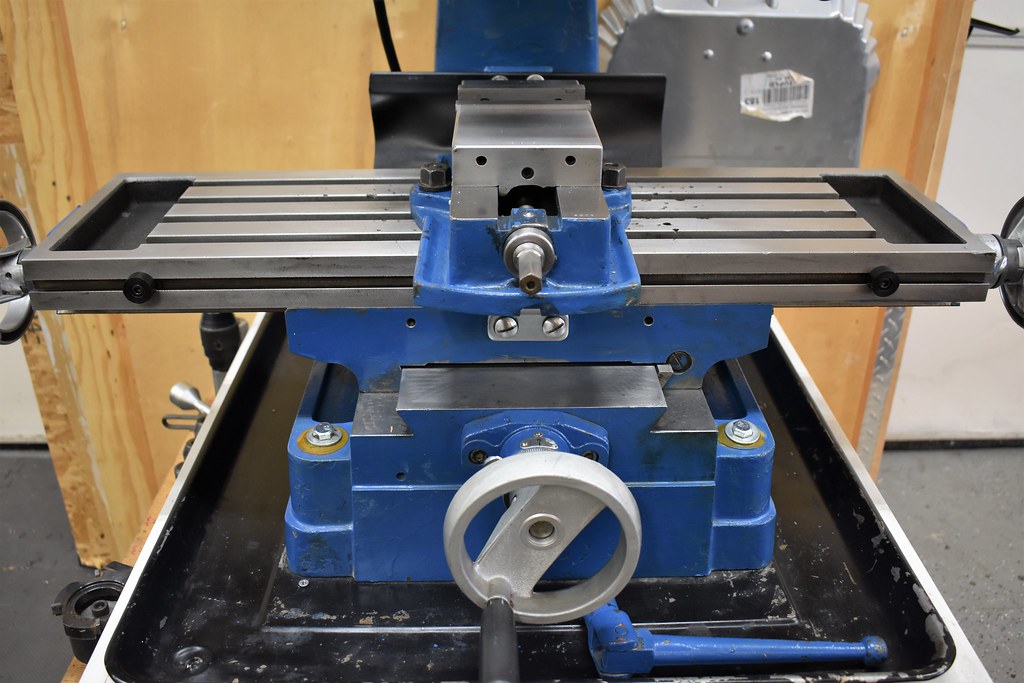
As others have mentioned, stoning to remove edges and burrs is all you need. The vise will cover the hiccups in the middle. On my milling machine I use UHMW covers on either side. If you did something similar you would rarely see the hiccups.

I love these covers. They reflect light which is desirable for the present lighting situation. They also protect the table from tooling or work hitting the table when "Murphy" pays a visit. Also much easier to clean up chips and debris with the flat surfaces.

I am not using flooded coolant. If I did I could just slide the covers to provide more space for the coolant to drain off the vise into the slots in the table.

View attachment 269231

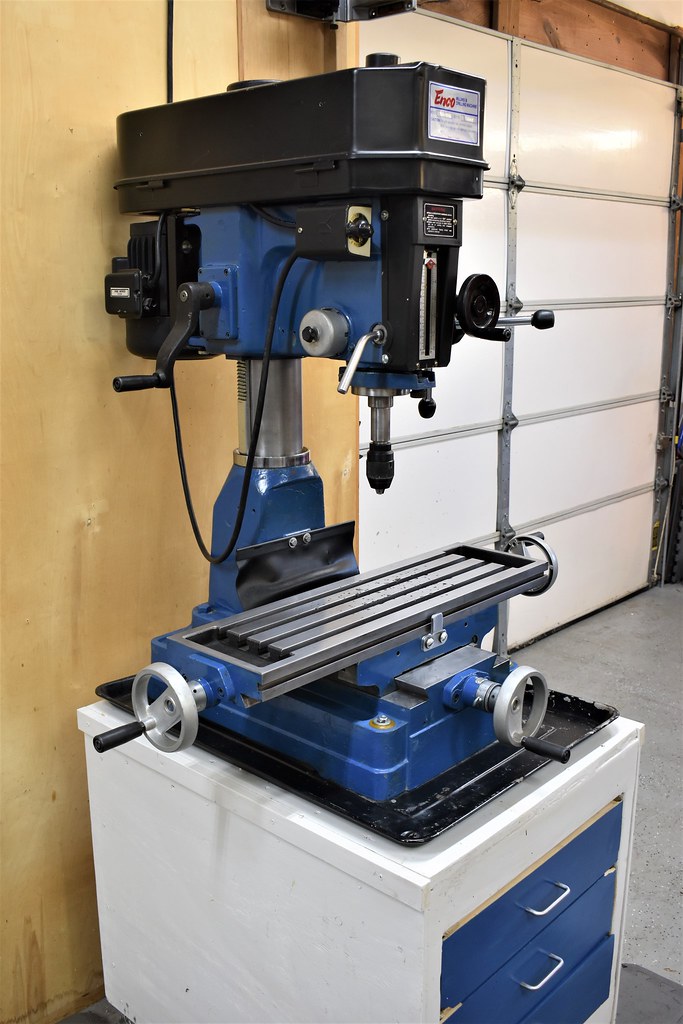
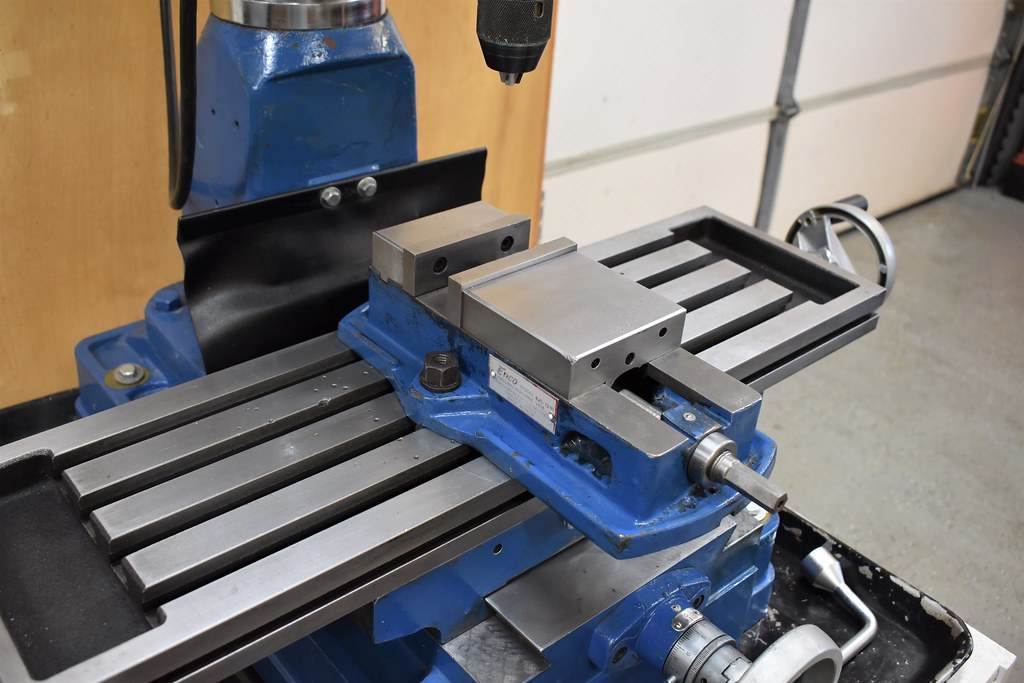
I would consider mounting the vise without the rotary base unless you need the swivel for a project. The mill does not have a lot of Z axis capacity so the rotary base will consume some much needed travel capacity.

I like that a lot. As I am drooling on the picture I'm calculating in my head how long it would take me just to make my vise look like that. lol...

These are 1/4" UMHW sheets? I see the screws so I'm assuming there are perhaps more UMHW pieces on the back to locate the sheets on the table?
 
Last edited:
I have the same model mill..it does what I need..you did real good..I like getting the history on my machines..stone the bed as others have said..I used to go thru Springdale on the way to the ozarks from little rock..
 
I like that a lot. AS I am drooling on the picture I'm calculating in my head how long it would take me just to make my vise look like that. lol...

These are 1/4" UMHW sheets? I see the screws so I'm assuming there are perhaps more UMHW pieces on the back to locate the sheets on the table?

The vise was new when I took the picture, about 18 months ago.

I have done woodwork for many decades so have some pieces of 1/4in UHMW sheets around for potential use in jigs. It makes a very good mill table cover, at least for my needs.

You are correct the UHMW is screwed to the rails on the back side, which I made from wood, since I have lots of wood around and I did not have a thick enough piece of UHMW. These are a snug fit in the slots. I did not bother to seal these so they may absorb cutting oil over time, but easy to replace if needed in the future.

I cut out the curve around the vise mounting holes so the covers fit close to the sides of the vise.

The mill table has a DRO scale cover on the front which is why the front of the table appears wider.

Mill_table_cover_underside_9111.jpg

Your vise should not be difficult to clean up. I hope the jaws are in good shape since these are typically hardened.
From the picture it looks like many years of dust and grime rather than rust.

The vise which came with my mill had some dings in the rails. I milled these to clean them up. I decided later to get a replacement vise.

Vise_rails_after_machining_7538.jpg
 
The vise was new when I took the picture, about 18 months ago.

I have done woodwork for many decades so have some pieces of 1/4in UHMW sheets around for potential use in jigs. It makes a very good mill table cover, at least for my needs.

You are correct the UHMW is screwed to the rails on the back side, which I made from wood, since I have lots of wood around and I did not have a thick enough piece of UHMW. These are a snug fit in the slots. I did not bother to seal these so they may absorb cutting oil over time, but easy to replace if needed in the future.

I cut out the curve around the vise mounting holes so the covers fit close to the sides of the vise.

The mill table has a DRO scale cover on the front which is why the front of the table appears wider.

View attachment 269262

Your vise should not be difficult to clean up. I hope the jaws are in good shape since these are typically hardened.
From the picture it looks like many years of dust and grime rather than rust.

The vise which came with my mill had some dings in the rails. I milled these to clean them up. I decided later to get a replacement vise.

View attachment 269263

Thanks Dave! That will definitely be a project for me to do pretty quickly. I've done wood working for 18 years. I really enjoy it and unlike machining, I just burn the mistakes to keep me warm in the winter. lol... The wood side of my shop...

 
Last edited:
Spent the day in the shop giving the old girl some love. I think I spent most of that time scraping blue paint off places it is not supposed to be. :oops:

It interesting to me how little oil/lube there is on this mill. Most of the cleanup is just wood dust stuck in a light coat of oil. I bathed it pretty much top to bottom in lacquer thinner to get the worst off. Followed that with mineral spirits and a gray Scotchbrite on the table and the ways. Again, somewhat surprising to me how easily it came clean. I also did the same to the vise.

Few minor things to deal with. One of the table locking levers is broken and one of the stops is missing. Ordered a couple new levers from Amazon and attempted to order new stops from Grizzly that they list for $2 each but they are out of stock. I'll just turn a couple new ones and call it good. The indicator ring on the Y axis was on backwards. X axis hand wheel on the right side has the threads stripped out for the knob. Not exactly sure how I'm going to deal with that but I'm thinking I can go up to a bigger bolt and re-thread it. A general adjustment/snug up did wonders. Every mating surface was dry as a bone. Couldn't locate proper way oil locally so I ordered some and subbed some WD40 for now. It's brutally obvious that the ball oilers haven't been used since it was painted and lube in general pretty lacking.


All part of the fun of scraping and cleaning I suppose...


The clean, adjust and lube made all the difference in the world. So much smoother now.

I removed the house light switch and the crunched work light. I'll order a nice led light to replace it.

I ordered some deep green hammered finish paint. It's current paint which was brushed on, looks much worse in person than in the photos so it's going to take a considerable amount of prep before any painting can happen. I'm in the body shop business so I should be able to manage it. :grin:

Here are the pics from today. Pretty amazing what a little time and elbow grease makes.


And the table. This is as good as it's going to be unfortunately. I stoned it to make sure there were no burrs and followed that with the Scotchbrite. It's a shame but it is what it is and I guess I'll learn to live with it. I plan to make covers like Dave posted.


And with the vise...


I setup the DTI and checked spindle concentricity. Max is .002. Probably more accurate than the operator. lol... But I'm going to order the sealed FAG sealed bearings. Still need to rewire to 240v as well as figure out what I'm going to do for a base. I sure do wish it still had to original base. It's not perfect but overall I'm pretty happy with it. Seems like it's pretty solid.
 
Last edited:
Cleaned up really nice, Terry. This is a really easy machine to work on and you'll be surprised how accurate the spindle can be with good bearings. It is a light duty machine but for hobby use it is more than stout enough for most of us. Have fun with it.
 
Cleaned up really nice, Terry. This is a really easy machine to work on and you'll be surprised how accurate the spindle can be with good bearings. It is a light duty machine but for hobby use it is more than stout enough for most of us. Have fun with it.

Thanks Mike! I’m already having fun with it.
 
Thanks for the update, the cleanup was very worthwhile, looks to be a much nicer machine now. Good job. The vise cleaned up better than you expected.

I am officially jealous of your shop space. Nice picture of the spacious woodworking side of the shop.

In my "shop" I often think of the Star Trek phrase "Space - the final frontier" as in I do not have any......

I’m beyond blessed to have 1200 sq.ft. Of personal shop space. Some kinda glad it had A/C today too.
 
Stole a bit of time this afternoon to thoroughly clean all the tooling and turn a couple of new table stops form some Delrin rod. I mounted to tool holders to the sides of the base just to get everything off my bench as only one drawer is all that is serviceable.


I also orderd some more collets, parallels, 123 blocks etc... New base design is swirling around in my head. I'm going to see if I can scrounge some aluminum drops tomorrow so I can start making some chips.
 
Back
Top