Excello 602 tear down problems

Stronghold

A pretty big deal in insignificant places.
Registered
Joined
Aug 19, 2014
Messages
20
So I finally got my South Bend 10L together, now I've started getting the Excello 602 apart. The shop that had this before me "refinished" it by, from the looks of it, pouring a bucket of paint on top of it and just letting run down and then brushing it a little.

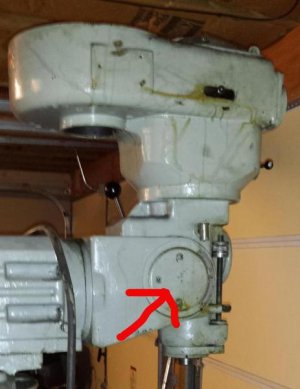
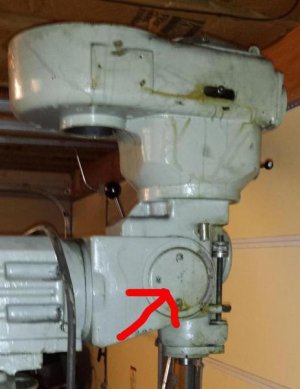
My machine is one of the first models that seems like no one else on the planet has (I've only found pictures of two others out of all my searching) so the manuals available don't quite match up. Currently, I've got the head off and have the top and midsection of the head apart as well. Where I'm stuck at is removing these two plates from the sides of the head so that I can remove the yoke that the head pivots on. From what I've seen in pictures of newer model 602's, they added two extra holes in the covers with that are threaded that look as if you screw in some bolts and that allows you to pull them off. Alas, mine do not have these holes.

Anyone who's taken these apart before have any suggestions?

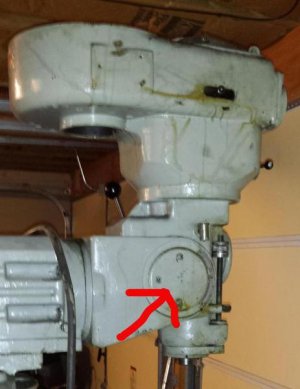
(It's this circular plate that the arrow is pointing to. Yes, I've removed the screws already)
221cec68-2f44-4d32-a7c8-bc04706239c0_zps1c403d25.jpg

221cec68-2f44-4d32-a7c8-bc04706239c0_zps1c403d25.jpg

221cec68-2f44-4d32-a7c8-bc04706239c0_zps1c403d25.jpg
 
Gentle prying with a flat screw driver might work. From the sounds of your paint description, perhaps its just glued on tight? What about drilling and tapping some removal holes of your own? At least then it will be more like others and not so unique ;)

Cheers Phil
 
Gentle prying with a flat screw driver might work. From the sounds of your paint description, perhaps its just glued on tight? What about drilling and tapping some removal holes of your own? At least then it will be more like others and not so unique ;)

Cheers Phil

Thanks for the reply. I tried going at it with a sharp chisel and removed most of the paint, but can't seem to get into it to pry it out. My last resort will be to drill and tap it, but I'd hate to modify it considering it has lasted this long without and modification. However, if that's what I must do then I'll do it.

It really sucks that there's so little information out there about these mills. I've been takaing TONS of pictures of everything during the tear down, not only for myself, but to post online so others can have an idea of what they're getting into or where to start if they want to take theirs apart as well.
 
Thanks for the reply. I tried going at it with a sharp chisel and removed most of the paint, but can't seem to get into it to pry it out

You might try one more "primitive Pete" [from '60s High School shop class films] technique - get a cheap (ie, expendable) paring or carving knife from Goodwill Industries. Snap off the handle if desired. Set the sharp edge against the joint to be opened. Wearing a full face shield, gently smack the back of the knife blade with a hammer or drift punch. That should work the blade into the joint and get you a start on prying the cover off. If, instead, the blade runs into solid metal, the cover is probably recessed into the housing, and you're back where you started (but probably no worse off).

Hope this helps!
 
I may have a similar early model. Unfortunately I have less knowledge than you, that being said I will certainly be interested in your pictures and your progress. Thanks for sharing.

I was wrong about mine being a similar model. It is one of the later models.
 
Last edited:
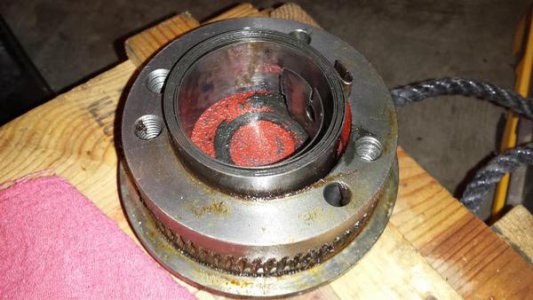
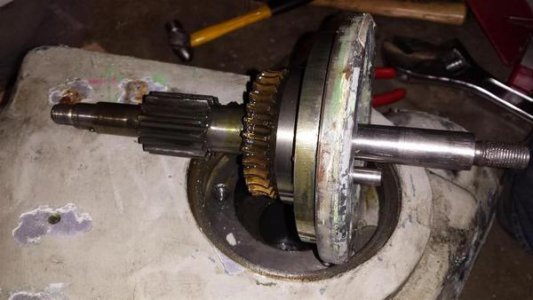
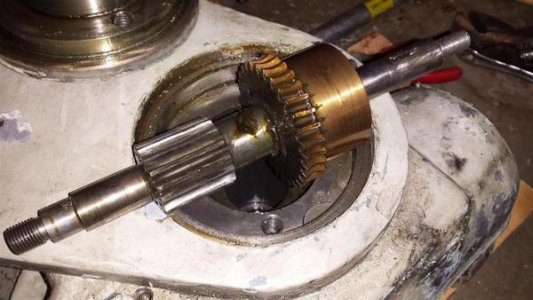
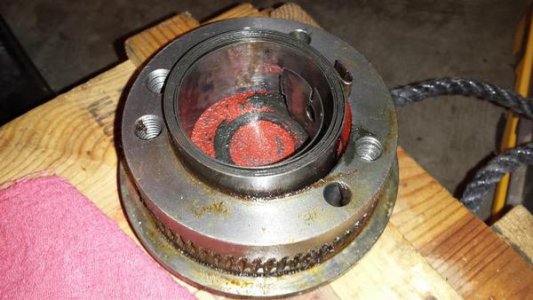
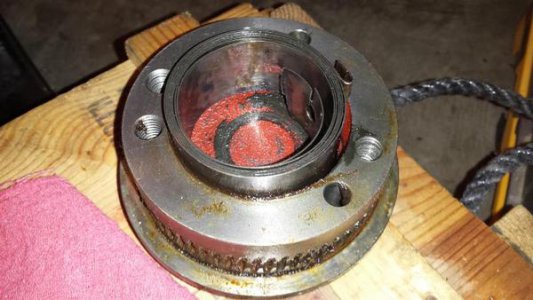
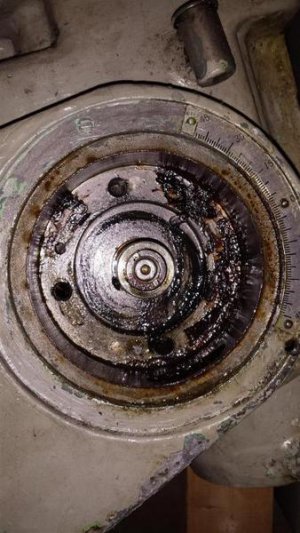
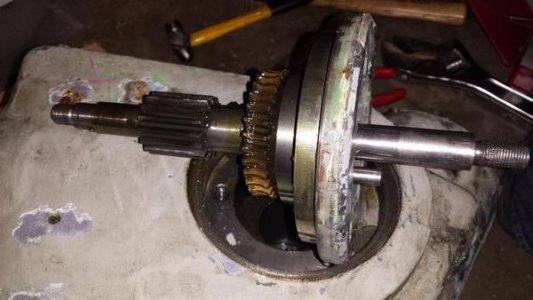
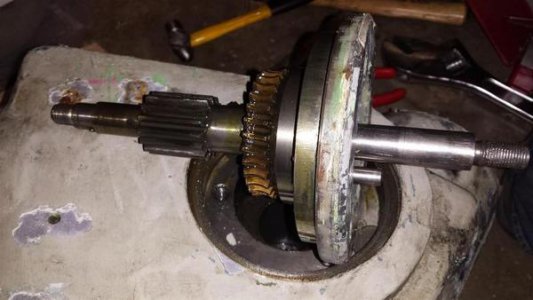
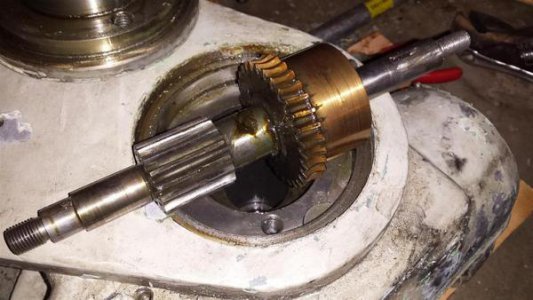
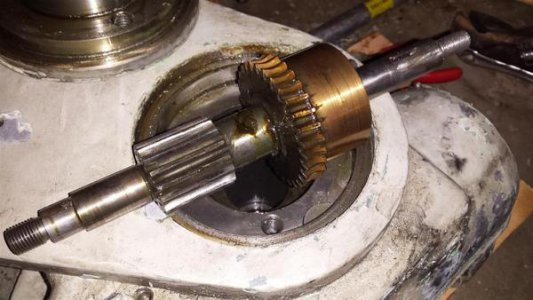
Well folks, I figured it out. The adjustment screw for the nod needs to be removed first. I was trying to unscrew the adjustment screw with no luck, it just kept spinning. So while I was rotating the knuckle around I saw an extra hole on the other side of the plate that wasn't like the others. I was able to install a bolt into the hole which put pressure on the mating gear, this allowed the adjustment screw to turn out of the hole. Also, there was no need for me to drill extra holes in my cover plate, because the existing holes had threads in the upper portion that were covered in paint. This allowed me to install two 7/16-14 bolts into the holes which put pressure on the head and pushed the cover plate straight up and off the knuckle. At that point the quill pinion was exposed on the other side and the reason it couldn't be removed: there was a set screw keeping it from sliding out. Once that screw was removed the gear easily slide out and the cover plate on the other side popped out without issue. There were a few other little parts still in the head but they all were easily removed when the knuckle was separated from the head. Again, I'll be making a large photo journal of all of this once I'm done so others can benefit.

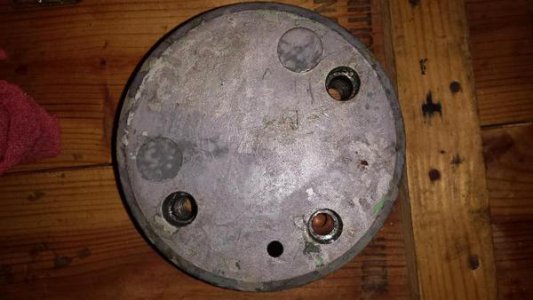
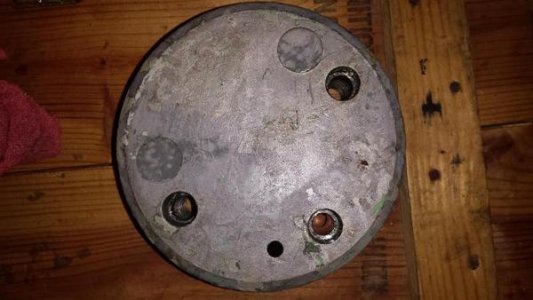
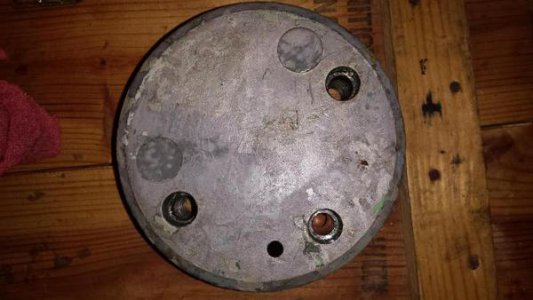
Also, what's strange is that the cover plate has two extra holes that are covered with these metal plugs. There's nothing that screws into them on the other side so they're pretty much worthless. I just found that odd. You can see them in the following picture as the two large circles.


20150110_190710_zpsbc3ff1ab.jpg
20150110_190538_zps6ad35f4c.jpg
20150110_191140_zps2a403862.jpg
20150110_194047_zps53c44ef8.jpg
20150110_194146_zpsfbf4f607.jpg

20150110_190710_zpsbc3ff1ab.jpg

20150110_190710_zpsbc3ff1ab.jpg

20150110_190538_zps6ad35f4c.jpg

20150110_190538_zps6ad35f4c.jpg

20150110_191140_zps2a403862.jpg

20150110_191140_zps2a403862.jpg

20150110_194047_zps53c44ef8.jpg

20150110_194047_zps53c44ef8.jpg

20150110_194146_zpsfbf4f607.jpg

20150110_194146_zpsfbf4f607.jpg
 
Sorry, late to this thread. I have a 602 and have done this job. Also bought a spare 602 for parts. If you have something large that's broken, let me know.

I'll include a manual

Karl
 

Attachments

  • Excello 602 Manual.pdf
    3 MB · Views: 27
Sorry, late to this thread. I have a 602 and have done this job. Also bought a spare 602 for parts. If you have something large that's broken, let me know.

I'll include a manual

Karl

Thanks for the offer. I'll definitely keep you in mind if I fudge anything up (very likely).
 
Ohhhh...I have an Excello 602 as well. Power feed is not quite right and there are issues with the factory power feed staying engaged. If I take the plate off the back of the lower head unit can I get to the down feed assembly to see what's going on?
 
Ohhhh...I have an Excello 602 as well. Power feed is not quite right and there are issues with the factory power feed staying engaged. If I take the plate off the back of the lower head unit can I get to the down feed assembly to see what's going on?

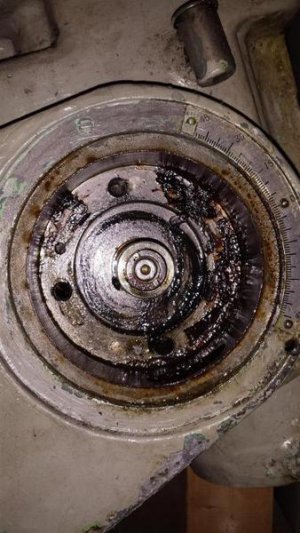
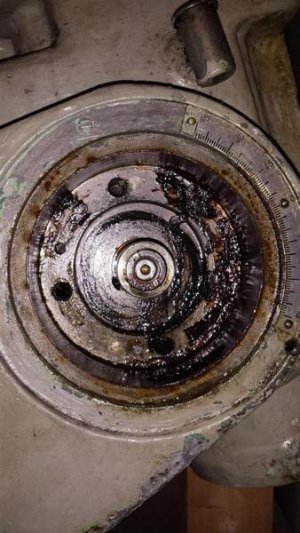
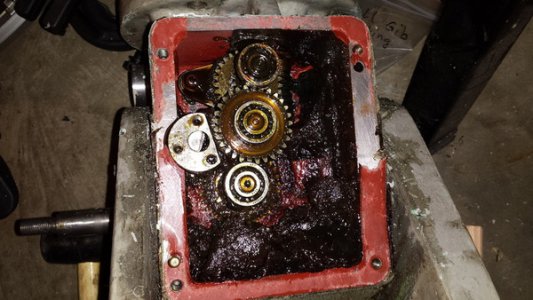
Yeah, you should. Just prepare yourself for quite a mess when you take it off. Also, there's two locating pins that keep the cover aligned. I accidentally broke one in half trying to get the cover off. Once you take the cover off here's what you're going to see at first (at least it is with my particular version):

20150104_122833_zps38n7ihsw.jpg

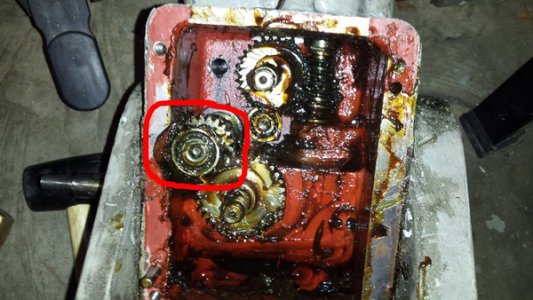
After you clean out some of that grease and take off the gears sitting on top you see this, and the circled gears are connected to the power down feed if I remember correctly:

3e361bbf-c5db-428c-ab19-761d8f49426a_zps6twpxqeg.jpg
 
Back
Top