Flat Twin

You are right as you can see I was almost done when I realized I had forgot the step. Nothing else to do but just start over.

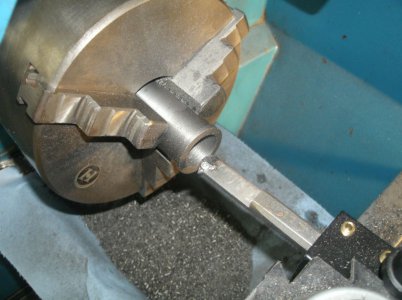
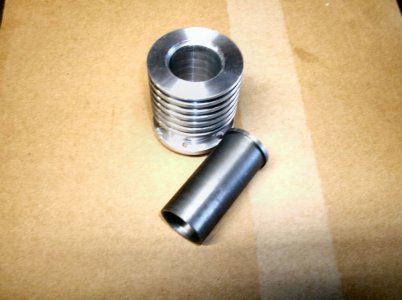
The liners are made from cast iron and they sure cut nice but what a mess to clean up.
GEDC4766s.jpg

This is cylinder two and the liner for it.
GEDC4768s.jpg

I roughed out the connecting rods but no picture. That's where I will start next.

Thanks for looking

Ray
 
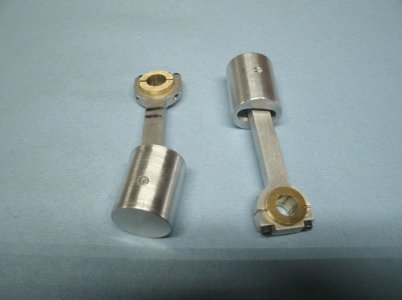
I finished the connecting rods and most of the work on the pistons.

GEDC4771s.jpg

I should have taken some pictures before I assembled them but I wanted a nice tight fit between the wrist pin and the piston walls. When I test fit the wrist pins they were a very tight fit and I was afraid I might damage the pistons if I tried to remove them. There are brass bushings for the wrist pins in the end of the rods but they are hidden.

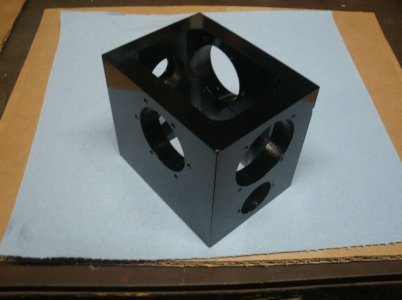
I painted the crankcase even tho I have many more holes to drill in it and the chances of damaging the paint is high.
GEDC4772s.jpg

I found that I am more careful in all of my building if I have a shiny painted part to protect.

Thanks for looking
Ray
 
Do the pistons use any kind of a ring?

Great work, a shame to have to cover up all the internals.
 
Yes I will be putting o rings on the pistons later on in the build but for now I want to be able to feel if any thing is binding or giving trouble.

"Even a blind squirrel finds a nut sometimes!"

Well some times things just work out as planned.
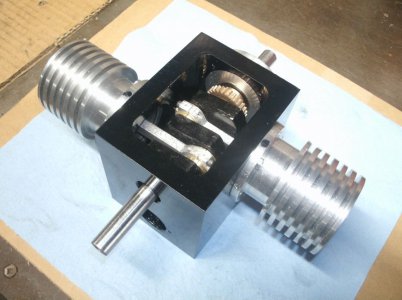
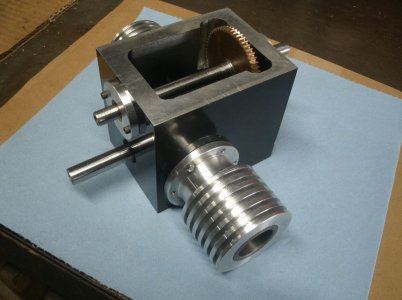
All of my concerns about the cylinders lining up with the crank, enough clearance for the rods, the length of the connecting rods and clearance for the cams have been put to bed.
EVERYTHING FITS and MOVES as it should


Very pleased with this trial assembly.
GEDC4777s.jpg

GEDC4783s.jpg

Now to take it all apart and finish the cylinders and cut the main and cam shafts to length.

Thanks for looking
Ray
 
I disassembled the engine yesterday and made the top and bottom plates. The top has a cutout inside for the cam gear. I also painted the plates last night but since it has been a little cooler here I didn't expect the paint to be cured. I have a toaster oven in the shop I use for different things but never tried to cure paint in it. I set the oven to 200 degrees for 35 minutes and laid the plates in on the rack. When the oven shut off I just opened the door and let the plates cool by them selves. This is a process I will be using in the future as the paint is rock hard with a very nice finish. I would not try this with freshly painted parts only ones left overnight as who knows what might happen.
I cut the crankshaft end to length, shortened the cam shaft, and drilled holes for the valve lifter bushings.
I left the rear end of the cam shaft long as I haven't decided if I will make a distributor or not yet.

Front view
GEDC4786s.jpg

Rear view
GEDC4790s.jpg

I also roughed out the 4 cam lobes.

GEDC4791s.jpg

Thanks for looking
Ray
 
I bored the cam centers and drilled and taped for set screws then installed them on the cam shaft.
Machined 4 lifter guides from brass and with a light press and some blue loc-tite installed in the crankcase.
GEDC4795s.jpg

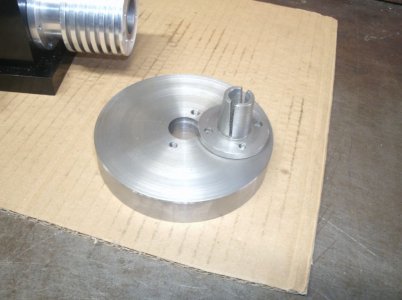
I wanted to make the flywheel next but on every model I have made getting the flywheels to run straight and true was an adventure that some times didn't turn out too good. I wanted something that runs true and is easy to put on and off the shaft with out damaging it.
So this is my version of a split taper bushing with a 3 degree side angle.
GEDC4799s.jpg
Very happy with the results and clamps on to the crankshaft well but still adjustable.

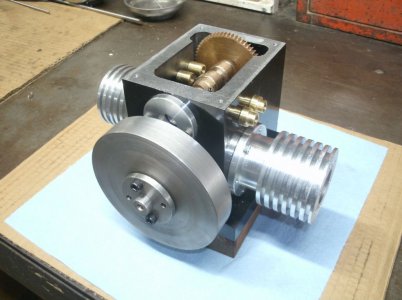
This is where I am now.
GEDC4803s.jpg
Thanks for looking
Ray
 
A nice solution for attaching the flywheel.
 
Thanks Chris
This was all new for me and not sure if I could make it work but I will be using it in the future.

Ray
 
Back
Top