Flat Twin

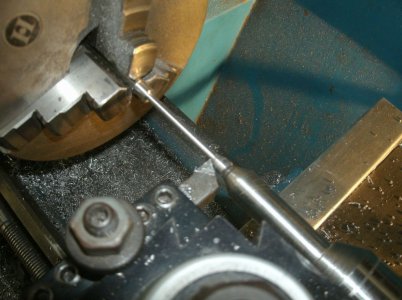
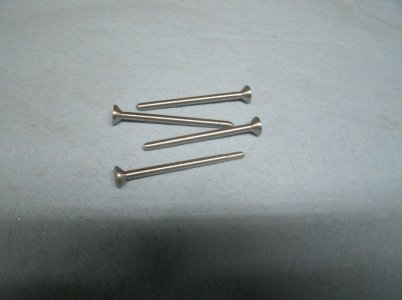
Turning one of the valves. The stems are 0.125 in diameter and the valve face is 0.312.
I always make the stems longer than what I think I will need and some times just long enough.;)
GEDC4821s.jpg

All four done and they even measure good and where I wanted them.
GEDC4822s.jpg

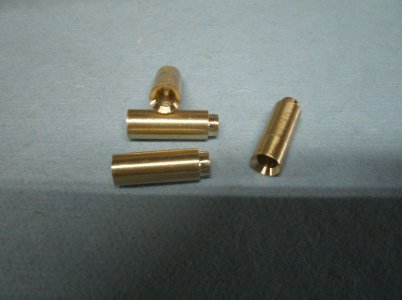
Made four valve cages next and pressed and loc-tited int othe heads.
GEDC4825s.jpg

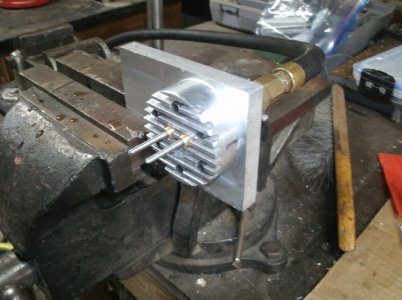
This is a test plate I made for lapping the valves.
Shop air is applied through the back disconnect for testing.
When I can't hear any air leaks at the vice anymore then I dunk the whole thing in a pail of water for a final test.
Very easy to see where more work is needed.
GEDC4827s.jpg

Thanks for looking
Ray
 
I have the valves sealing kind of good so time to cut them to length and add some springs.
I will have to remove the heads several more times to make the inlet and exhaust ports so I may revisit the valves then if I'm not happy with them.
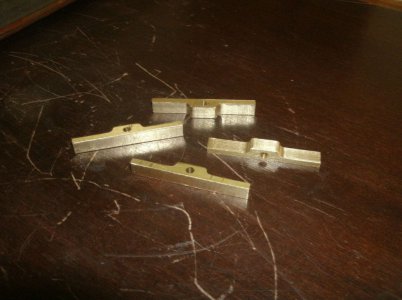
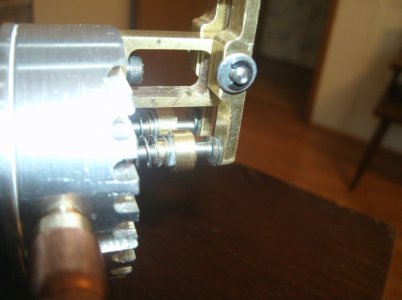
I also made the valve lifters with a socket in the end for the push rod to set in.
If too much oil escapes around the lifters when the engine is running I made a lip on the push rod guides for a seal if needed.
GEDC4829s.jpg

The cutout below the valves is for the spark plug.
GEDC4831s.jpg

Time to design the rocker arms and support.

Thanks for looking
Ray
 
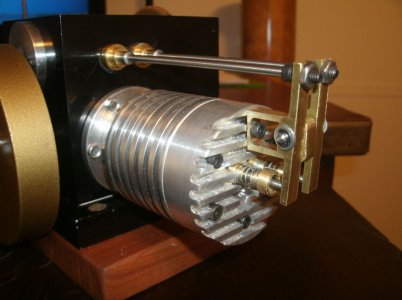
Roughed out the rocker arms and made a couple of stands for them.
GEDC4834s.jpg

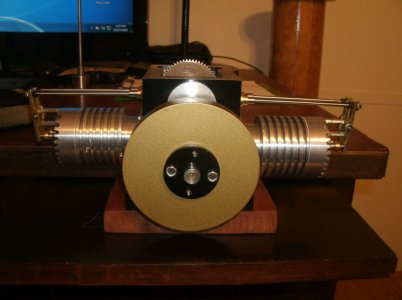
Here it is assembled with the push rods.
GEDC4836s.jpg

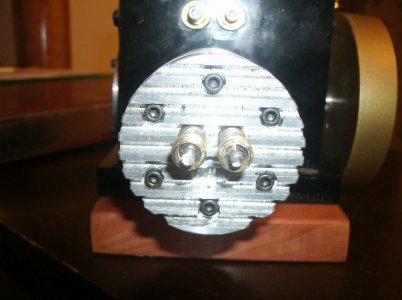
A close up view of the front cylinder head.
GEDC4838s.jpg

I may remake the rocker arm stand off for the rear cylinder as it is too long and makes the arms sit an angle. It would work fine like it is but I just don't like it.
See those little E-Clips that secure the rocker arms well when I started building I had about 20 of them in the box but now there is only one left. No I didn't use them all but rather many escaped to parts unknown never to be seen again. I did find one in the clothes dryer last night after doing my laundry.
I adjusted the cams to close to their final locations but they will need more later.
Now this will all have to be disassembled in order to finish the heads. Intake, exhaust, and spark plug holes and tapping are left to do.
I am going to need a lot more E-Clips.

Thanks for looking
Ray
 
Just my paranoid mind I suppose but I can visualize the stand walking to the right and left due to the normal engine vibrations when running
without a positive location device with only 1 hold down bolt.

Ron
 
Are those socket hex head screws you are using for adjusters on the pushrods?
 
ozzie46
I did have that concern when I was designing the stand and thought about adding a ledge to fit into the cooling fin, so after I made first one I bolted it to the head to see. It was very stable and required me to use a pair of pliers to get it to move at all. I think it may have imprinted it self into the cooling fins making it very stable.
Chris
Yes I did use 6X32 socket head screws with the end of the push rods rounded over to fit inside. If they prove to be a problem I can run a 0.125 ball end mill in them to make the socket deeper.

Thanks for the replies
Ray
 
I drilled and tapped the intake and exhaust ports and drilled and tapped for the spark plugs. I did some cosmetic work on the rocker arms filing and curving the ends.
If you remember I didn't like the way the rocker arms sat at an angle and I was going to remake the stands. I changed my mind and just added some steel contact points to each rocker arm. They look much nicer now.
Disassemble and reassemble of the heads and I didn't lose or damage any of the e-clips. Surprise Surprise
GEDC4844s.jpg

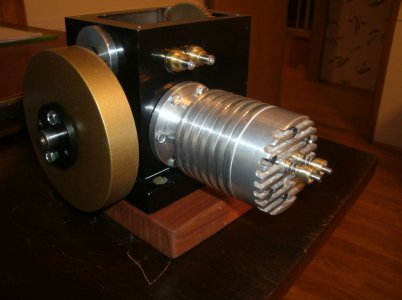
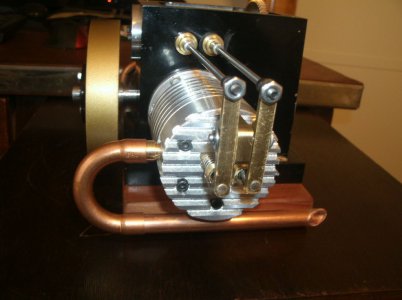
I made the exhaust pipes from 1/4" thick wall copper pipe and fittings . I wanted these to be removable so I installed o-rings on the pipe to hold them in place. Time will tell if that works out ok.
GEDC4842s.jpg

GEDC4840s.jpg

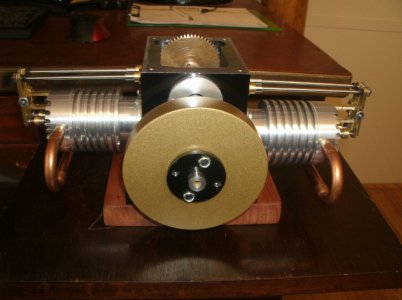
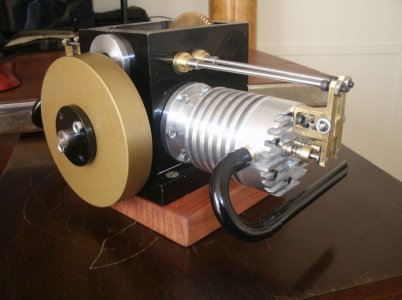
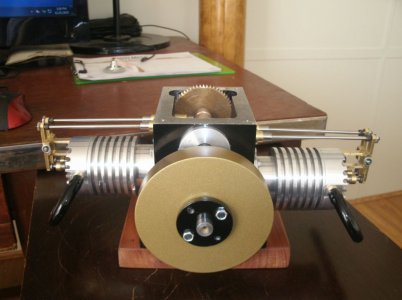
All painted up and installed.

GEDC4845s.jpg

GEDC4848s.jpg

Thanks for looking
Ray
 
Is that hi temp paint on the exhaust headers?
 
Back
Top