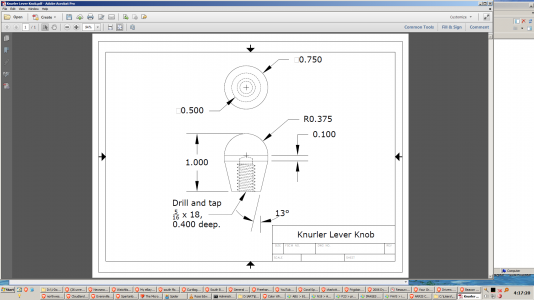
Newbie looking for some techniques and best practices to freehand a full radius on end of stock.
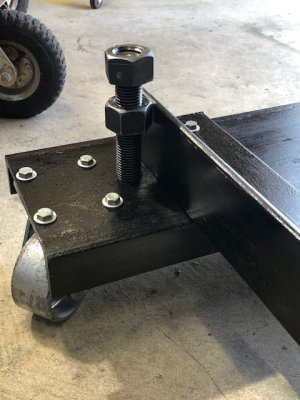
I got a Clausing 5917 on a dolly with casters for mobility in my small shop. I finally have it in a location where I hope to leave it alone for a while. So now I can concern myself with leveling it correctly. I got a new Starrett 98-6 and leveling it clearly makes a difference.
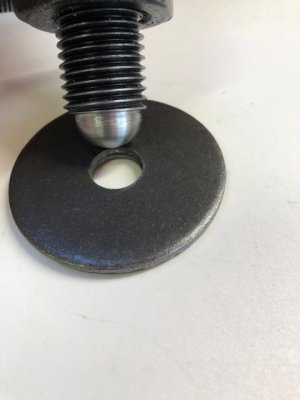
Adjusters made from A193 B7 all-thread, 1-1/8-8, and am now putting a radius on the bottoms which will seat on a large .230 D washer with a .700 hole. I’m pretty much done with two for now and have two to go. Will also have to chamfer or dish the washers to match. I had to just try it out myself before asking. Curious about any tribal knowledge to improve freehand cutting without the use of radius tools.
To start, I found the charted Minor Diameter to be .9695, (where I should expect an uninterrupted cut at bottom of thread). So, for an imprecise newbie, I’d round up to .970, divide in half, and get a .485 radius. From faced off end, this is also my Z-in stop where the radius begins. All done around 370 rpm, with a brazed carbide cutter. All turning from head to tail, I just took some freehand cuts to take off the corners. Then used auto-feed of .0022 head to tail and worked the crosslide as necessary. Ending with a double-cut file, single cut, and then 220 grit cloth.
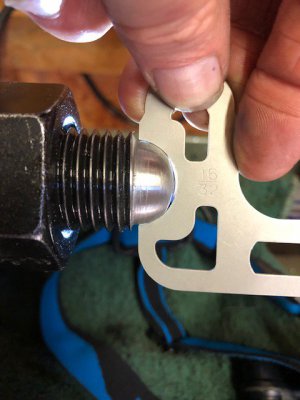
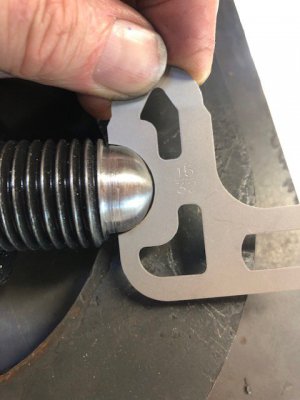
End result is one with a final OD of about .900 and a Z of .485, and the other an OD of .920 and .485. Closest radius gage is a 15/32, .468R/.9375D. did say imprecise, right? Without a radius gage on it, it actually looks ok. So, what do you think?
 I
I
I got a Clausing 5917 on a dolly with casters for mobility in my small shop. I finally have it in a location where I hope to leave it alone for a while. So now I can concern myself with leveling it correctly. I got a new Starrett 98-6 and leveling it clearly makes a difference.
Adjusters made from A193 B7 all-thread, 1-1/8-8, and am now putting a radius on the bottoms which will seat on a large .230 D washer with a .700 hole. I’m pretty much done with two for now and have two to go. Will also have to chamfer or dish the washers to match. I had to just try it out myself before asking. Curious about any tribal knowledge to improve freehand cutting without the use of radius tools.
To start, I found the charted Minor Diameter to be .9695, (where I should expect an uninterrupted cut at bottom of thread). So, for an imprecise newbie, I’d round up to .970, divide in half, and get a .485 radius. From faced off end, this is also my Z-in stop where the radius begins. All done around 370 rpm, with a brazed carbide cutter. All turning from head to tail, I just took some freehand cuts to take off the corners. Then used auto-feed of .0022 head to tail and worked the crosslide as necessary. Ending with a double-cut file, single cut, and then 220 grit cloth.
End result is one with a final OD of about .900 and a Z of .485, and the other an OD of .920 and .485. Closest radius gage is a 15/32, .468R/.9375D. did say imprecise, right? Without a radius gage on it, it actually looks ok. So, what do you think?


 I
I

 I can't see it from my place either but it looks good from where I am tonight !