G0773 Lathe / Mill Combo

For my next trick, the 80 total graduations on the crossfeed dial have to go. A single revolution does equal 0.010" so it's high time to regraduate this to the proper 100 graduations. Step 1 is finding a 1/8" set of number stamps in a likable font.
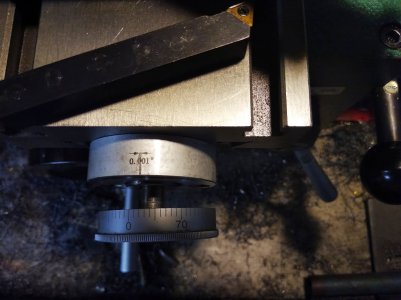

20191105 01.jpg

And, Yes, the trick will be doing this successfully on the 1st try. I'll be using a dividing head if I can work out the setup. It's all new to me (Pretty sure I'll be saying that for years to come).
 
Last edited:
Sorry, haven't found the font I want for new numbers in the 1/8" range. So, I've put it back together for now.
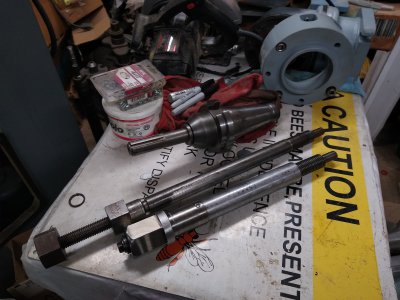
I had such great success in making the drawbar for my larger mill, that I thought to make a drawbar for this Grizzly.
20200126 02.jpg

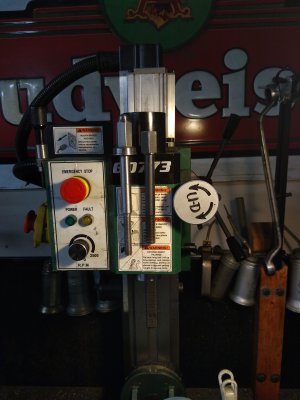
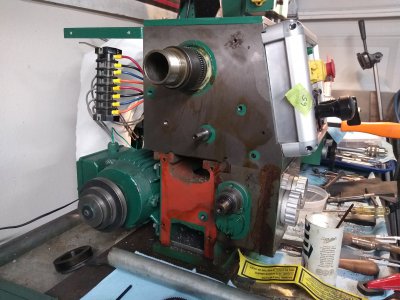
Part of my frustration with this Grizzly mill is 'shudder'. It isn't rigid enough. I've added a shim behind the rack, so downfeed is, eh, better. I also noticed an imbalance caused by my assortment of make shift drawbars.

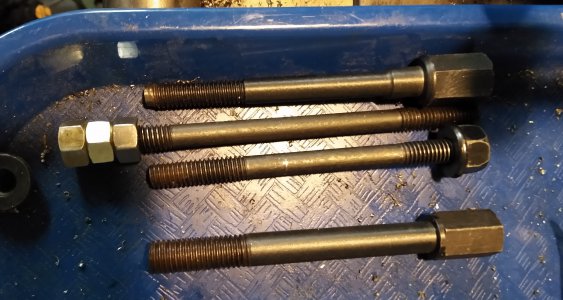
20200215 02.jpg

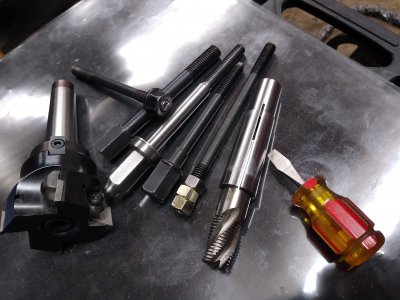
The 1 at bottom is good to go, but it seems silly to have 3 different ones for the same size thread - 2 of which don't center in the spindle.

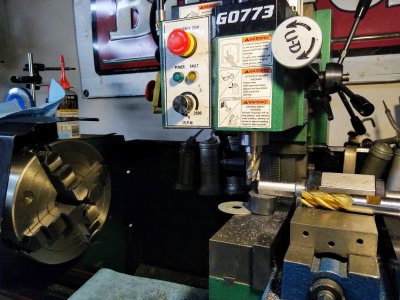
In making the new drawbar, I got very frustrated with the 'shudder'. My vibration even loosened my end stop. Doh. I had set aside some end mills for my big mill that a friend gave me. Oh to have a real quality in a cutter in this Chinesium challenge!

20200215 01.jpg

My real question here is: What have you all used to fill the mill column with to add rigidity? I've heard, use epoxy. OK great! Any recommendations for a specific product?
 
New to this thread.
Where are your pictures of the 'new' "Big Mill"? :grin:
Going through this thread it would appear to me that you made silk out of a sow's ear.
 
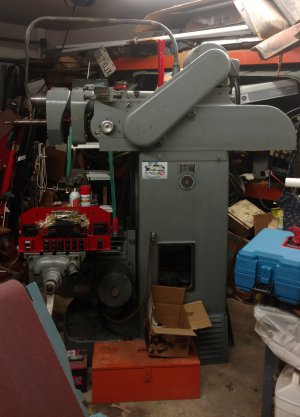
Working on the 'Sow's Ear' for sure Dan! Always open to advise too. Ah, the big mill? I'm still sorting out the bits on it * honestly working up my skill level to be able to operate it. Needs sump sorted & a leak on the table & still need to run power to it. But, yeah, here she is. Quite the step up.
 

Attachments

  • 20170920 047.jpg
    20170920 047.jpg
    2.8 MB · Views: 11
Working on the 'Sow's Ear' for sure Dan! Always open to advise too. Ah, the big mill? I'm still sorting out the bits on it * honestly working up my skill level to be able to operate it. Needs sump sorted & a leak on the table & still need to run power to it. But, yeah, here she is. Quite the step up.
Just a 'wee' bit of a step up from the Grizzly 3in1... pheeeeew, boy howdy, that be 'Big Iron' fer sure. :grin:
What is the Make & Model?
 
Sometimes it's the little victories. Certainly true when improving this Combo. So, I've added a 0.030 shim behind the mini mill rack to reduce slop. Helped a lot on the downfeed - but, really, not impressed with the design. Seems an ACME screw would be much better. I'll be doing away with the tilt feature eventually as part of a 'beef it up' plan.

Today, I made a drawbar for it to replace the several bolts I was using for different attachments. Vibration is reduced! These 2 are all I need now:

20200224 01.jpg

The rest can rejoin the bolt & screwdriver collections!

20200224 02.jpg
 
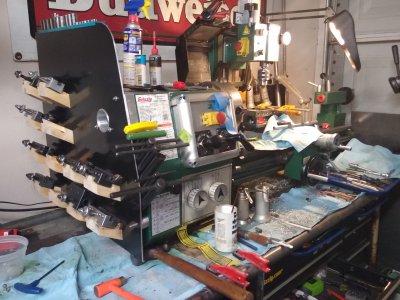
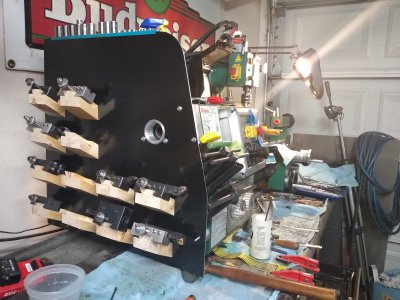
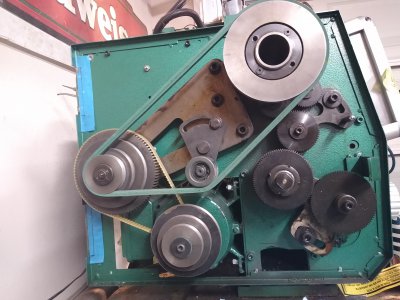
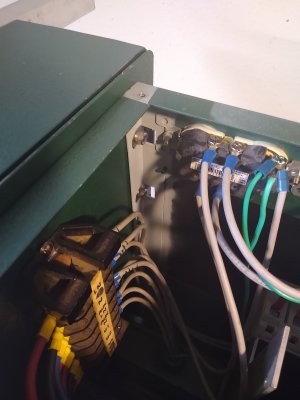
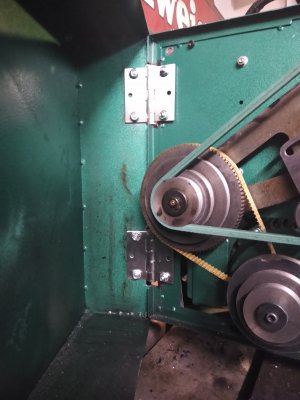
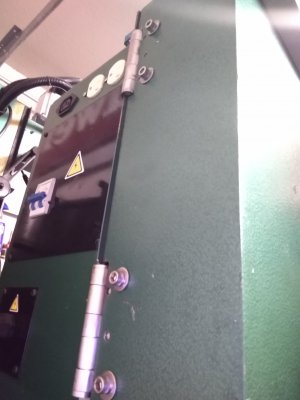
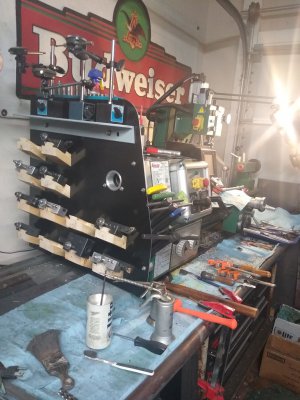
My latest upgrade to the Grizzly is finished. Well, not really an upgrade - more of a storage addition, though it did require better hinges for the gear cover.

20201031 01.jpg

20201031 02.jpg

Hinge modification is below.

20201002 01.jpg20201011 01.jpg20201012 01.jpg20201019 01.jpg20201020 02.jpg20201020 03.jpg20201030 01.jpg
 
A few additions, changes & updates!

Added a small shelf to the organizer on the end to store mag bases.

20201103 03 sm.jpg.

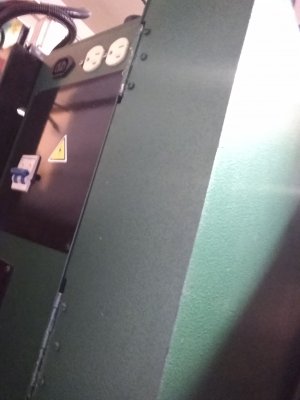
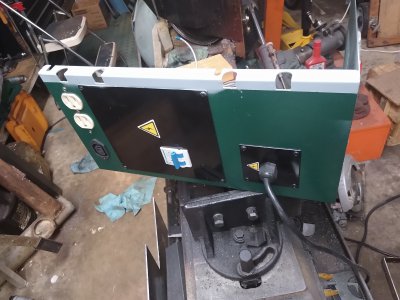
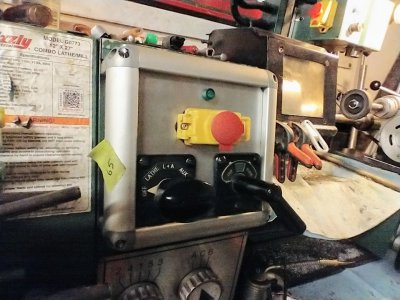
Now 1 of the purposes for having added that Aux feature is in use today! The switch incorporates the E stop to kill the Spindle as well as the Aux.

20210914 02 sm.jpg

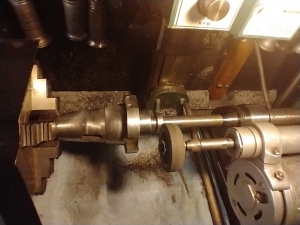
At present the Aux feeds a tool post grinder.

20210914 01 sma.jpg

Sorry, I've flipped that last pic 3 times & changed the file name twice only to still have it attached upside down.
 
Back
Top