Group Project: Dividing Head - Organization and Design

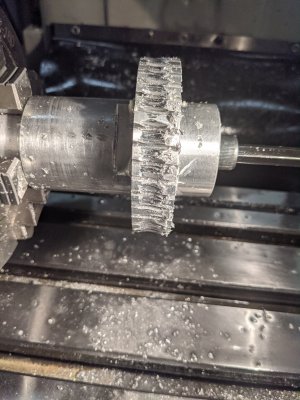
A little more progress today! Need about two hours to finish up these last 4! The finish on the one with the scar is rough... For some reason the 12L14 at the end got super gummy on that one. Other half machined easy...
 

Attachments

  • PXL_20210909_192631251.jpg
    PXL_20210909_192631251.jpg
    2.1 MB · Views: 19
A little more progress today! Need about two hours to finish up these last 4! The finish on the one with the scar is rough... For some reason the 12L14 at the end got super gummy on that one. Other half machined easy...
Ended up finishing them this afternoon! I might have to go back and recut the 3/8-24 thread, the die I was using didn't get to the shoulder (and doesn't seem very deep!). Otherwise, 1 part done!
 
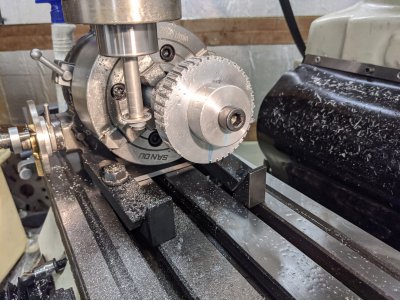
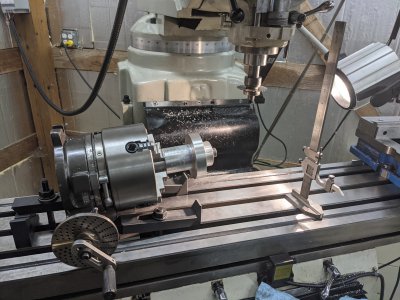
A bit of work on my first driven gear. I cheated and am using my dividing head :D

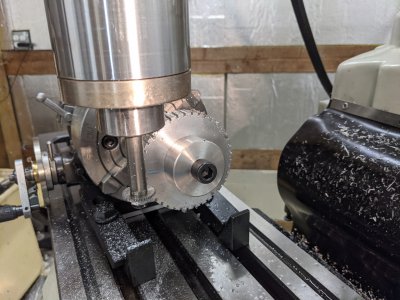
I shimmed the front of it up to get a roughly 5 degree angle on the pre-cuts hoping that would help. I indicated the first wheel in an older jig, and setup to cut.
PXL_20210910_193543489.jpg


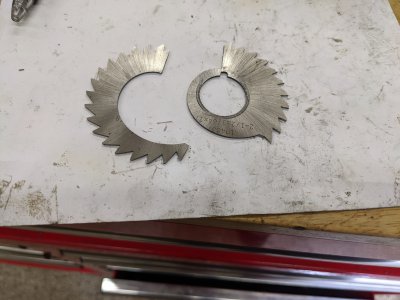
About 30 mins of thinking, and I convinced myself it was right-enough to give it a shot. No Z axis on my DRO, so a height gauge and math came to my rescue. I started my 3/64 -.075 deep first cut, then disaster! Broke my wheel. No real idea what happened, it was cutting fine, then two wobbles and a split:
PXL_20210910_195047537.jpg
PXL_20210910_195148978.jpg

My backup cutter is a .078 thick smaller diameter, so I ran that instead and it worked fine (so far!).

PXL_20210910_201131674.jpg
PXL_20210910_201409531.jpg

Next I am probably going to take down this setup to do an attempt at hobbing. The setup is easy enough to do, and I want to use the same dividing head + bar for hobbing. I'd rather figure out I screwed up the first step after 1 instead of 11 :)
 
How old is that blade? The little grayish area just under the 2 looks suspiciously like metal fatigue, right in a stress riser where a crack could get started.
 
I have no idea :) I got it when buying one of my kennedy boxes from a retired machinist. The it also looks like chinesium :). I think I cut successfully with it before, though I could be mistaken.
 
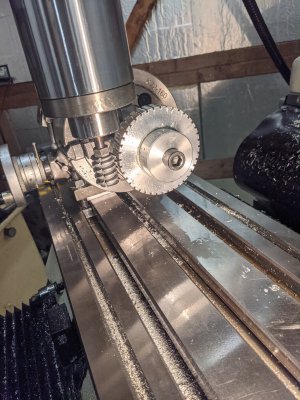
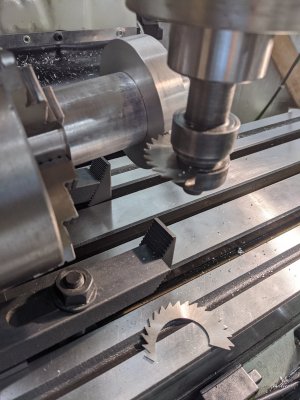
Welp... Hobbing attempt #1 went poorly... It would grab and start turning the gear, but never "found" it's track. I think I probably should do a "wider" cut next time? I have a 1/8" cutter that I was afraid was too big, but I could try that next...

With that cutter though, I probably don't want to go as deep, since that means it'll be more visible on the sides.

Thoughts from those with experience?PXL_20210910_211634464.jpgPXL_20210910_212152682.jpg
 
Slow down. Slow WAY down.

The first pass should barely make a good nick on the part, and the part should be turning freely. You may have to help it around with a little pressure on the back side of the blank to insure the hobb teeth land in the grooves. The hobb has to be turning slow for that. 30rpm or less. After that has gone around the blank a couple times, feed in only a few thousandths, and let that go around a few times. Still helping the blank turn as necessary. Once the grooves are well established (it goes around itself without help or losing track), you can crank in a 5 thou cut and also speed up the rpm. Maybe go to 10 once the chamfer of the hobb teeth are well below the surface of the cut.

It's a lot like hand tapping in that the first few turns are the most important and establish the cut for all that follow. Only after the grooves are well establish can you increase the depth of each cut, but you have to make sure those first cuts start straight.
Good to know! Slowest speed I have though is 60rpm... I WAS doing that but wasnt helping it spin myself...
 
Back
Top