Group Project: Dividing Head - The Build

Flyinfool

H-M Supporter - Diamond Member
H-M Lifetime Diamond Member
Joined
Apr 29, 2019
Messages
2,059
This will be the build thread for the group built Dividing head we will all be posting notes, pics, vids? of our progress, there can also be discussion about setups or how to do some things, order of operations or anything else that comes up pertaining to making the parts.
The original thread with all of the planing and design discussions, is here.
The files attached to this first post will be kept up to date with all the latest changes and revisions.
Before starting anything, this post is the place to look for the latest info.

This is gonna be some fun....

For the files listed, I can not add a new sheet to the Drawings PDF but I can delete sheets, So for the changes I am removing the old sheet from the PDF and then just posting the individual new sheets. WHen I get around to redoing the main PDF all of the correct sheets will be in it.
 

Attachments

  • Dividing Head Drawings.pdf
    2 MB · Views: 118
  • DH AY001 DividingHead.STEP
    18.5 MB · Views: 43
  • Dividing Head BOM.pdf
    13 KB · Views: 38
Last edited:
Jeff and I have been communicating about the gear shift. The original design was for a 2 piece assembly that came apart in the middle. I have made a revision to use a one piece body with a locking collar. This will be much easier to machine and has other potential advantages. I am attaching a step file to show this part. You will have to envision the locking collar which is not shown. Comments invited.

Who is making the bushings for the spindle? PM me.

Robert

Edit: I have revised the step file to show the shaft collar. And I just realized it will not work as exactly drawn but it gives you the idea. The collar will interfere with the trunion in this drawing. I will need to reduce the collar diameter slightly. From my review of Jeff's design the shaft collar cannot exceed 1.3" diameter to prevent interference. Can someone double check me?
Robert

Edit#2: Reduced the shaft collar size to 1.3". I would use a 8-32 screw to clamp. Because the gear shift only rotates 180 deg you can position the head of the locking screw away from the trunion so it is OK if it sticks up a little. It would be partially counterbored.

Robert
 

Attachments

  • Gear shif V2 v5.step
    496.2 KB · Views: 30
Last edited:
A little more work today, on a different topic since my lathe is out of commission thanks to buying an electric car :)(long story!).

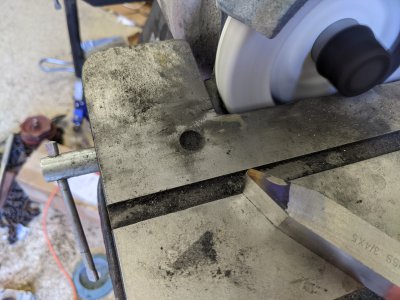
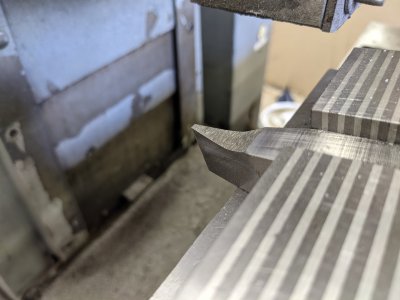
I need an acme single point tool for 4tpi. I started with a 3/4" piece of HSS, and used an angle grinder plus the tool grinder to rough it out.
PXL_20210522_222031242.jpg

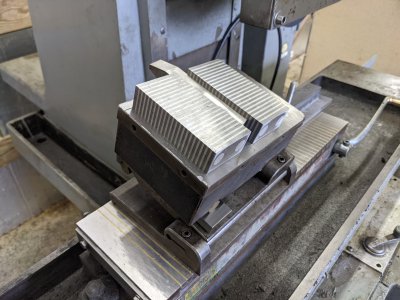
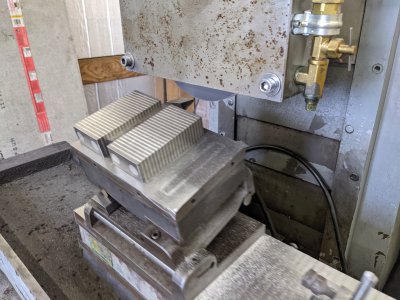
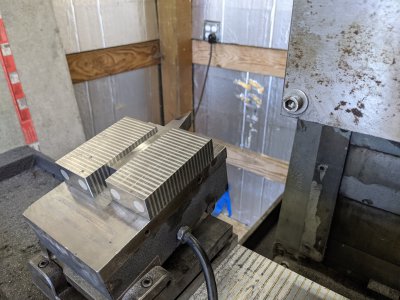
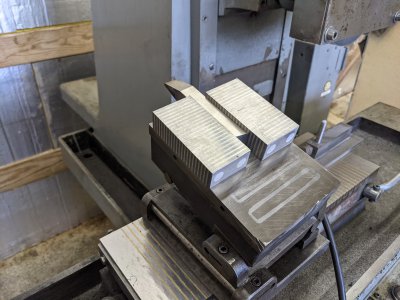
Next I put it in my magnetic sine chuck (which some of you helped me fix!) And went to town! I ground a perfect 14.5 degree angle on both sides a 5 degree side relief (helix angle is a touch less than that) and a 10 degree top rake. A little polishing with a stone to smooth it out, plus some work slightly rounding the corners should hopefully get me enough of a tool to knock out 8 of these!
 

Attachments

  • PXL_20210522_223157920.jpg
    PXL_20210522_223157920.jpg
    3.1 MB · Views: 45
  • PXL_20210522_224039524.jpg
    PXL_20210522_224039524.jpg
    3.3 MB · Views: 37
  • PXL_20210522_231552181.jpg
    PXL_20210522_231552181.jpg
    3.4 MB · Views: 37
  • PXL_20210522_232428007.jpg
    PXL_20210522_232428007.jpg
    2.7 MB · Views: 34
  • PXL_20210522_225000439.jpg
    PXL_20210522_225000439.jpg
    3.4 MB · Views: 30
So are you actually making the worm? I assumed we would just buy some acme rod. Is your plan to make a long rod and then cut it in eight sections? Will you also be making the hob?
Robert
 
So are you actually making the worm? I assumed we would just buy some acme rod. Is your plan to make a long rod and then cut it in eight sections? Will you also be making the hob?
Robert

Shotgun already sent me a hob he'd used in the past plus a piece of 1-4 acme rod. I've got to figure out how to use it, and probably make a shaft-extension for it at one point (as well as a way to mount it to my cross slide!).

However, I'm going to try to single-point the threads onto the end of the shaft as I've been wanting to try it! The original plans called for what you said, so if I need to, I can turn off my thread-attempt and either loctite a piece of the threaded rod on the end, or bolt it on like the original plans.
 
New drawing files are posted.
I have combined DH029 and DH030 into one part that is now DH 022. There is also a new part DH 023 to go with the new shifter.
This has eliminated AY3 so all those parts were moved to AY1.
BOM is update with some parts removed and others added.
 
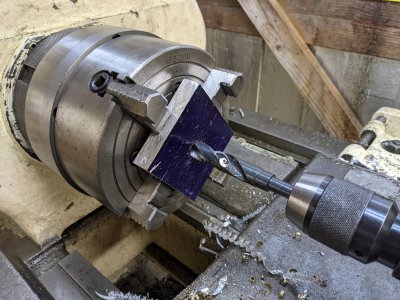
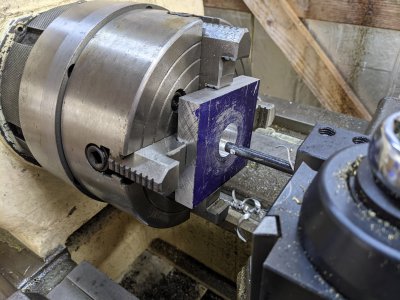
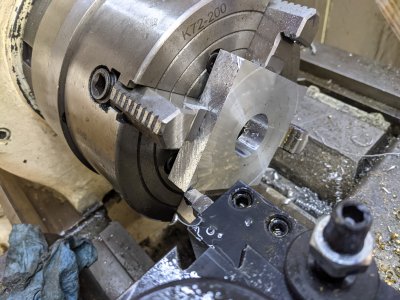
Alright, a little more work today, operation #1 on the worm driven gear. This is basically to bore the center out to 1.500 +.002/-.000 (ps... what amount of rounding am I allowed here :)?).

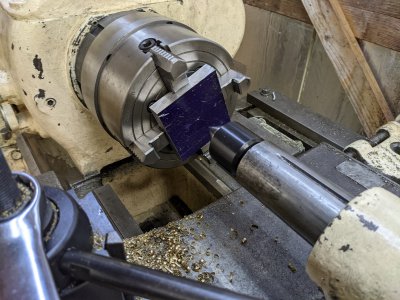
First step was to get it setup in the lathe, easy enough with a center punch and live center :

PXL_20210524_211924325.jpg

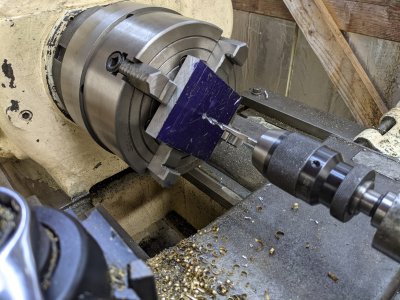
Then drill 1/4" to clear for a bigger drill :PXL_20210524_212220731.jpg

Then 47/64", my biggest drill bit :)
PXL_20210524_212539761.jpg

Next, a small boring bar to get the hole wide enough for big mama:
PXL_20210524_213544032.jpg

Finally, big mama herself on a slower feed and with more care to each cut:
PXL_20210524_214930143.jpg

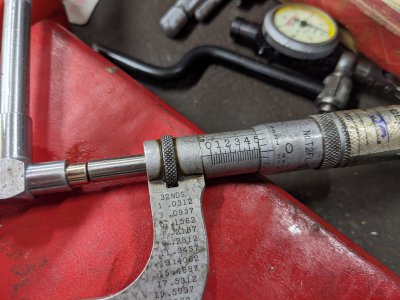
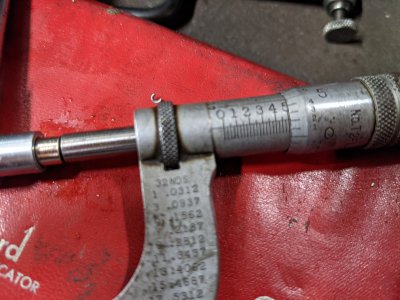
#1: 1.506
PXL_20210524_215546452.jpg

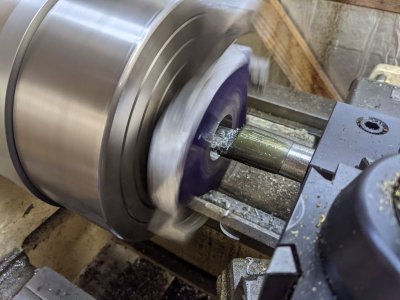
Then, face it off so I have a smooth side to work with:
PXL_20210524_220337685.jpg

#2: 1.5023. perhaps a little large, hopefully there is some wiggle room to that + .002 :)

PXL_20210524_222806377.jpg

And #3:while uploading these pics I noticed I was 22 thou under, not 3 over! So I tried to fix it, and ended right back at 3 over :/

Fortunately these are kinda practice/spare wheels for everyone, I think rwm intends to cast us all brass ones, do hopefully these will just be backups for everyone.

Anyway, next shop day is working on the rest! I'd love to get this down so they I can get the brass ones finished easily and with less hassle.
 
Nice work. I have not got the chance to do much on my parts. This week is hectic right now with the holiday. I did order a boring bar for one of my parts and order some material i need so i should be ready to fly soon i hope. Gonna start with the easy stuff to feel accomplished.
 
I have a question for you guys to kinda throw some ideas around. For the index body it has a .312 +.005-.000. Someone mentioned to me that i could possible go in there with a counterbore and a pilot on that hole. It is 1.5" deep so i am skeptical. Just kinda gettin ideas and thoughts?
 
Back
Top