- Joined
- Feb 5, 2020
- Messages
- 117
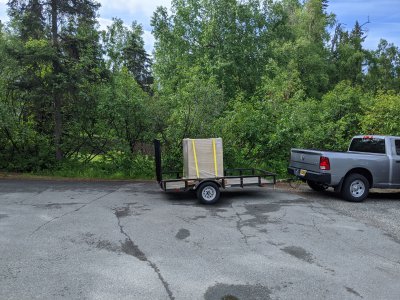
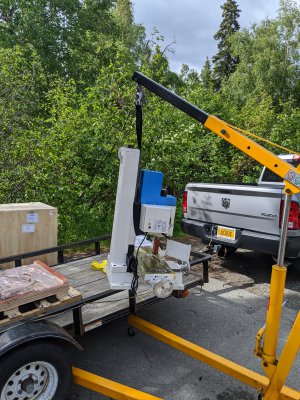
My mill arrived via ship Sunday, but they didn't have it unloaded from the van until this morning. I didn't waste any time hooking up the utility trailer and heading down to pick it up.  The crate arrived in excellent condition and no visible damage anywhere. Yay! 13 days from the Precision Matthews warehouse in to my garage in Anchorage, Alaska!
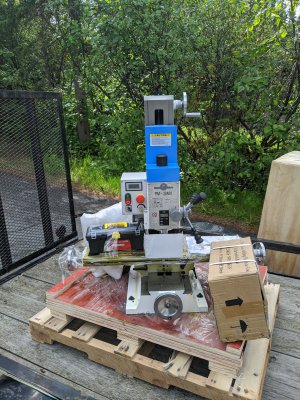
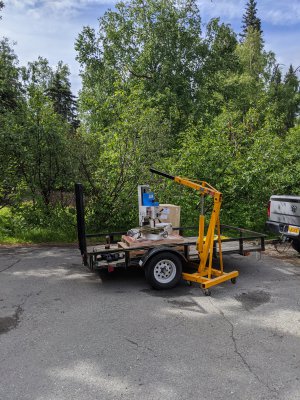
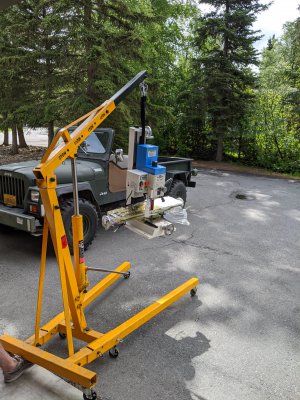
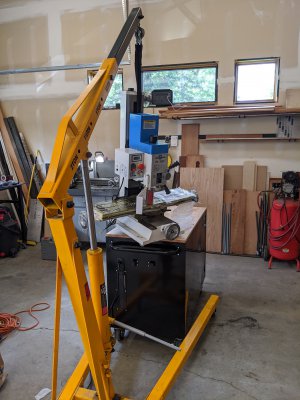
Everything went very smoothly. My engine hoist worked quite well and my son had the day off, so he was able to help me get it from the trailer to the garage. I even had a spare 240v 3 prong connector (same as what I use for my welder). We got it put in place and I spent an hour or so cleaning the shipping cosmoline off everything I could get to with liberal applications of wd40 and elbow grease via a gray scotch pad.
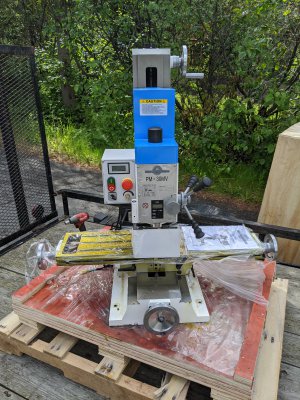
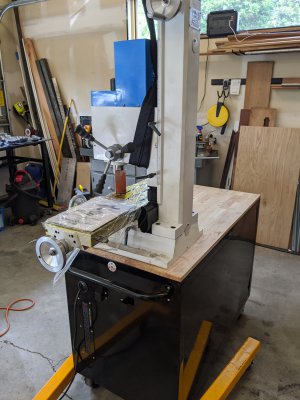
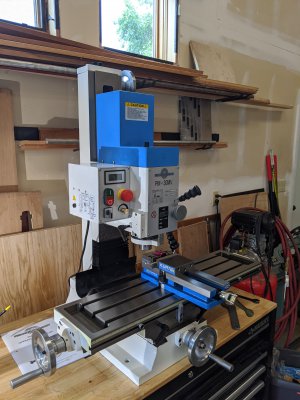
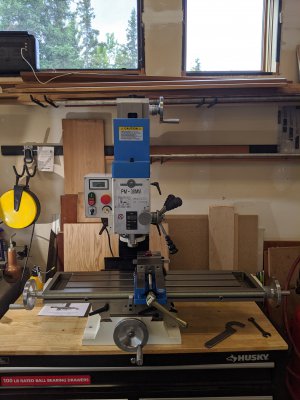
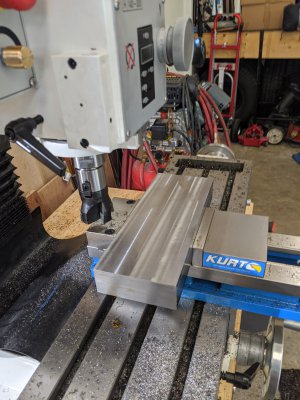
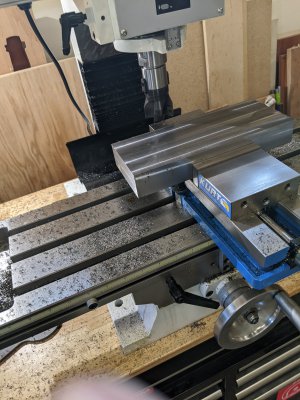
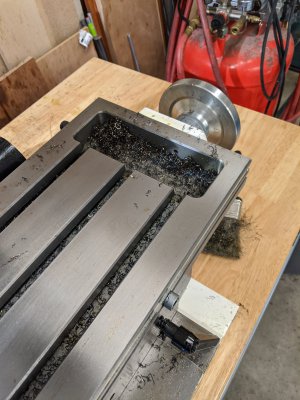
After a couple minor adjustments (removal of plastic guard and adjustment of the R8 Collet set screw) I was able to get my Vise mounted and squared. I'm leaving for 5 weeks Saturday, so I'm not going to start a full breakdown and cleaning followed by tramming until I get back. For now, it's enough to get to know the mill and do some small projects that won't require more than ok precision. Promptly milled a T nut for one of my vise stops. I have a couple other things to keep me busy for the next 3 days.
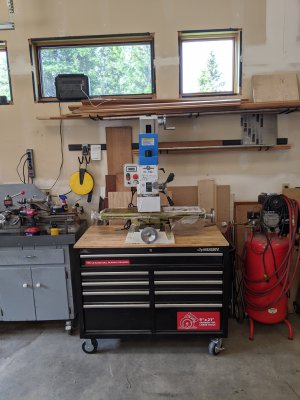
I have not mounted the Mill to the rolling tool box yet, mostly because I'm not sure it's going to be the final resting place for it. Also, even if it is, I want to get a piece of 3/8 plate to put on top of the cart to mount it to. It's going to be ok where it is for now though and seems to be the perfect height for me.
The crate arrived in excellent condition and no visible damage anywhere. Yay! 13 days from the Precision Matthews warehouse in to my garage in Anchorage, Alaska! Everything went very smoothly. My engine hoist worked quite well and my son had the day off, so he was able to help me get it from the trailer to the garage. I even had a spare 240v 3 prong connector (same as what I use for my welder). We got it put in place and I spent an hour or so cleaning the shipping cosmoline off everything I could get to with liberal applications of wd40 and elbow grease via a gray scotch pad.
After a couple minor adjustments (removal of plastic guard and adjustment of the R8 Collet set screw) I was able to get my Vise mounted and squared. I'm leaving for 5 weeks Saturday, so I'm not going to start a full breakdown and cleaning followed by tramming until I get back. For now, it's enough to get to know the mill and do some small projects that won't require more than ok precision. Promptly milled a T nut for one of my vise stops. I have a couple other things to keep me busy for the next 3 days.
I have not mounted the Mill to the rolling tool box yet, mostly because I'm not sure it's going to be the final resting place for it. Also, even if it is, I want to get a piece of 3/8 plate to put on top of the cart to mount it to. It's going to be ok where it is for now though and seems to be the perfect height for me.