Harbor Freight band saw modifications

The valve that I was looking at was a spring-loaded, normally closed valve, so you would have to hold the button down to operate the bypass.

http://www.mcmaster.com/#6790t42/=uw624z

But if I already had a ball valve, I would use that. As you said, this stuff adds up quick. I don't want to spend more on the down-feed than I spent on the whole saw. :)
 
I know there are tons of band saw modifications and post about them on here and everywhere else. After tuning up my old 4 x 6 band saw and getting it to be the metal eating beast it should be, I decided to do some upgrades. I searched the net and found enough upgrade sites and write ups to keep me reading for a month. After hours of looking ( and most of them are listed somewhere on this site also) I picked out the ones I thought were best and started implementing them on my saw. I thought maybe a write up with all the mods done to one saw in one write up would be of interest to anyone who is new to them or is thinking of improving their " saw kit" they purchased. I did a thread on here about setting the tension, choosing the blade, the feed and speed of the blade. that all makes the saw cut. these mods make it a pleasure to use.

My saw is very old, more than twenty five years. The first thing I did was strip the deck by removing the fences height bolt and cleaning the deck. mine was rusty and pitted so I sanded the deck with 60 grit on an orbital sander being sure to keep the pad flat. the next step was to scrape any high areas of the cast iron and then polish the deck with a coarse wet stone. I checked the deck for flatness and it is now better than when it was new.
View attachment 89044 This is the finished deck. Notice I also drilled and tapped three 3/8-16 holes next to the blade area. these are to use my mill clamps for sawing small pieces the vise can't hold. I found this mod on several web sites and it will be a big help to me.

View attachment 89049 I made a precision brass bushing to fit the 3/8-16 bolt that holds the pivot point of the fence. I drilled the hole in the fence out to 1/2 inch and made the bushing a light press in the fence and the bolt a snug sliding fit in the bushing.
View attachment 89050
View attachment 89051 This eliminates any excess movement at this point which is going to help when setting angles and squareness to the blade. there was some play in here from the factory. it wasn't even close to a good fit. now it is tight.

View attachment 89052 Next , I used a precision square to set the fence square to the blade and locked the fence in this position.

View attachment 89053 I made a block with along 1/4-20 set screw and bolted it to the table using two 1/4-20 socket head cap screws. This adjustment holds the blade square so when you move the fence to cut an angle, just move it back to the stop and it is square again. Saves a lot of time squaring up the fence. this mod was selected from a web site also. this is also why I put the bushing in the pivot point. slop in the pivot point messes up the squareness when returning the fence to "home". the busing eliminates the problem.

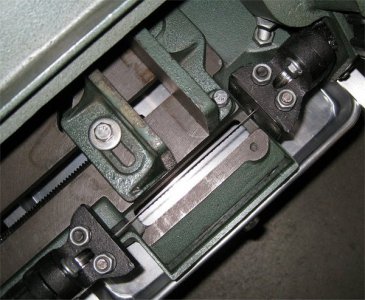
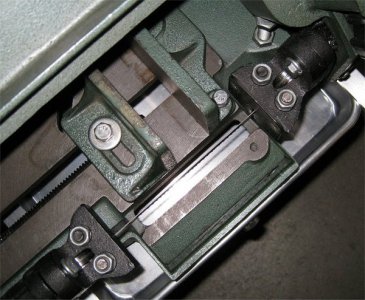
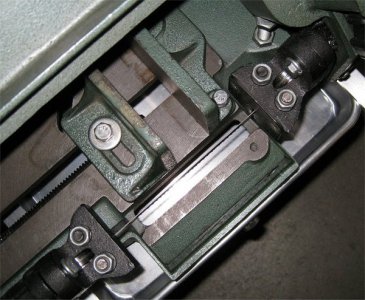
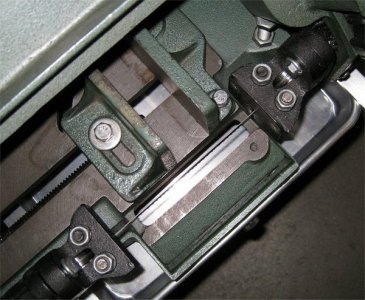
View attachment 89054 Another modification I saw on a web site I liked was to make a "high" bolt with a Tommy bar and a flanged bushing for the slot in the fence. the 5/16-18 bolt that holds the movable jaw is sloppy fit at best. so , I flied the sides of the slot straight and made a bushing much like for the pivot point. now the movable jaw is a smoother and better fit. it is also easy to tighten and loosen with the Tommy bar. I also drilled and taped the movable jaw for a 3/8-16 threaded rod with a knob on one end. this jack bar holds the vise square when sawing short parts.

View attachment 89055 Sometimes I like to rest the saw blade on my work to measure or set up for clamping and then I have a difficult time accessing the crank for the vise. I made an extension for the screw shaft to move the handle out where it is easy to get to when the saw is down. I found the handle did not want to work smoothly. this has always been a problem. the reason was the casting has an angle where the shaft comes out and the casting is not square to the shaft. )I suspect this is a draft angle to let the casting come out of the mold easier:dunno: ).

View attachment 89056 Here you can see where I used my angle grinder to grind the casting flat in this area. the screw works much smoother now.

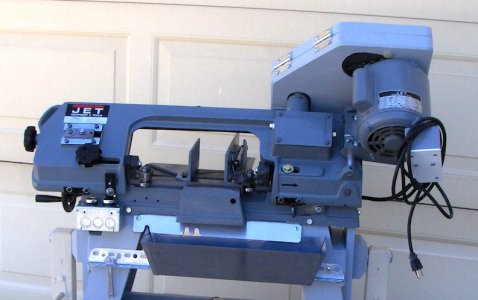
View attachment 89057 This photo is a review of the modifications don today on my saw. All these mods only took a few hours. I was done in one afternoon.

Next on the schedule is a hydraulic down feed cylinder to replace the garage door spring the manufacturer uses. those parts are ordered and I will add that to this thread when they arrive.

I also have ordered a link v belt for the saw. I tried the belt from my mill on it and "what a difference". The saw runs smoother and quieter, so I ordered a new link belt for it at a cost of $20. the rest of the modifications were free as I used items I had on hand and from my scrap box.

I have plans for a chip pan to catch the chips and a table extension at the out feed area to make "special" sawing setups easier. These will be added as I do them also. So keep watching this space.

With just a little work you can make your cheap ......umm.....inexpensive saw into a really high quality piece of tooling.

Mark Frazier

Ok.... since you can't buy a cylinder for a decent price, we gonna try to make it. So off I go to home depot and look for a piece of 1" copper pipe. I almost had a stroke when I saw the price ( I had some 3/4" but it looked a little small). Then I saw It! 2 foot piece of 1 1/4" schedule 40 PVC pipe for $3. Grabbed it up along with $2 worth of o-rings and headed home with my prize.

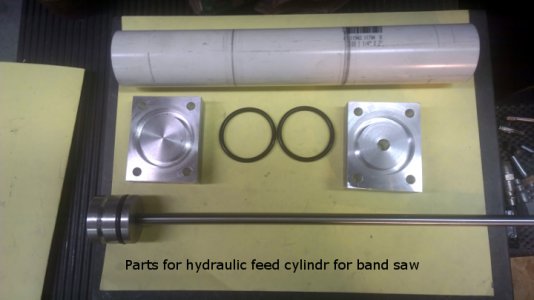
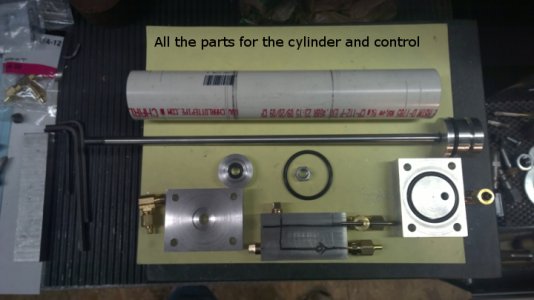
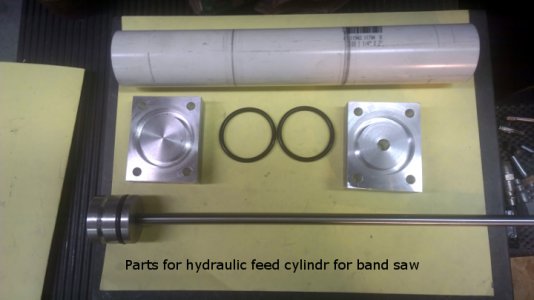
I cut two blocks of aluminum for end caps and machined o-ring grooves to match the pipe, some holes for through bolts to hold it all together, a piece of 5/16" drill rod for the shaft, and a little piece of aluminum round machined with o-ring grooves for the piston. And this is what I ended up with.
Cylinder parts.jpg
I still have to cut the Through rods to hold it together and drill the oil passages. do that tomorrow, but this looks like it may just work. I will make a print of this once I got it working. But so far I had to spend $5 on this thing.

Mark Frazier


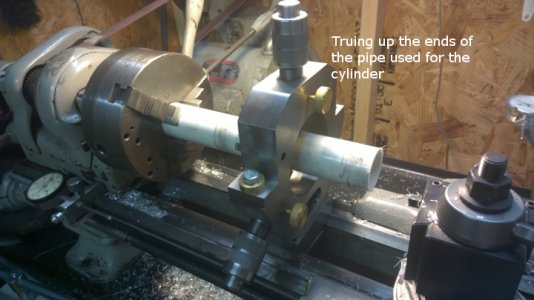
truing pipe ends.jpg I needed to use my home made steady rest to true up the ends of the pipe.

Cylinder parts.jpg truing pipe ends.jpg
 
Mark -

Great work on your saw!

I have plans for a chip pan to catch the chips

I've had great success with a 14" stainless steel "mud pan" from Lowes (look in the drywall tools section). Lowes is about a dollar cheaper than HD for that size. Nice and long, so it catches swarf all the way past the downstream blade guide, yet it doesn't stick out to the side very far. Welded seams, light weight, very sturdy.

Mount an aluminum or thin steel deflector inside the saw, to guide out the swarf that falls into the groove under the blade. The notches in my deflector allow repositioning the pan when the saw is in vertical mode. The mud pan hooks under the deflector and rests on the punched angle (handy for storing setup tools) below.
kHPIM3072.jpg

kHPIM3072.jpg
 
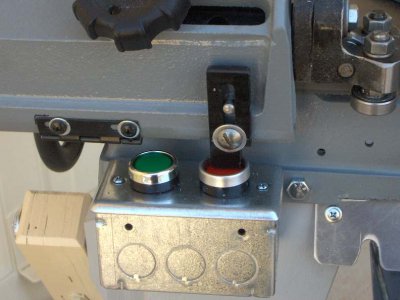
Great looking on/off switch assembly you have
Thanks! I've had a toggle switch or two fail. Buttons are from eBay and there's a small relay in the box scabbed onto the motor.
kHPIM3079.jpg

kHPIM3079.jpg
 
Ok.... since you can't buy a cylinder for a decent price, we gonna try to make it. So off I go to home depot and look for a piece of 1" copper pipe. I almost had a stroke when I saw the price ( I had some 3/4" but it looked a little small). Then I saw It! 2 foot piece of 1 1/4" schedule 40 PVC pipe for $3. Grabbed it up along with $2 worth of o-rings and headed home with my prize.

I cut two blocks of aluminum for end caps and machined o-ring grooves to match the pipe, some holes for through bolts to hold it all together, a piece of 5/16" drill rod for the shaft, and a little piece of aluminum round machined with o-ring grooves for the piston. And this is what I ended up with.
View attachment 89149
I still have to cut the Through rods to hold it together and drill the oil passages. do that tomorrow, but this looks like it may just work. I will make a print of this once I got it working. But so far I had to spend $5 on this thing.

Mark Frazier


View attachment 89150 I needed to use my home made steady rest to true up the ends of the pipe.

Ok.. as you know I been working on a hydraulic feed cylinder for my 4 x 6 band saw.

clyinder parts.jpg These are the parts for this system. I made my own check valve (they are just too expensive and my budget is really tight right now). If it doesn't work good enough , I will break down and buy one I guess.

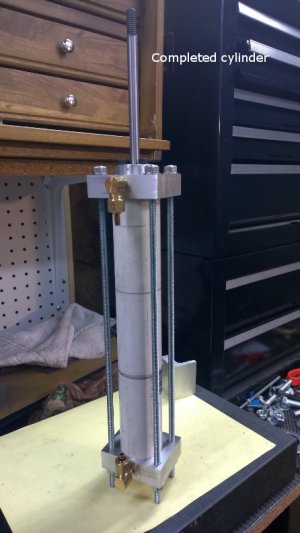
completed cylinder.jpg This is the cylinder assembled. It came out really nice , hope it works.

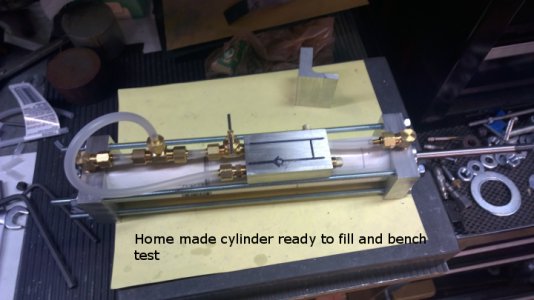
cylinder ready to test.jpg This is the cylinder and control assembly ready to fill with oil and test. it seems to work with air , but I think my check valve leaks just a little. things may be just fine with oil. The next step is to fill with oil and try on the saw. I hope to do that this week.

Mark Frazier

Cylinder parts.jpg clyinder parts.jpg completed cylinder.jpg cylinder ready to test.jpg
 
I have plans for a chip pan to catch the chips

I've had great success with a 14" stainless steel "mud pan" from Lowes (look in the drywall tools section).....Mount an aluminum or thin steel deflector inside the saw, to guide out the swarf that falls into the groove under the blade

hman, that's pretty nice, I like it.

I also made a chip pan for my Enco 4x6 (sold it this year) but much more simpler. It was just a pull out removable tray.


Img_6868.jpg

Img_7958_zpsba7b4be3.jpg

Img_6868.jpg

Img_6868.jpg

Img_6868.jpg

Img_7958_zpsba7b4be3.jpg

Img_7958_zpsba7b4be3.jpg

Img_7958_zpsba7b4be3.jpg
 
Ok.. as you know I been working on a hydraulic feed cylinder for my 4 x 6 band saw.

View attachment 89375 These are the parts for this system. I made my own check valve (they are just too expensive and my budget is really tight right now). If it doesn't work good enough , I will break down and buy one I guess.

View attachment 89376 This is the cylinder assembled. It came out really nice , hope it works.

View attachment 89377 This is the cylinder and control assembly ready to fill with oil and test. it seems to work with air , but I think my check valve leaks just a little. things may be just fine with oil. The next step is to fill with oil and try on the saw. I hope to do that this week.

Mark Frazier


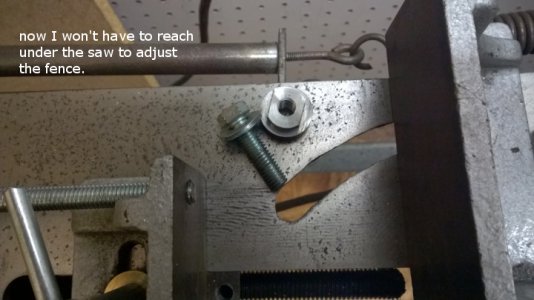
I made a t nut for the fence adjustment. Now there will be no more reaching under the saw with a wrench. this is so much easier.
fence bolt.jpg I think I'll make a tall bolt with a Tommy bar like the other fence has.

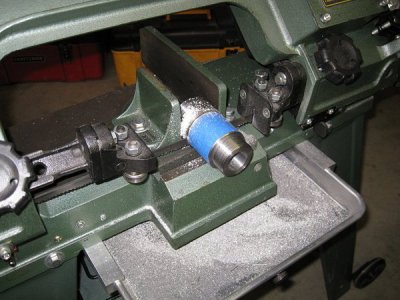
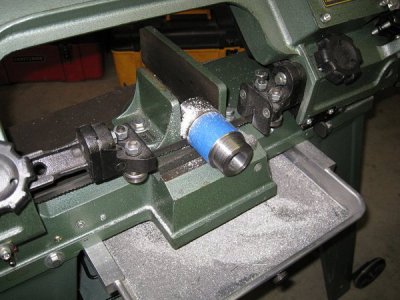
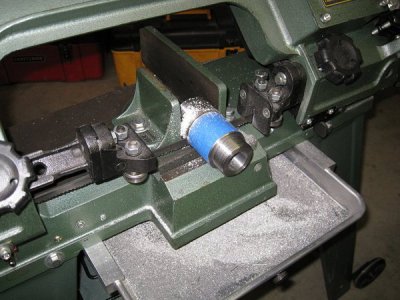
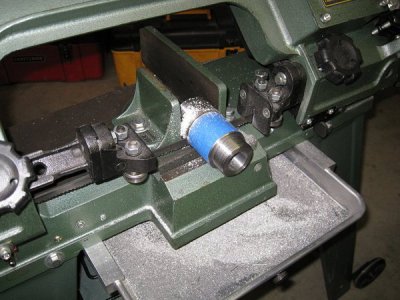
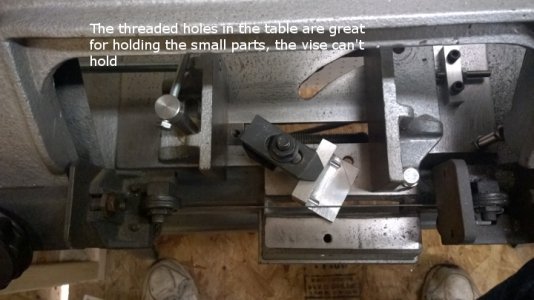
holding small parts.jpg This is why I put those threaded holes in the table. It is so much easier and faster to cut small parts the vise can't hold.


Mark Frazier

fence bolt.jpg holding small parts.jpg
 
I just put one of those "power twist" link belts on my band saw and it is the single most important and best improvement I have done yet. the saw runs so much smoother and is really quiet now. It's hard to believe it is the same saw. I never would have thought that a simple belt could make such a difference.

Mark Frazier
 
Mark
I was thinking the same about getting one for my saw
Where did you buy yours?
I was thinking about getting one from the local china freight
 
Back
Top