Heavy 10 project

Thanks! Yeah it was pretty much functional, and yeah the price was right. Only thing I had to do (so far) was swap out the motor for a 120vac model, and replace the belt. I tried a serpentine belt to begin with, but eventually ended up using a link belt - http://www.jcopro.net/2012/11/25/how-to-replace-your-antique-lathe-belt-and-several-ways-not-to/.

I know some guys have gotten the serpentine belt to work, but given the relative price similarity, I've been quite happy with the link belt so far. Now I "just" have to figure out how to get it to reverse, and get the cross-slide so it's not sloppy.

Is the slop in the cross slide side to side from the gibs being loose or in the feed screw from a worn or loose screw nut? Just a couple of things to look at.
 
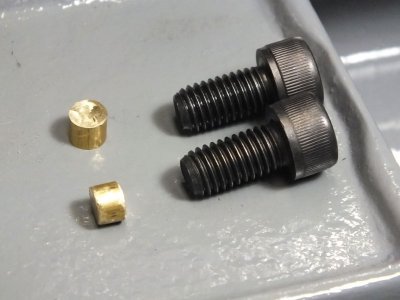
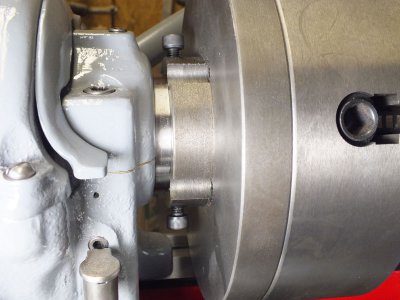
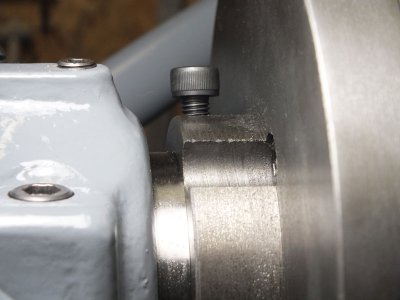
tailstock-001.jpg tailstock-002.jpg tailstock-003.jpg This is just a little quickie update on the chuck install. It's a big heavy chuck and I definatly don't want it to spin off and land on the bed and damage the ways. What I did was purchase some 1/4" brass rod and cut a couple of little shoes to place under the locking screws. I did this as I did not like the idea of the screws jamming on the threads of the spindle. The brass is soft and the spindle threads will just cut into it as the screws are tightened. As the chuck is a chinese import I used metric socket head cap screws instead of set screws.
 
Last edited:
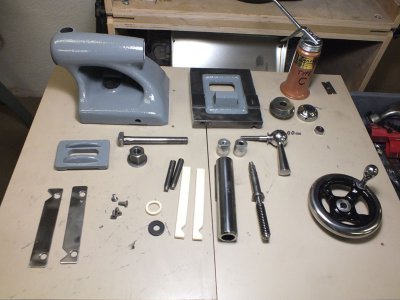
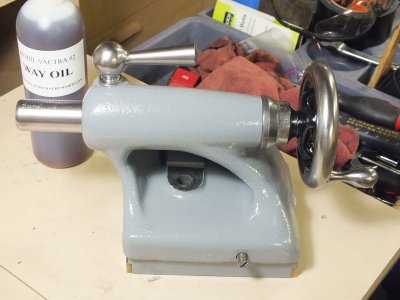
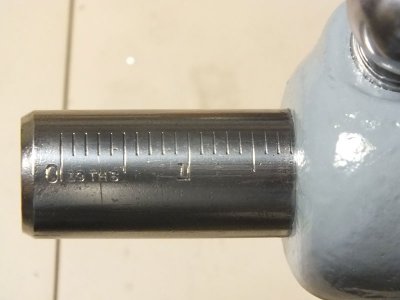
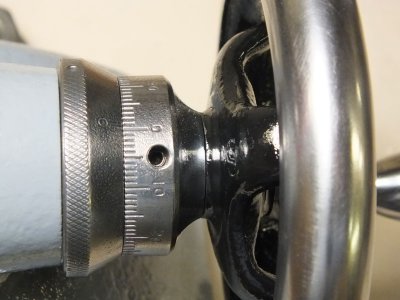
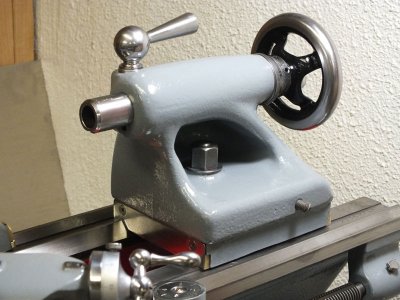
tailstock-004.jpg tailstock-005.jpg tailstock-006.jpg tailstock-007.jpg tailstock-008.jpg tailstock-009.jpg Next up was the tail stock, this thing was in really bad shape, rusty, covered in spray paint primer and grunge. I spent alot of time on the parts of this thing, wire wheeling, sanding, buffing, and painting. I replaced all the wicks and the rubber bumper too. It works very smoothly now. I only need the oiler cap and that is coming from south bend.
 
Last edited:
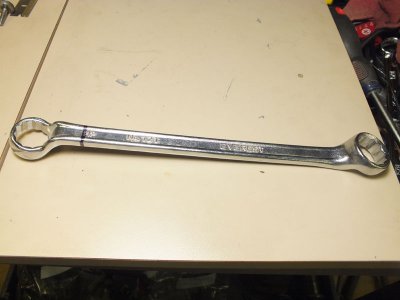
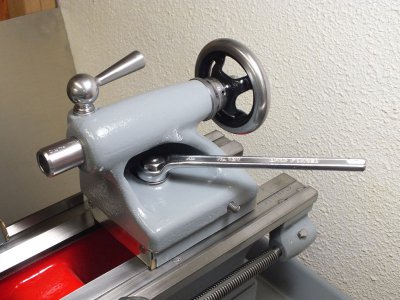
tailstock-023.jpg tailstock-024.jpg No tail stock wrench you say? Don't want to spend $20 or $30 for one on ebay. I got a wrench from my local el cheapo tool store, whole sale tool, most of their stuff is chinese like the harbour freight also near me. But I found one from India for .60 cents. Drop forged and perfect to cut up! So I marked it where I wanted to cut it so I didn't cut the wrong end off, LOL and ground and sanded the end smooth, voila! Instant tail stock wrench and it's got a nice long handle for leverage, slides in and out real nice too and stays put and won't fall off!
 
Last edited:
I got a bid in for a 3 jaw chuck, we'll see how that turns out? I have restored the work light, I'll try and get some pics up today after work.
 
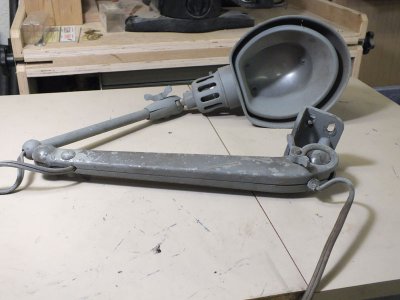
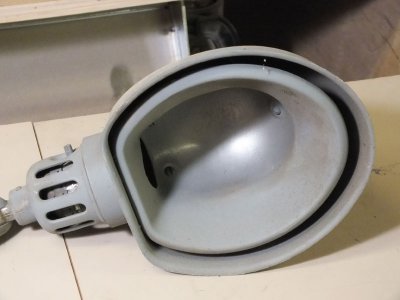
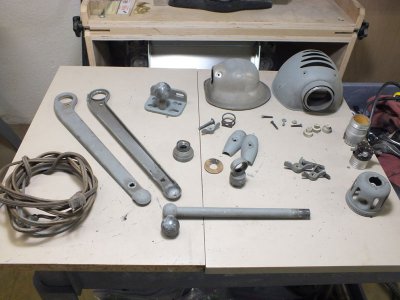
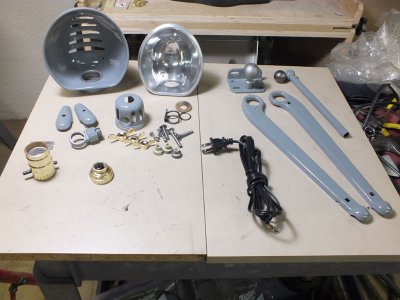
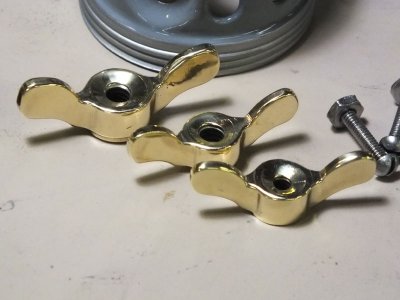
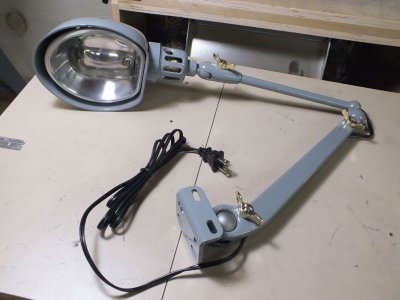
light-001.jpg light-002.jpg light-003.jpg light-004.jpg light-005.jpg Here's some pics of the work light. everything was covered in gray spray paint primer, even the reflector. In the third pic you can see it all stripped down and ready for paint removal, fourth pic shows it painted and the reflector polished up and ready to be reassembled. I purchased a new socket and cord, didn't feel comfortable using a 62 year old cord and socket. When I stripped the paint off the wing nuts I found out they where brass, so I polished them, I think they look cool.
light-001.jpglight-002.jpglight-003.jpglight-004.jpglight-005.jpg
 
Last edited:
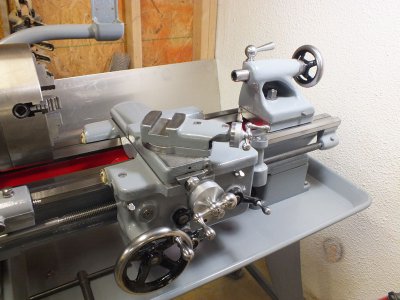
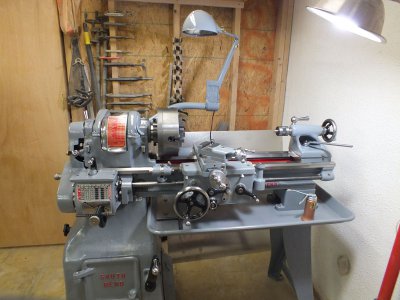
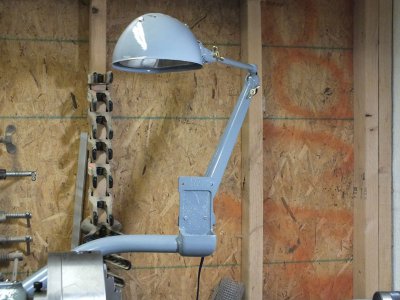
light-006.jpg light-007.jpg light-008.jpg A couple more pics of the light assembled and installed on the lathe. You can also see the MT2 live center that I traded for with Jeff in Pa. I don't often see these lathes with the original work light, it's kinda cool. It's almost done, switch is next, make a serpentine belt, and wire up a vfd. I can see the light at the end of the tunnel.

light-006.jpglight-007.jpglight-008.jpg
 
Last edited:
Back
Top