Hendey Lathe Refurbish

I like that shade of gray, it has a little blue in it. I was noticing you were in Temple and I thought, "wow, I was just in Temple" and then it slowly dawned upon me. Yeah... so I'm just that old now. There's more that that story though... one of the main reasons I went and got the little shaper was that I saw your 7" shaper and immediately caught a bad case of small shaper envy. It might have just been 2 or 3 days later when the Rhodes popped up on CL and, still fully under the influence of shaper envy, I bought it immediately. So thanks for the die filer and, in a way, the Rhodes Shaper. :)
 
I like that shade of gray, it has a little blue in it. I was noticing you were in Temple and I thought, "wow, I was just in Temple" and then it slowly dawned upon me. Yeah... so I'm just that old now. There's more that that story though... one of the main reasons I went and got the little shaper was that I saw your 7" shaper and immediately caught a bad case of small shaper envy. It might have just been 2 or 3 days later when the Rhodes popped up on CL and, still fully under the influence of shaper envy, I bought it immediately. So thanks for the die filer and, in a way, the Rhodes Shaper. :)

Thanks... it is a sickness, isn't it?

Have you bought any files for the filer yet?

-Bear
 
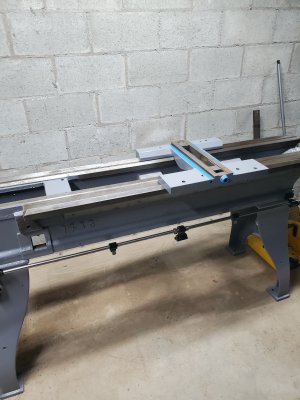
This morning, I bolted the legs on the bed and leveled the lathe. I'm sure I will have to re-level it after I get it all assembled, but for now, I just wanted to get it as level as possible to hopefully prevent causing any twist in the bed while I am working on it.

I assembled the forward/reverse feed clutch shift mechanism inside the headstock end of the bed, then went to work on the 2 feed control shafts.

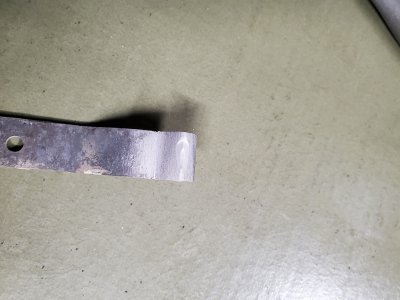
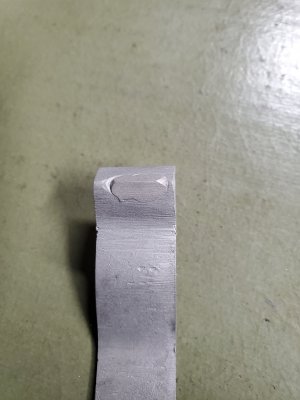
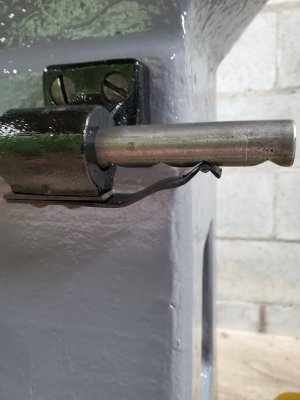
The lower of the 2 shafts has detents cut into the bottom of the right end. These detents are basically a set of notches that allows the operator to 'feel' where each position (forward, neutral, reverse) is when operating the feed control handle. There is a piece of formed steel that rides on the shaft, and has a corner that 'clicks' into the notches.
20201210_144256.jpg

As you can see, this corner was completely worn away on this one.

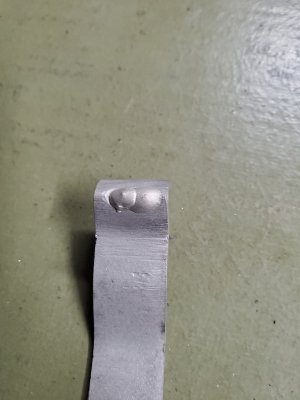
I fired up the TIG welder and built the corner back up...
20201210_144329.jpg

I then reshaped the corner on the belt sander...
20201210_144436.jpg

Hopefully, that will cure the issue of not being able to tell where neutral is...

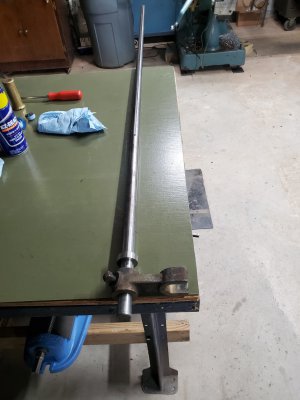
I finished cleaning the lower shaft and brackets, then painted the brackets. While the paint was drying, I cleaned up the middle shaft.
20201210_144517.jpg

The middle shaft is actually what engages the feed clutch... the lower shaft has 2 adjustable stops on it that disengage the feed when the apron contacts the stops.

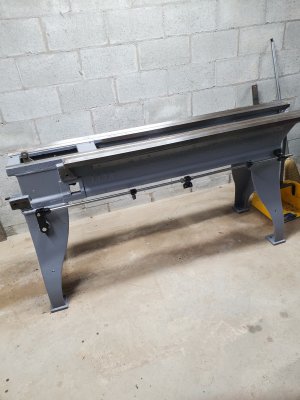
This is how it looks now...
20201210_144454.jpg

I installed the lower shaft, but will have to take it back off to mount the apron.

This is what the detent setup looks like...
20201210_150652.jpg

Now I guess I will start on cleaning the carriage...

-Bear
 
Ah, that must explain why I can't find neutral. I need to do the same to mine.
One issue I had with mine that has gotten a bit better over time is that it usually was difficult to get out of drive when the lathe was cutting under load. As such, once one finally banged it out of forward or reverse, neutral was blown through with ease and you were going back in the other direction. Without the load it would easily change direction. I think this is something that has gotten better but I also just use the stop gauge that take it out of gear when it reaches the end of the cut. For some reason that always works without issue.

Are per files, no, I haven't had any luck finding them. I found one or two but they were crazy expensive sets.
 
I finished cleaning the carriage and put a coat of paint on it. While the paint dried, I drove over to McMaster-Carr and picked up a gallon of DTE 24 for the horizontal mill, and a 3 foot piece of 1 ⅛" diameter 1215.

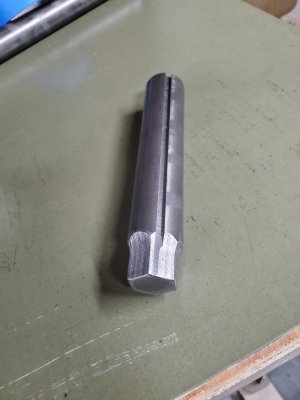
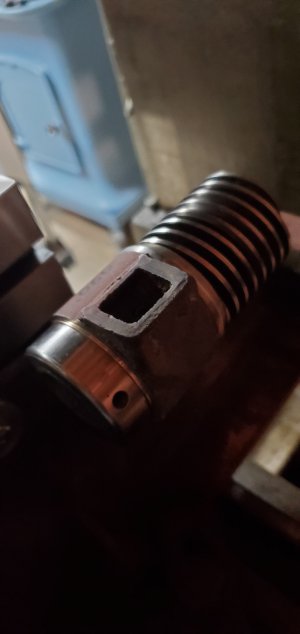
I bought the 1215 to make a 'wrench' of sorts from... I only needed 6 inches, but I always buy extra material if it is something I will probably need later. I cut a 6" piece, then set it up on the vertical mill in the dividing head and milled a ⅞" hex on one end, then put it on the horizontal mill and cut a ⅛" key seat in it...

20201211_213423.jpg

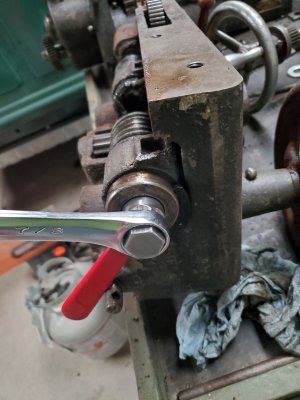
The purpose for this tool is to remove the worm screws that the lead screw slides through on the back of the apron. The tool slides into the worm and engages the key inside the worm, allowing me to hold the worm while unscrewing the collars that retain the worm in the apron...

20201211_213502.jpg

There are 2 wormscrews... the collars that retain them are threaded on... with left hand threads. I'm not good at thinking backwards...

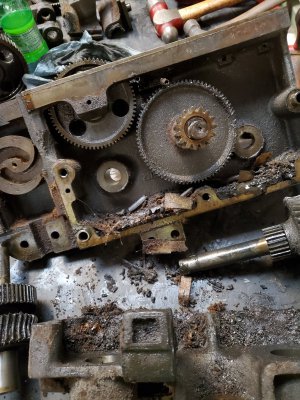
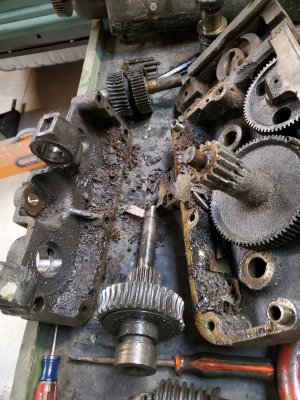
I spent most of the afternoon figuring out how to get the apron apart...

20201211_213537.jpg

20201211_213604.jpg

It is nasty... but not as bad as the apron on my South Bend was when I rebuilt it a couple of years ago.

Tonight, I set the newly painted carriage back on the bed...

20201211_213624.jpg

I'll let the paint cure for a day or so before removing the masking.

-Bear
 
I spent most of the afternoon today cleaning and priming the castings of the apron. Getting them clean wasn't an easy job... they have been soaking in the parts cleaner since yesterday afternoon, and still required a lot of scrubbing with a wire brush.

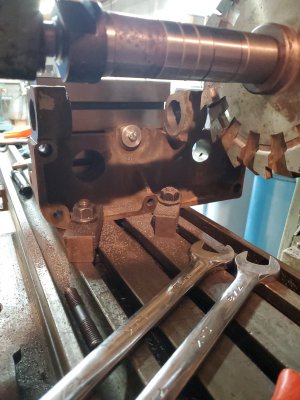
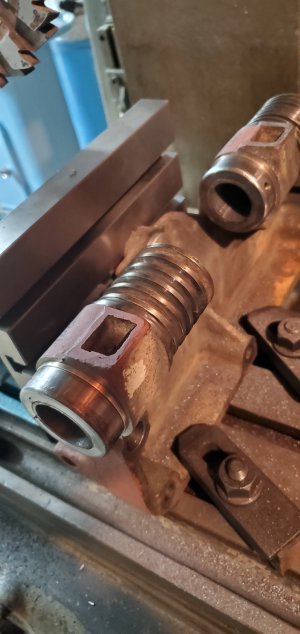
The back half of the apron has 2 bosses cast into it... these bosses are where the wormscrews mount. The thrust surfaces of both bosses were worn pretty badly. The longitudinal feed wormscrew had over .100" of endplay... the crossfeed wormscrew wasn't worn nearly that bad.

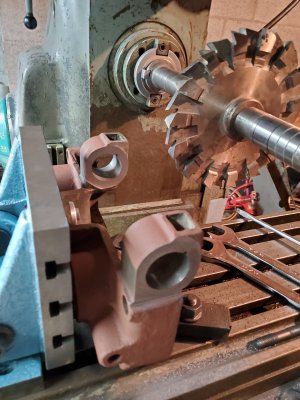
I set the casting up on the horizontal mill, supported by an angle plate and used an 8" diameter cutter to skim the thrust faces of both bosses...

20201215_203900.jpg

20201215_203931.jpg

I managed to keep the machined faces parallel to the unmachined faces within .001"...

Tomorrow, I will skim the wear off the thrust faces on the worms, then measure the endplay, and machine a couple of bronze thrust washers to eliminate the endplay.

-Bear
 
I just finished machining the thrust washers and installing them...

20201216_105710.jpg

20201216_105825.jpg

The endplay on both worms is now about .005". I really don't know what it should be, but I was aiming for .005" because that will allow it to turn freely, and is open enough for oil to seep into. One side required a .100" washer, the other needed a .055" washer.

-Bear
 
Wow, that’s one gnashy-looking milling cutter you’ve got going there.
 
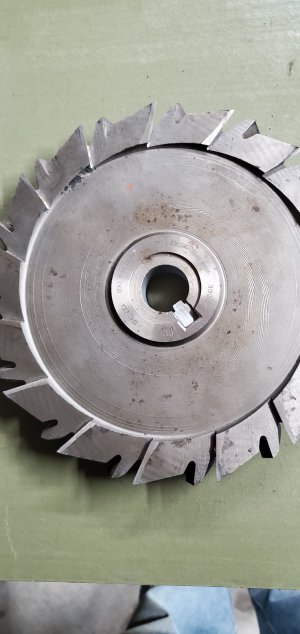
Yes, its an old cutter that I acquired when I bought a whole pickup load of machine tools a couple of years ago. It was made to fit a 1 ½ inch arbor, but someone had fitted it with a bushing to make it fit a ⅞ inch arbor. I had to bore it out to fit my 1 inch arbor before I could use it.

20201216_120418.jpg

It's the only cutter I have that is a big enough diameter to cut these faces... it worked well.

-Bear
 
Back
Top