How to dial in a threaded part?

WesPete66

Active User
Registered
Joined
Oct 15, 2013
Messages
294
So I have this hex head bolt with a damaged threaded end that I want to salvage.. (5/8-18UNF x 3.5") It's an original bolt for my Gibson tractor & new hardware just doesn't match the old stuff.. Anyway, I don't have a die this size, but I can chuck this up and recut the damaged thread on the lathe. Long story short I got the job done, but how does one 'properly' dial in a threaded part in a 4-jaw chuck when nothing but threaded shaft is exposed?? (nothing to run a dial indicator against?)
 
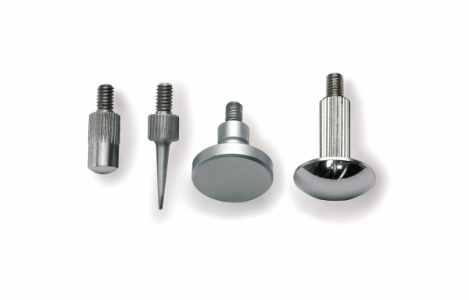
I think a dial indicator tip with a fine offset point can trace the minor diameter of the bolt well enough to dial in. Or, get a fat, blunt tip and go off of the major diameter. At 5/8", you probably have enough tolerance to chase out those threads regardless of a thou or three.
 
No, only the first .50" or so was smashed.

Ok then I think I would make a slip fit sleeve with an OD larger than the bolt head if the chuck wouldn't allow for a thinner sleeve. Make one axial slit in the sleeve so it can tighten on the undamaged threads and hold it that way. That would allow you to easily rotate it to clock the threads to the threading dial.

David
 
Set up your lathe for cutting a 18 TPI RH thread. Properly mount a threading tool to the compound rest, but set it just clear of the threads. Run the lathe with the half nuts engaged, shut off the power and let the lathe coast to a stop over the threaded area. Taking care not to move or bump the carriage, loosen the cutting tool, engage the cutter with the existing threads, and adjust the cutter mounting until the tool fits the thread perfectly. Tighten the tool down to the tool post or tool holder. Zero the compound. Back the tool out from the work with the compound, and, leaving the half nuts engaged, back the tool off the part. Dial the compound back to zero. Note the threading dial position for subsequent passes if you disengage the half nuts. You are now set for threading to the existing thread depth and timed to match the existing helix. If only a light cleanup is needed, thread from where you are as usual. If the work is quite rough, back off from your zero and take multiple passes at increasing depths until you reach zero. Test the nut fit, and cut slightly more if necessary to get a good thread fit. It takes longer to write it than to do it... ;)
 
Awesome, thanks everyone! Guess I need to add some indicator tips to my setup..
 
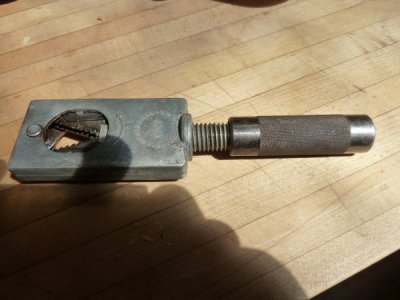
A different idea: if it was me, I would use a collet die , loosen the chasers so that you can get over the damaged threads to the good threads, then tighten the chasers onto the good threads and back the die off over the damaged threads; there is also a device to do the same trick made by the Buckingham Co, of Binghampton N.Y., it is used the same way, and will adapt to most any thread diameter and pitch within its range, picture below. The tool has two serrated knives on each side, with serrations to allow them to cut, of 60 degree included angle set at an angle so that different diameters are accommodated, and they are forced against the part against a 60 degree wheel on the left side of the pic. by the knurled handle.

thread chaser, olive dish 002.JPG
 
You could lay a feeler gauge between the threads and the indicator (if you are asking how to get the part concentric in the chuck)
You can also eyeball it- I do
 
Back
Top