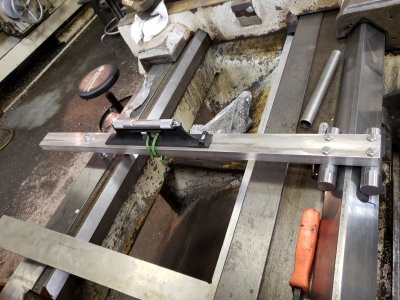
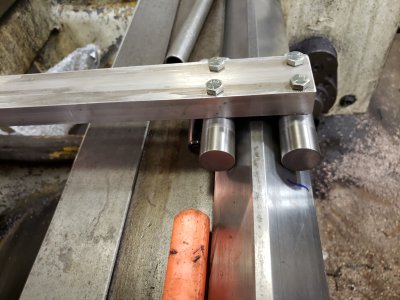
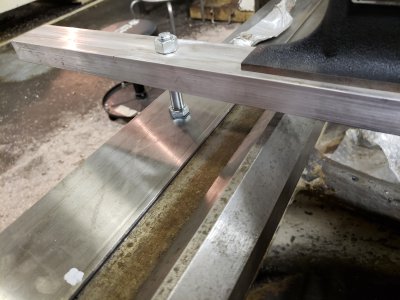
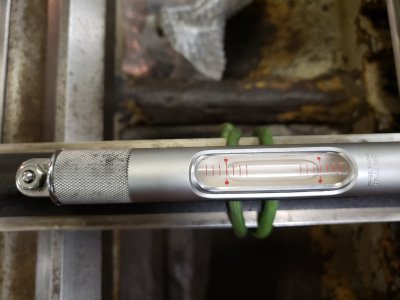
This topic has been somewhat covered, however I would appreciate some additional input. I am trying to assess the bed ware of a 1957 Clausing Colchester round head lateh.
The Good: I placed a 30 inch piece of 3/4 drill rod in the lathe. I placed a thousands reading dial indicator on the cross slide and zeroed it on the top of the bar near the chuck. The chuck end centered nicely and read about 1 thousands run out at the chuck. I placed an active center in the tailstock and firmed it up to a center hole in the drill rod. It read less than a thousands run out at the end near the tail stock. The Test: When I slide the indicator along the top of the drill rod I measure less than a thou run out along the length of the rod. Then to check straightness of the rod I rotated the rod a squarter turn and repeated the test with simular results; I repeated this a second time by rotating it another quarter and remeasuring witht the same result. I conclude from this, first the rod is relativey straight, and second the carrage-ways are in alignment and straight for the length of rod. I should be able to perform relatively good work in this section of he lathe.
The Bad: Frist, when I position the carrage near the head and tighten the locking bolt and then move the carrage toward the tailstock it definitely binds about 8 inches out. If it loosen the nut about a sixth of a turn it then slides smoothly for another 8 inches and then binds again. If I loosen another 1/6 turn it slides smoothly to the end. I read from this there is measurable ware in the head end of the ways. Second, if I place the indicator on the carrage and zero it on the flat top of a V way and move the carrage I measure about 10 thou between the full tail stock end and the chuck. Both of these indicate measurable ware.
What a mIssing between these tests? Are they the best ways to measure ware?


