HVL-H Carriage Motor dis-assembly to rewire

gunsmither

H-M Supporter - Sustaining Member
H-M Platinum Supporter
Joined
Jul 29, 2015
Messages
91
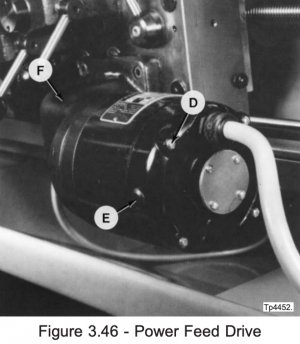
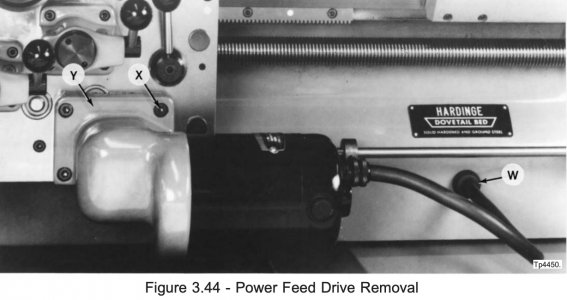
The 90 volt DC motor on my HVL-H lathe had a bad cord that was cut thru partially from someone in it's past life. One of the wires finally came apart apparently and was arcing and smoking a wee bit. Unfortunately where it was cut is right next to the cord connector going into the motor. The Hardinge manual shows how to take the motor and drive assembly off the machine, but does not explain removing just the motor itself. The motor is a Bodine field wound magnet (?) type. I think I have to remove the brushes before pulling the two parts of the motor housing apart? Anyone have experience with this type motor?
 

Attachments

  • hard1.jpg
    hard1.jpg
    189 KB · Views: 8
  • hard2.jpg
    hard2.jpg
    319.3 KB · Views: 8
Last edited:
As with any brush type motor, remove the brushes first; if you have an electric motor shop in the vicinity, maybe best to have them fix it.
 
I think once you have removed the brushes and springs, opening up the motor case should be fairly straightforward- just keep track of any spacers and/or washers on the shaft and reassemble the same way
Be careful not to damage the motor windings when you get it apart- easy does it
-Mark
 
I have not removed this motor before, but I would start with the four bolts attaching the 90degree motor housing from the apron.
The 90degree housing would likely to be removed next.
The brushes are most likely at the aft section of the motor, to be removed next
Mark the end cap to stator position with a punch or sharpie and remove the retention hardware
The motor should come apart with gentle persuasion
Replace brushes and bearings for longevity
And reassemble in the reverse order
 
Thanks for the suggestions gentlemen! I bit the bullet last evening, and removed the motor from the gear housing by unscrewing the four thru bolts; piece of cake. Undid the brush caps, but the brushes would not budge. Was able to pull the back end off to identify the 4 wires; two field, and two to brushes. I have some 16 gauge 4 wire SO wire coming from Ebay, and will be able to butt splice new wire on inside the housing, as the brushes don't want to move to allow total dis-assembly. The motor ran fine until the wires finally broke all the way, so I hope the brushes will be OK. Thanks again fellas! Joe
 
I wonder if that means the brushes are so worn they really should be replaced? Well, I guess you'll find out eventually
:)
 
You may well be correct Mark. I have never seen brushes so small (perhaps 1/4" wide) as these, and they don't want to pop free. Bodine sent me the info to their obsolete supply/info affiliate in California. Going to give them a shout Monday to see if they can enlighten me.
 
Just found this video on UTube showing a very similar Bodine motor being re-assembled. Shows re-installing the brushes, but not removing them. I think I'm going to pull the rotor assembly out and let the brushes come loose to see what condition they are in. Could be just dried up oil or grease in the slots? Shows brush install about 3:50.
 
Finally finished this up about a month ago and took a picture of my solution. Buttspliced new wire to existing motor brush wires and field windings, then brought them out to a "C" condulet. Then I was able to use the original cable, spliced in the condulet. The cable I bought had a pretty thin jacket, so I didn't use it. Wrapped the cable with Gorilla tape for added protection. It's ugly, but works. Bought new brushes, but didn't need them, but installed them anyway. Should see me out!Untitled.jpg
 
Back
Top