-
Welcome back Guest! Did you know you can mentor other members here at H-M? If not, please check out our Relaunch of Hobby Machinist Mentoring Program!
You are using an out of date browser. It may not display this or other websites correctly.
You should upgrade or use an alternative browser.
You should upgrade or use an alternative browser.
I Must Have Done Something...
- Thread starter Tozguy
- Start date
- Joined
- Jun 12, 2014
- Messages
- 401
I was looking at using an angle plate for the same purpose: to get some milling use out of the lathe.
Good setup Tozguy!
Can you give us a couple of more photos of how you support that angle plate?
Good setup Tozguy!
Can you give us a couple of more photos of how you support that angle plate?
B
BRIAN
Forum Guest
Register Today
Another trick is to mount the compound to the angle by the tool post stud thi then allows you to chance the angle of cut.
You may find my thread A beginners clock interesting http://www.hobby-machinist.com/threads/a-beginners-clock.9737/ it shows this system being used to cut gears on a 7x12
Brian.
You may find my thread A beginners clock interesting http://www.hobby-machinist.com/threads/a-beginners-clock.9737/ it shows this system being used to cut gears on a 7x12
Brian.
Jon,
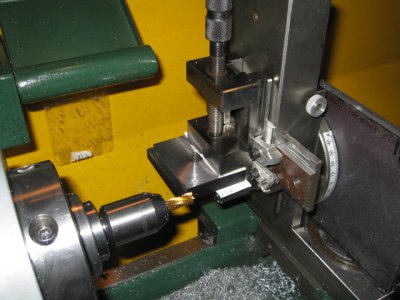
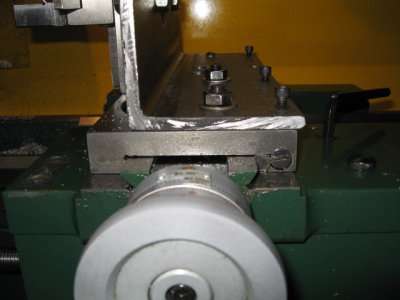
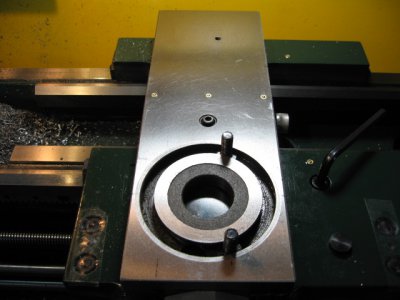
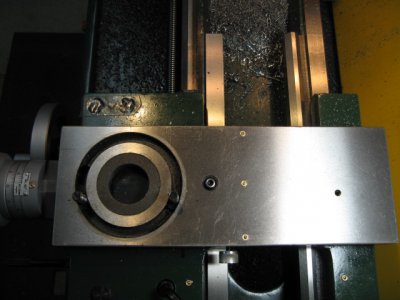
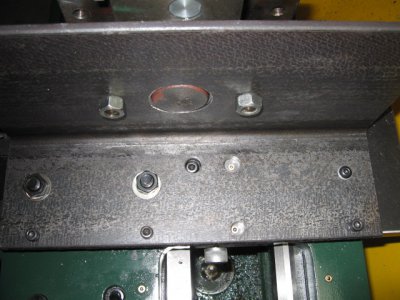
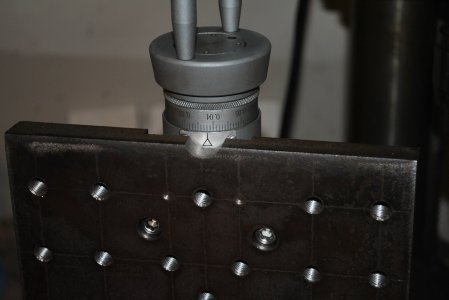
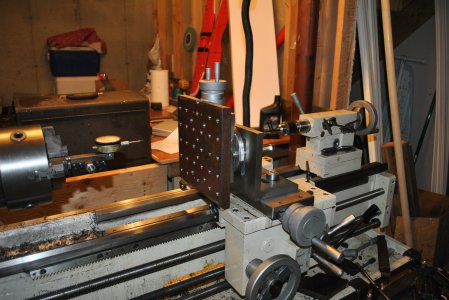
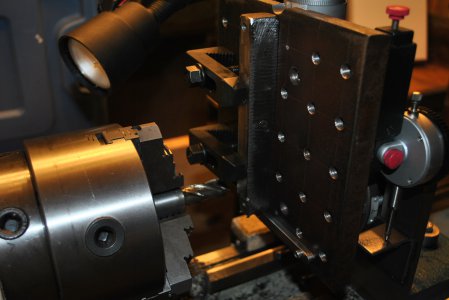
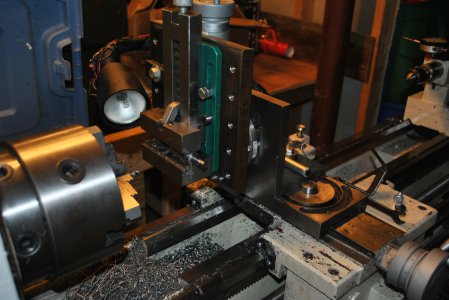
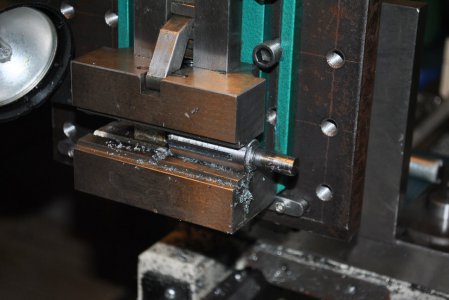
The angle plate is fastened to the cross slide by the two bolts that usually hold the compound to the cross slide. A screw is added at the far end of the angle iron for extra stability but I am not sure it is needed. A hole had to be drilled and tapped in the cross slide for this 1/4NC cap screw. No other modifications to the cross slide were required for mounting the angle plate. There are three cap screws along the edge of the angle plate that were intended to set the vertical alignment but they only rest on the surface of the cross slide. Hope that helps. Mike
Last edited:
- Joined
- Jun 12, 2014
- Messages
- 401
Very much so, Mike! Awesome!
- Joined
- Apr 8, 2013
- Messages
- 1,977
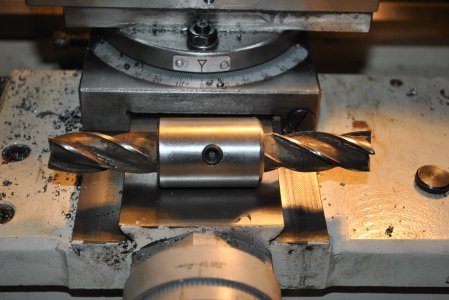
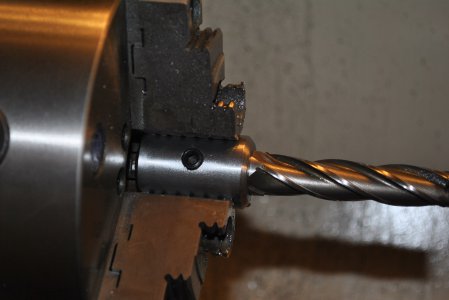
Sure, Tozguy. I used a ground angle plate and attached it by tapping 3/8 x 16 holes in the X-slide. I also made a small milling attachment by welding some plate onto a BXA toolholder. I made some mild steel end mill holders so if I had a quick milling job I could just still an end mill into the 3 jaw and use the BXA holder. Saves time over switching the toolpost and digging out the 5c's.View attachment 124490 epanzella, I'm not surprised if this has already been done many times. It is great for small milling jobs. My set up now includes a small precision vise mounted on the compound. Could we see some pictures of your set up?
- Joined
- Apr 8, 2013
- Messages
- 1,977
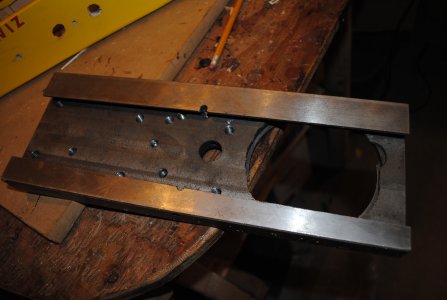
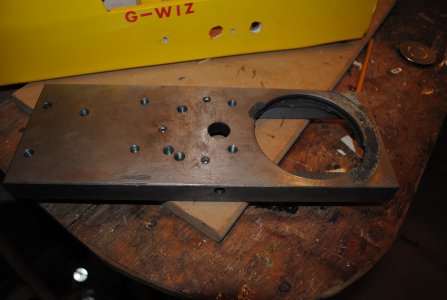
Just a word of caution on that attachment method. If you measure the depth of that groove under the compound and compare it to the full depth of the X-slide, you'll discover there's only about 1/8 inch of material at the bottom of that groove. When I first made my milling attachment I attached it that way and after a few months, the stress of milling broke that circle of cast iron right out of my X-slide. After buying a new X-slide I now use four tapped 3/8 x 16 holes. No more problems.View attachment 124537 View attachment 124538
Jon,
The angle plate is fastened to the cross slide by the two bolts that usually hold the compound to the cross slide. A screw is added at the far end of the angle iron for extra stability but I am not sure it is needed. A hole had to be drilled and tapped in the cross slide for this 1/4NC cap screw. No other modifications to the cross slide were required for mounting the angle plate. There are three cap screws along the edge of the angle plate that were intended to set the vertical alignment but they only rest on the surface of the cross slide. Hope that helps. Mike View attachment 124539 View attachment 124540
Epanzella, thanks, very solid looking set up, great work, inspiring.
The x slide on my lathe is at least 3/8ths thick where the extra hole was tapped.
That 1/4'' screw acts mostly as a locator and not for holding very tight.
Mike
The x slide on my lathe is at least 3/8ths thick where the extra hole was tapped.
That 1/4'' screw acts mostly as a locator and not for holding very tight.
Mike
- Joined
- Apr 8, 2013
- Messages
- 1,977
I'm not talking about the screw, I'm talking about the groove cut into the X-slide. The stress of milling broke that whole circle of cast iron out of my slide. See pix; That slide used to look just like yours.Epanzella, thanks, very solid looking set up, great work, inspiring.
The x slide on my lathe is at least 3/8ths thick where the extra hole was tapped.
That 1/4'' screw acts mostly as a locator and not for holding very tight.
Mike
