I just bought this educated nut thru Amazon. $39.88 was a few dollars less than the other sources I was able to find:
Amazon.com: Morton - 1220S Standard Quill Stops, 1/2-20 Thread Size : Tools & Home Improvement
www.amazon.com
VERY nice quality ... AND it came with installation instructions!!! The whole process took less than 10 minutes - coulda been less, but I was taking notes (see below):

A couple notes:
Before you start - clean the mill table and place some kind of tray underneath the quill area, in case of falling parts. I'm glad I did!
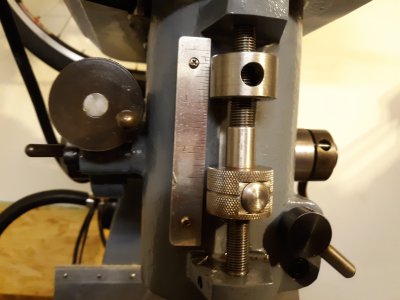
1. The arrow in the photo points to the wrong area. The screw in question is on the mill casting above where the arrow is pointing. The screw on my mill took a 5/32" Allen wrench. The ball lever was threaded M3, not #5-40 (though a 5-40 screw did work OK). There's a short shaft inside the casting and it may fall out when you remove the ball lever.
2. This took a 7/64" Allen wrench. The lever fell out when I withdrew the screw.
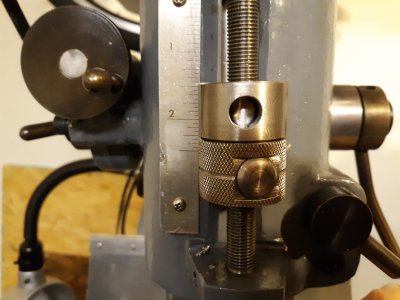
3. Unscrewing the old stop nut the full length of the quill shaft was the most time consuming part of the whole process!
4. Be sure the retaining ring is on the shaft below the 1220 nut! There was no packing tape on mine.
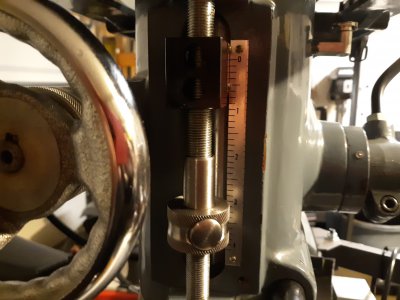
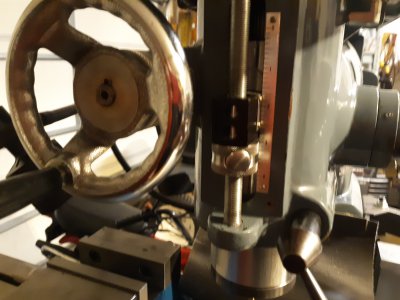
5. Aligning the lower lever took a bit of fiddling. Using a flashlight and looking into the bore was helpful. In case the lever fell out during step 2, note that there's am adjusting screw and nut at one end. The tip of the screw points up and makes contact with the shaft to the left of the quill shaft.
I highly recommend this item!!!!