Jacobs Drill Chuck Repair Info

EmilioG

Active User
H-M Supporter Gold Member
Joined
Jul 20, 2014
Messages
1,386
After trying to repair 4 Jacobs USA 14n drill chucks, I learned what to do and what not to do.
Here is my experience and some observations;

Jacobs drill chucks when purchased used are like the proverbial "Box of chocolates", you never know what
you will get until you disassemble them. Jacobs had made some design changes along the way.
1. Do not rush this process. Quite a few things can and will go wrong.
2. Use a small arbor press to press on and off. I made the mistake of going with this machinists' advice to
to use a 20 t arbor press. BIG mistake.
3. Although you can identify jaws/hole number placement, it's easier to keep track before removing each jaw. Mark or photograph them to return them to their proper hole locations.

I ruined a decent 14n USA this way. Pressing the sleeve back on. The 20t press exerts way too much force and you can't feel if something is wrong. The Jacobs body is just too soft, not hardened, which I don't understand why it wasn't part of the manufacturing process. If the body/jaw holes are moved by "bending/warping" the metal in the slightest, say good bye to that chuck. Hence, use small arbor press with proper metal rings to hold chuck for pressing on/off.

Keeping the sleeve/chuck body aligned is very important. I've seen where machinists warm up the sleeve before pressing it back on. One person suggests using a light bulb. No direct flame.


DarkZeros' write up on this forum, lays out the best way to go about this process.

Do not doing any grinding or metal removal unless there is high spot. Use Bluing to find any
high spots in the chucks taper.

Cleaning: DarkZero used Purple Power with good results. Other cleaners of this type may dull or tarnish
the metal. I would not soak the parts, spray and scrub with a brass brush. Certain cleaners may have an adverse affect on the metal. I'm not a metallurgist, but these are my observations.

I will add a part II to this with some photos.
 
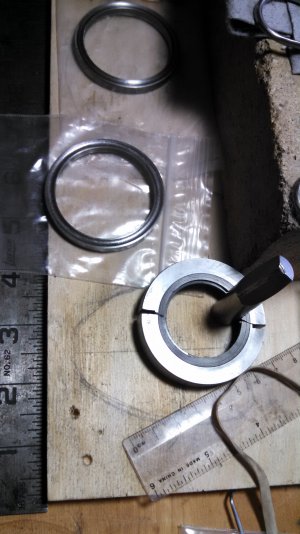
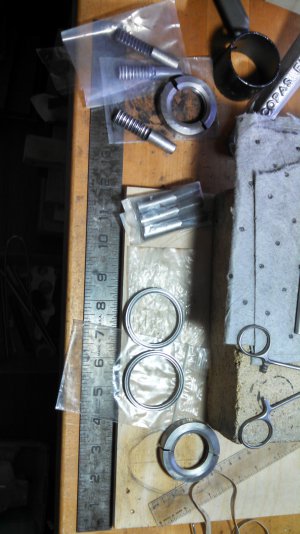
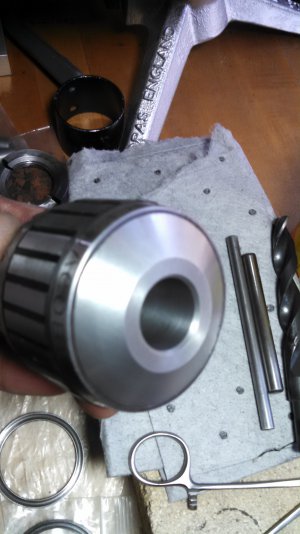
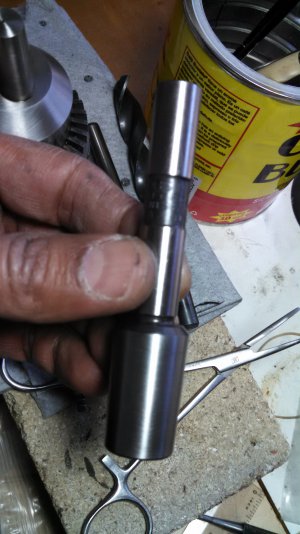
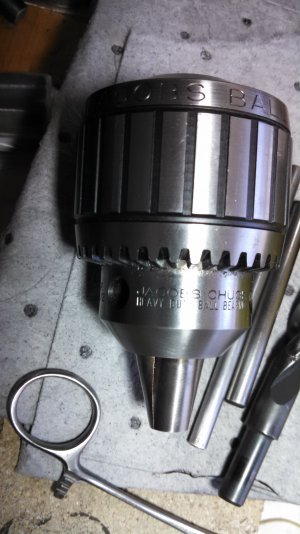
IMG_20150406_141615_255.jpg

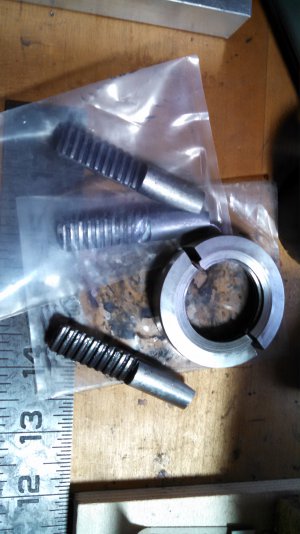
The parts for these Jacobs chucks are matched, at least the jaws and half nuts. They seem to be machined at the same time for smooth action of the threads, so keep careful matched sets of jaws and half nuts together. Before assembly, you can run the jaws against the half nut threads to check for any binding or chipped spots that can be stoned down carefully.

I would not go crazy with a Dremel or other super abrasive tool to clean up any burrs or high spots. Work on small areas at one time and check. Before pressing the sleeve back on, you can do a cursory check of things by putting the chuck together with the sleeve loose and spin it around.

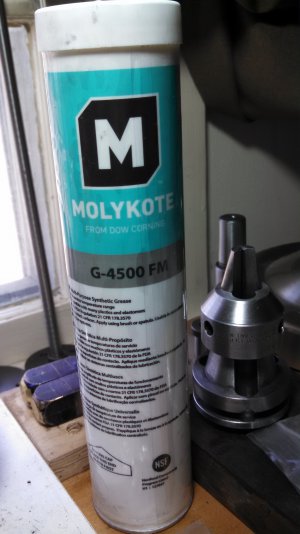
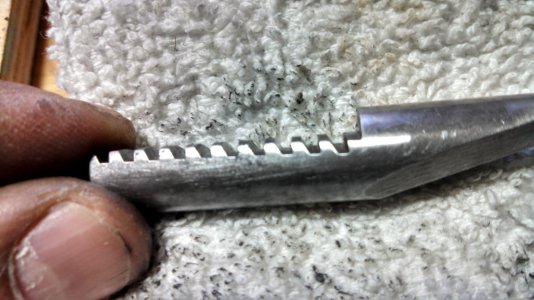
AFA grease, I've tried Dow Cornings synthetic and ChuckEeez. Both seem to work very well. ChuckEeez does not wash out easy, even with solvents. Very tenacious. IMG_20150406_141621_236.jpg IMG_20150406_141642_848.jpg IMG_20150406_141710_646.jpg IMG_20150406_142606_860.jpg IMG_20150406_142644_433.jpg
 
Last edited:
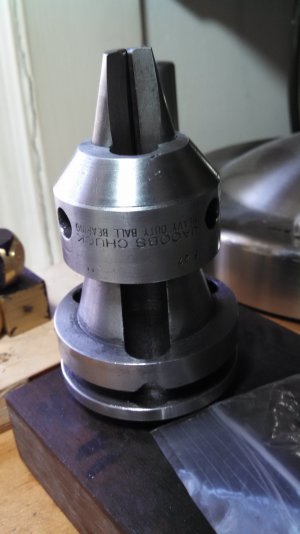
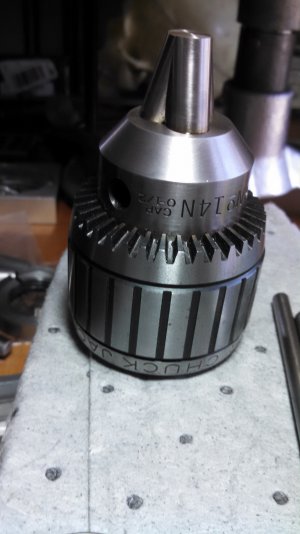
While writing this, I was able to acquire a brand new Jacobs USA 14n! It came with a real Jacobs 1/2" straight shank JT3 arbor, which I don't really need right now, but it's a real Jacobs. This chuck still has original factory grease on it and it looks like it was only used one time. Great score! $35.00

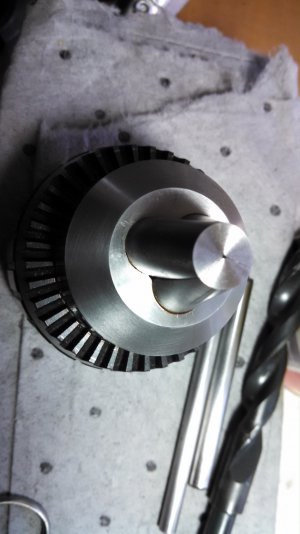
I was able to pop off the 1/2' arbor with a Starrett 1/8" pin punch through the chucks body taper hole with two easy whacks. No shoulder for the wedges. It was pristine inside and the arbor looks as new as the chuck.

There seem to be quite a few real Jacobs super chucks around. I even saw a brand new 14n in a box on Ebay sell for $180.00! The chuck came with a Jacobs K3 chuck key, which appears brand new as well.
The person that sold me this new 14n didn't really know what they had. Anyway, all good things to those who wait. :) I'm glad I learned and made my mistakes with those old crummier chucks. I will not mess this one up.

A lot has been written on this subject but I wanted to put in a few things. If I can save just one USA Jacobs from being destroyed, it will have been worth it.

Last, be sure when pressing the sleeve on and off, run the jaws half way up and press on the nose face and not the jaws themselves. Having the right diameter steel and/or aluminum rings is a big plus. See DarkZeros' write up. He made his on a lathe to size. Thanks Will.

IMG_20150406_150902_712.jpg IMG_20150406_150916_149.jpg IMG_20150406_151009_776.jpg IMG_20150406_151141_269.jpg IMG_20150406_151157_677.jpg
 
Last edited:
The Molycoat grease as shown or Texaco with moly grease is what I use when I rebuild drill chucks. A little dab here and there is all you need. Anymore than that and you'll be wearing it when running at high speeds.
 
I don't consider that Jacobs chuck catalog old even though it is a 1974 vintage. It's probably the last one showing all of the different items ever built by Jacobs.
Lots of good old information though.
 
you can press them on and off using a hydraulic press, you just have to be very careful to press them straight, otherwise the inner bit can cock within the body and jam. Also, when putting them back together again, you can press the body on a fair way by holding the body in your hand and tapping the inner bit with a plastic dead blow hammer. That should get everything lined up well for the pressing.

I've done a bunch of Jacobs chucks and they're really not hard to work on. One thing that I've found though, is that if the chuck key holes are wallowed out, most likely the chuck is junk. If the chuck looks like ass but has perfect chuck holes, there's a good chance it'll work smooth and run true, however much rust and crud is on it. I've used purple power and a wire wheel to clean up mine, although I'd probably use electrolysis in the future.

You're right, but if I can do it with an arbor press, I would rather do it that way. I was doing all of the pressing at work where I didn't have a lot
of support. I had to rush through it. I'll never do that again.Haste Haste makes waste.
I;ve never had a chuck with a lot of rust and I don't know how electrolysis will affect the metal. I would do a test first. Having good metal rings for
pressing on and off is key. Also, I like to use brass and aluminum to protect the chuck against wedges and other repair tools to avoid marring the soft
chuck parts. Brass tube brushes work well for the jaw holes.
I know a lot has been written on this subject, but until DarkZeros' write up, there wasn't too much on doing it correctly or at least a different approach
that is sound with good photos. More up to date.

Here is my theory on what may have gone wrong with one of the rebuilds;
If the jaws and half nuts are not matched, this will cause mis-alignment, throwing the
moving parts off center which will make pressing the sleeve back on to bind.
Looking at Jacobs Tech info, I'm wondering if pressing on the sleeve with the nose down may be better.

When pressing, especially back ON, if something doesn't feel right, STOP and remove the chuck and examine it. If the pressing rings are smooth, round and
level, and have a bit of a counterbore to sit in, things should proceed well. I like the tapping idea with a plastic dead-blow.
Yes, it becomes easier once you know what to do. :)
Thanks.
 
Last edited:
for sure, I just don't have an arbor press :) I did use a bench vise for a small 3/8 cap chuck, but that didn't go so well for a 1/2 cap one! With my hydraulic press I use a couple of press plates with a hole that's about the size of the chuck outer body and an appropriately sized socket over the jaws. I agree 100% about the "if it's too hard, stop!" advice, that's how I screwed up one of my chucks and cracked the sleeve.

Electrolysis won't remove metal, so it won't make the accuracy any worse than it is with the rust. Both of the rusty chucks that I've refurbed came out within new runout specs, but it mostly seemed to be surface rust on the outside and crud inside so I've no idea how it would work with a more heavily rusted chuck.
 
I blew up a decent chuck once when I forgot to remove this small round neo magnet I had on it
to hold the chuck parts in place while transporting. I put it in a hydraulic press to press the sleeve back on,
after working on it for hours cleaning it up.

I knew something was wrong but kept pressing and
pressing, until BOOM...the chuck shattered into a dozen pieces plus ball bearings! I was so lucky
that I didn't catch any of that shrapnel. I will never forget that day.
 
Back
Top