Large Rotary Table Refurbish

Glmphoto

Active User
Registered
Joined
Jan 7, 2013
Messages
94
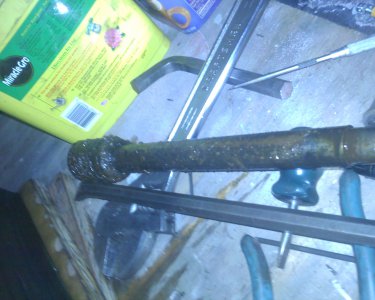
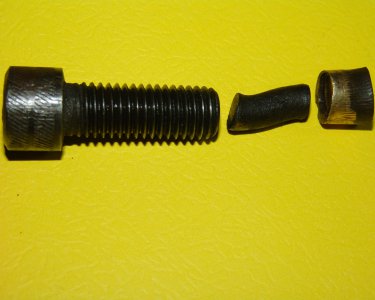
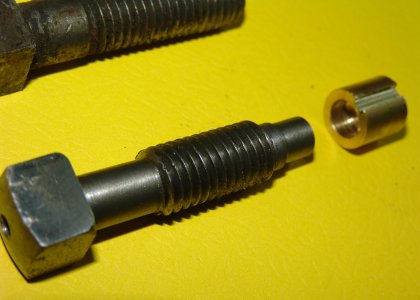
First let me say this is my first thread so if I mess it up....Sorry I am refurbishing an 18 inch rotary table I picked up at an auction about 5 years ago. This is what I found as the table brake. I cant imagine anyone having to tighten it that much and not seeing a problem. I made a new one with an old bolt (see pics) and socketed the brass brake to keep everything centered. Any comments or suggestions appreciated. Best Regards

stop mech old.JPG new stop mech.jpg
 
Yeah, let's see this behemoth. That thing must be gigantic. What does it weigh? Nice job on the stop. :thumbsup:
 
Last edited:
First let me say this is my first thread so if I mess it up....Sorry I am refurbishing an 18 inch rotary table I picked up at an auction about 5 years ago. This is what I found as the table brake. I cant imagine anyone having to tighten it that much and not seeing a problem. I made a new one with an old bolt (see pics) and socketed the brass brake to keep everything centered. Any comments or suggestions appreciated. Best Regards

Looks like a nice job with the repairs! I had an 18" Troyke U-18 table weighed 360 lbs. Sold it and picked up a 12" Phase II. I haven't finished the repairs yet, but it looks like the brake bolts of my 12" are messed up like yours were.

Jack
 
Nice job!

I have an old 12" that was Made in Michigan on one of the benches that I started going over about 6 months ago.
You may have motivated me to get back at it, Thanks!


Maxx
 
HOLY Smoke! you guys play with big stuff. I think my 8 inch rotary is heavy enough. It's been able to handle everything I throw at it so far.
 
Thanks for the thumbs up. I don't know the weight exactly but its far more than I can lift. Its one of those things you would swear is glued to the floor when you grab hold of it. I was at an auction some years back. A LARGE tool shop went out and they sold everything off. It was a give away really. I got this table and another larger one for 20 dollars. My poor truck was loaded down coming home.

So I have added some pics here to show the project so far. Let me say up front I am sorry for the pic quality. I was using my cell phone and got some blurry pics.

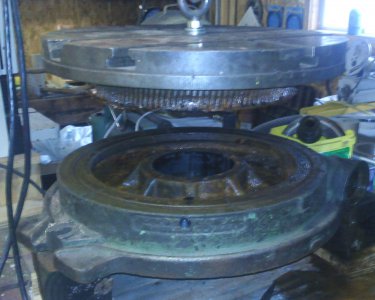
#1 This is pretty much how it has looked for several years laying about my shop. I you look to the right behind the dial you will see a broken casting piece. I have the piece that broke off. I broke it one day when I was moving it and it bumped against another heavier rotary table. I guess something has to give. It really burns when its your own fault. LOL. I have repaired the break and will make another post of it if anyone is interested.

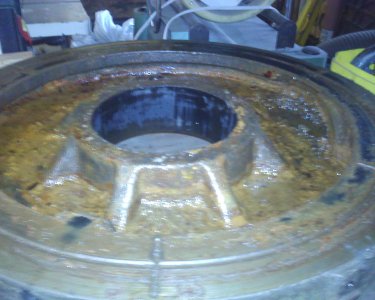
#2 This is what I saw when I finally got it opened up. It was stuck pretty good but hanging it and tapping then setting it down and repeating seemed to finally coax it out. I was surprised to see a quarter inch of water (coolant I assume) laying in it. It was a total rusted up disaster.

#3 looking into the base you can see at rear right the pocket in the cast where the work and shaft lived. Also front left the location where the brake came from.

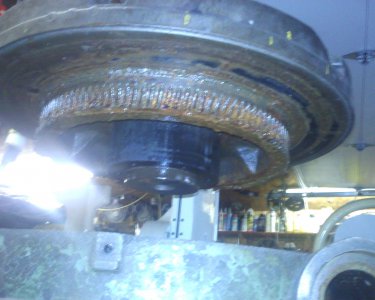
#4 Looking up at the bottom of the top you can see the bearing surface and the wheel teeth. These teeth are part of the cast. This just looks horrible.

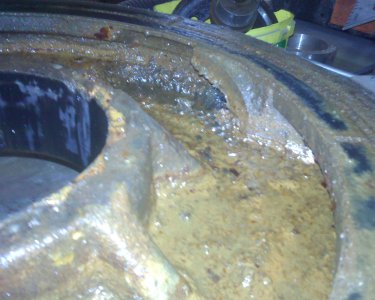
#5 A close up shot showing the weight bearing surfaces, the rotary bearing surfaces and the water line on the webbing. Looks like a quarter inch or so evaporated over the years. The bottom is actually a quarter inch of water and rusty goop.

#6 The worm and shaft as removed. The worm is brass. Away to my sand blast guy.

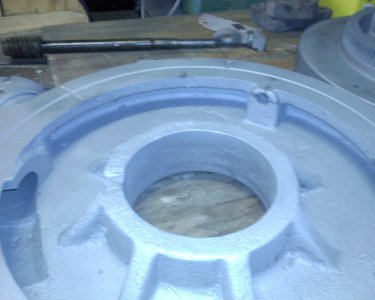
#7 The castings back from sand blast. This guy I use is fantastic. He cleans thoroughly and uses different media on all machined areas. No black beauty ever get used so nothing is actually cut. I use him for all my machine restore projects.

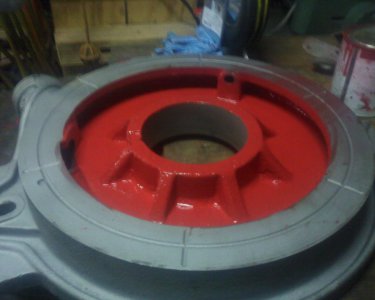
#8 Bottom of top casting with paint on. I always paint all surfaces that aren't normally seen bright red. I have been asked why several times. I guess there is no practical purpose. Its a signature move I suppose. On the far right and far left there are 2 holes in the weight bearing surface. to the left of the rotating bearing surface where the red meets the grey there is another hole. These are oil holes to deliver oil to theses areas. There are drilled galleys from the edge of the table that lead to these points.

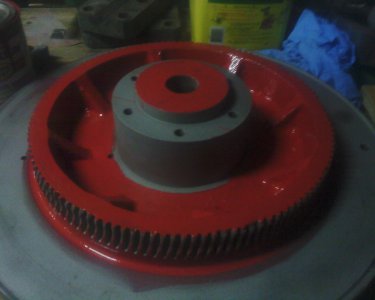
#9 Finally the bottom casting in paint. The dripping on the way areas will come off when I give the a quick polishing. The outside is now painted machine grey and came out nice. Next time i will post some pics of the cast iron repair and then the worm shaft needs straightened or maybe a new one altogether.

Well thanks for the interest.

Best Regards
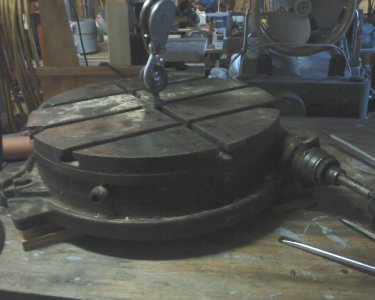
1 As it has been sitting for years.JPG 2 First time opened.JPG 3 Bottom pool of coolant and rust.JPG 4 Top wet rust.JPG 5 Close up.JPG 6 The worm and shaft removed.JPG 7 Back from sandblast.JPG 9 Bottom inside paint.JPG 8 Top inside with paint.JPG
 
She is cleaning up real nice. What are you gonna use it for? Any projects on the docket?
 
I have a Hendy lathe. 1945. I need a larger steady rest than I currently have. I have a pipe flange 1.25 thick and 17 inch dia that I intend to start off with. Thought it would be nice to use the table for that. I am gonna have to figure out a chain fall or some such in front of my mill to lift it up with. I built a triangular shaped shelf behind the mill that I can raise table up or down to different shelves and slide my accessories on and off, but this rotary table wont fit on the shelves. I will come up with something.
Thanks for taking the time to look over my post.

Best regards

For my rotary table, I built a rolling cart for it at a convenient height that the mill table can be matched to. Then I just slide it on and off from the cart to the mill and back. I haven't had any trouble, but a small strap or chain to lock the table and cart together might be a good idea during the transfer.

Jack
 
Back
Top