-
Welcome back Guest! Did you know you can mentor other members here at H-M? If not, please check out our Relaunch of Hobby Machinist Mentoring Program!
You are using an out of date browser. It may not display this or other websites correctly.
You should upgrade or use an alternative browser.
You should upgrade or use an alternative browser.
lathe radius cutter
- Thread starter benni
- Start date
- Joined
- Nov 8, 2012
- Messages
- 783
Not sure if you're looking to buy or make one or what size, but here's a site where a guy made one.
http://www.pirate4x4.com/forum/shop-tools/741444-homemade-radius-cutter.html
Show material list, has lots of pictures, and some youtube videos.
Hope this helps.
http://www.pirate4x4.com/forum/shop-tools/741444-homemade-radius-cutter.html
Show material list, has lots of pictures, and some youtube videos.
Hope this helps.
Last edited:
B
Bill Gruby
Forum Guest
Register Today
I'm not quite sure either. Do you wish to know how to grind a cutter for a specific radius or are you looking for a Ball turning attachment?
"Billy G" :thinking:
"Billy G" :thinking:
- Joined
- Oct 19, 2012
- Messages
- 456
http://bedair.org/Ball/ball1.html
I am currently making this one, if that is what you are looking to do.
I am currently making this one, if that is what you are looking to do.
- Joined
- Dec 21, 2011
- Messages
- 35
Here is a really good one made and drawn by Dick Kostelnicek of the Home Metal Shop Club in Houston, Tx.
Mike
http://www.homemetalshopclub.org/news/10/newsletter1004.pdf#Page=4
Mike
http://www.homemetalshopclub.org/news/10/newsletter1004.pdf#Page=4
- Joined
- Nov 27, 2012
- Messages
- 7,852
http://bedair.org/Ball/ball1.html
I am currently making this one, if that is what you are looking to do.
Mine is based on Steve Bedair's design. Works great but it has capacity limitations. I did not make mine 100%, I bought a premade unit for a Myford lathe & adapted to fit my lathe. I did not have a mill at the time so this was my only option then. I don't use it often but when I'm able to I'm glad.
Here's a cut & paste that I have posted on another forum:
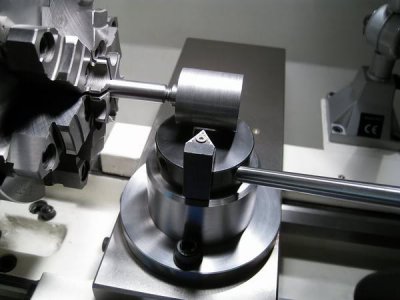
Ever since I got my first mini lathe I've always wanted a ball turning attachment. So I decided to make one for my current lathe. Since I don't have a mill yet, I used an attachment that I got from the for a Myford that is based on Steve Bedair's ball turning tool post.
Here's how I did it (...lots of pics to follow!).
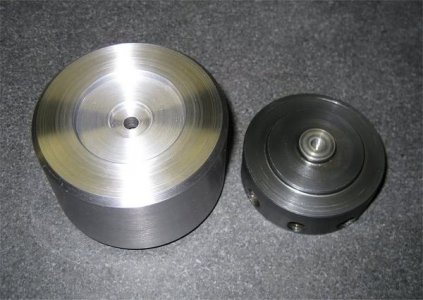
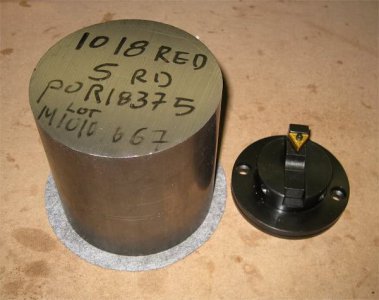
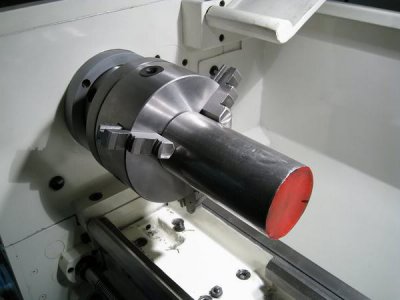
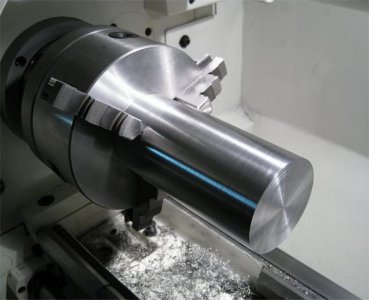
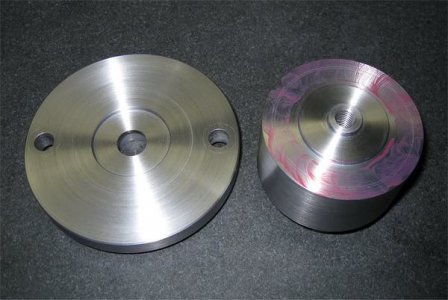
Here's what I started off with. The Myford attachment & a 5" dia 30lb piece of CR1018.
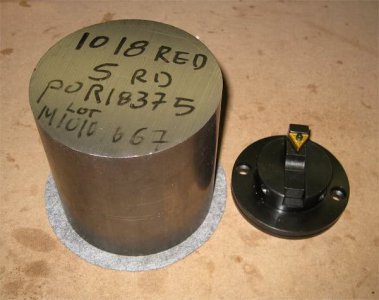
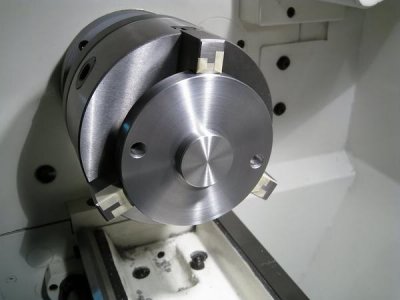
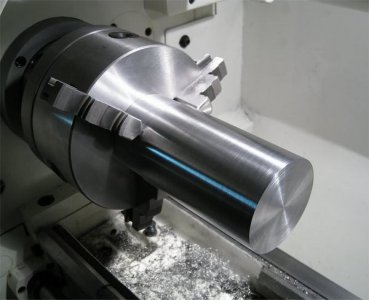
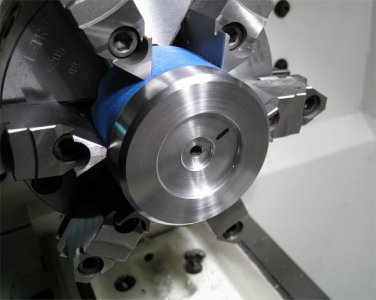
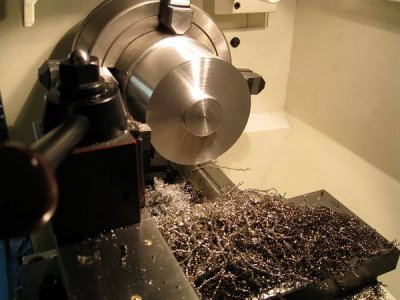
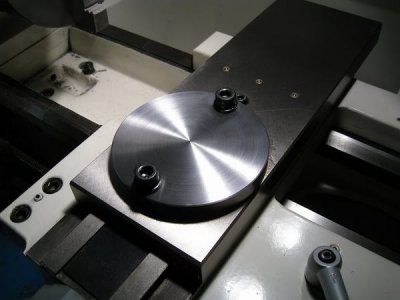
Mounted in the 4 jaw, making the base plate with this piece.
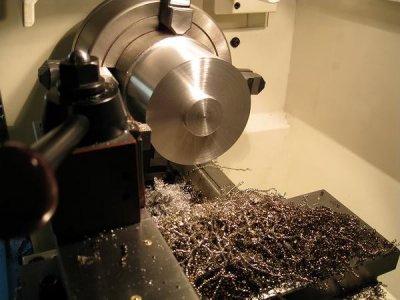
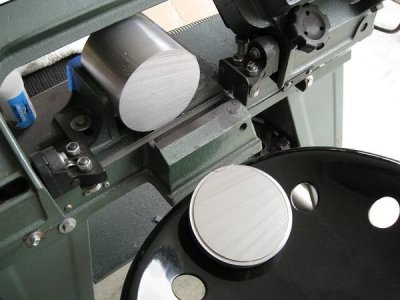
Cut off the base plate & save the rest for another project.
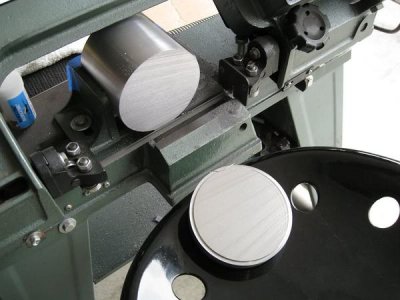
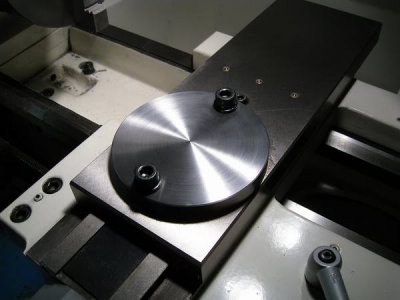
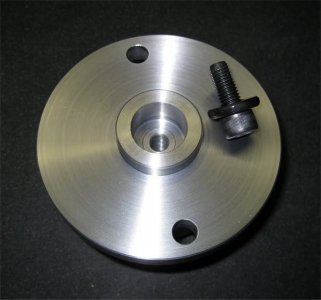
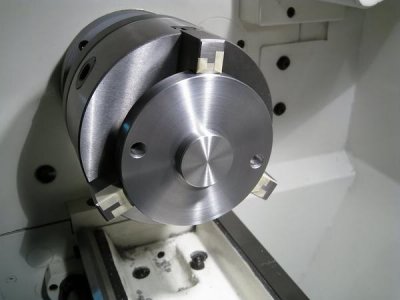
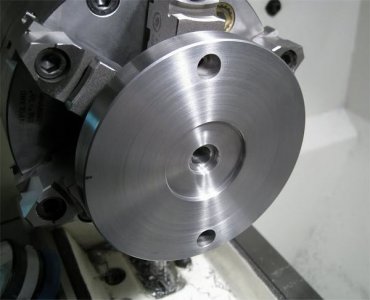
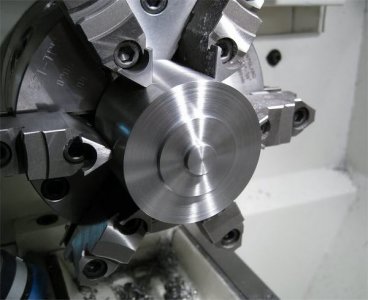
Cleaned it up, drilled a couple of holes, & test fit.
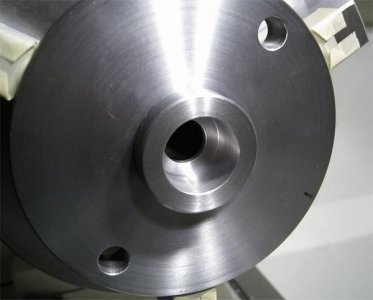
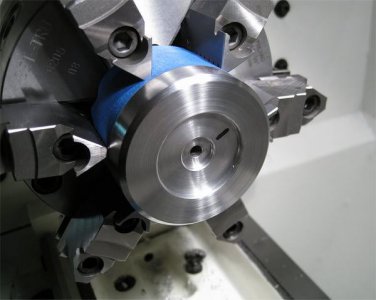
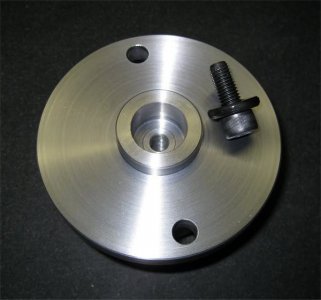
Bored out the recesses on the top of the base plate for the tool post.
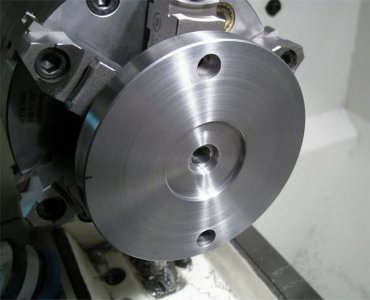
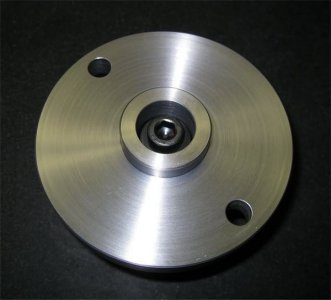
Bored out the bottom of the base plate for the mounting/pivot screw.
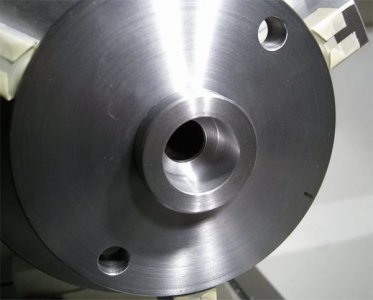
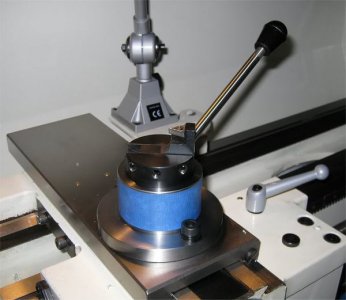
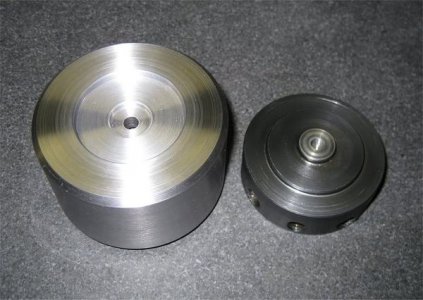
Base plate is done, on to make the post assy. 3" dia 1018.
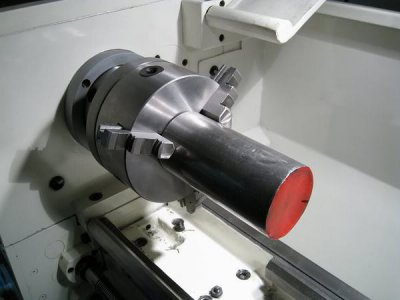
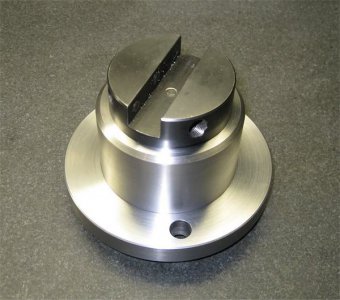
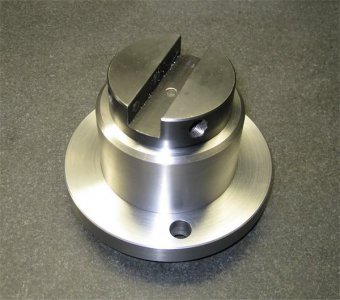
Machined the steps for the bottom of the tool post.
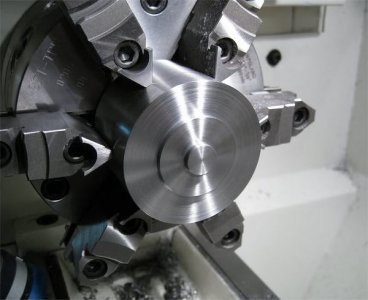
Bored out the recesses on the top off the tool post for the cutter assy. Drilled a hole all the way through for a M6 bolt, then tapped threads the bottom for a M10 bolt.
Tool post is done, time for a test fit.
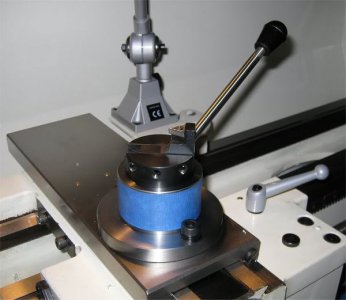
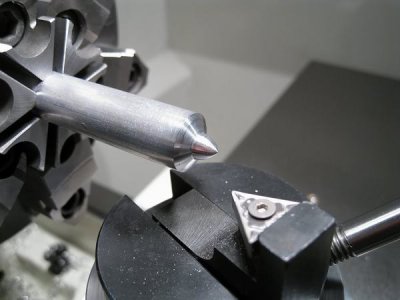
Tested it out on a piece of alum. Ditched the insert & screw that it came with for a TNMG 331 Cermet insert & Ti flathead/countersunk type screw for better seating. Chatter free & right on center line!
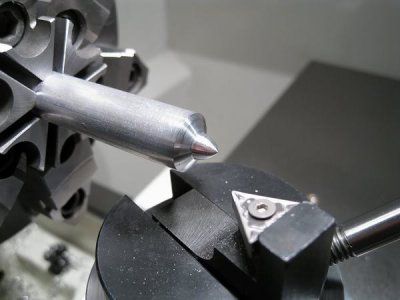
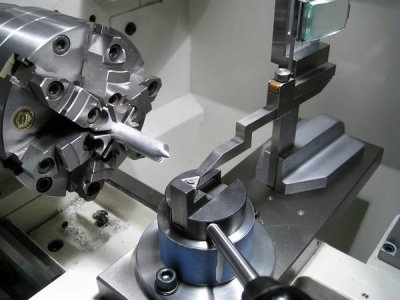
Here's how I measured the cutter height.
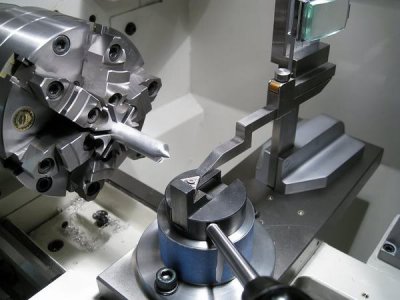
Here is the top mating surface for the cutter assy.
Turned down a M6 bolt to fit through the M10 thread at the bottom of the tool post to bolt on the cutter assy.
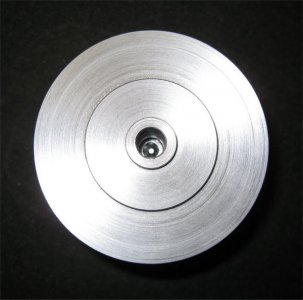
The mating surfaces of the post & base plate. Since this is where I made the tool post pivot I added some lube.
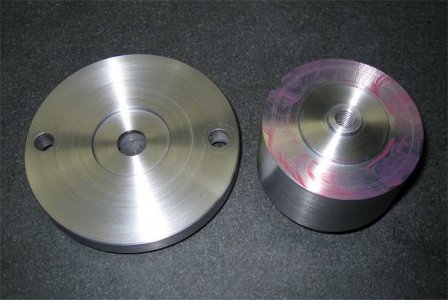
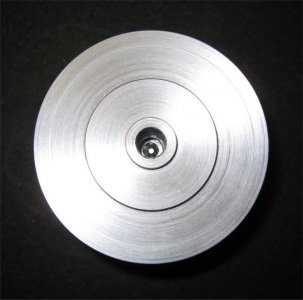
The bottom of the base plate. This part is critical since the washer should only mate against the small step of the post that fits through the base plate. But if that step is too high you'll get unwanted play leading to chatter.
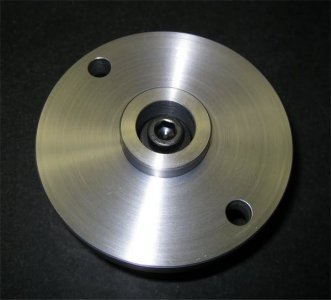
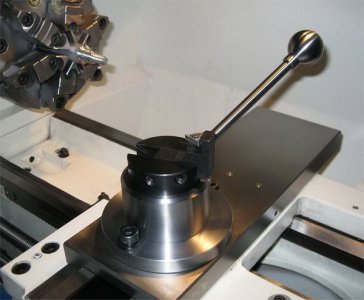
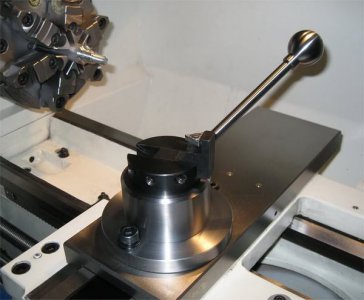
All assembled.
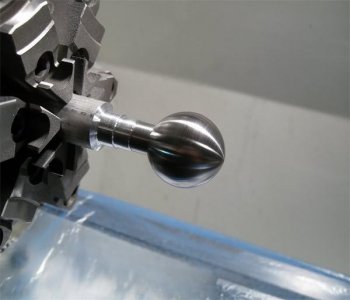
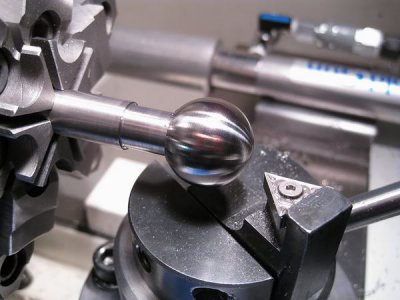
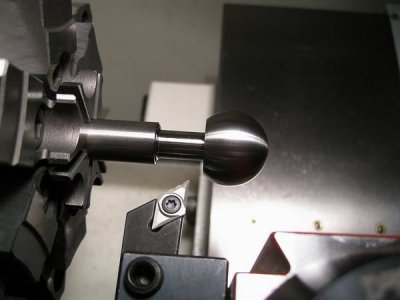
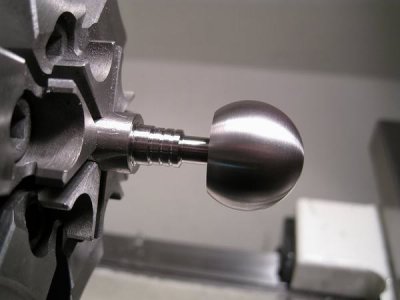
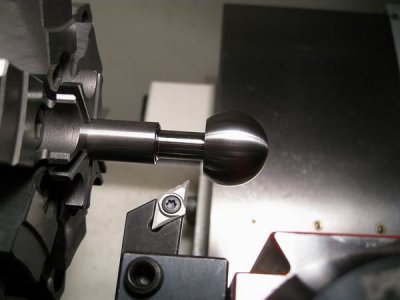
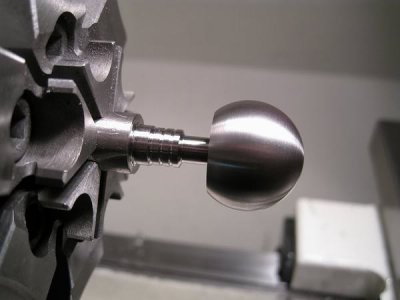
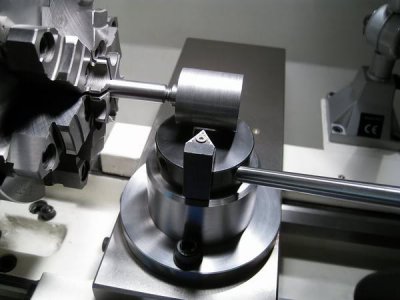
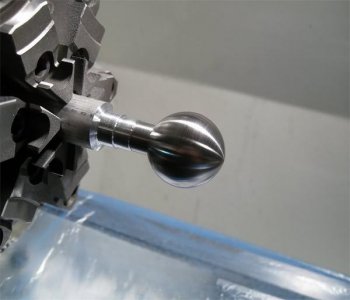
Time to give it a try, first up was a ball knob to replace the cheapo plastic one.
Threaded a rod & a piece of steel.
The rod I was using to hold the stock was too thin & chattered a lot so I had to switch to a thicker one. After a little bit of sanding I ended up with this.
Here's the new knob on the tool post.
Thanks for looking.
- Joined
- Nov 27, 2012
- Messages
- 7,852
Oh & here are some other's that I am considering, the boring head version first now that I have a mill to make to cutter.
http://www.statecollegecentral.com/metallathe/MLA-13.html
http://thebloughs.net/hobbies/metalworking/ball_turner/index.php
http://www.statecollegecentral.com/metallathe/MLA-13.html
http://thebloughs.net/hobbies/metalworking/ball_turner/index.php
- Joined
- Sep 23, 2010
- Messages
- 619
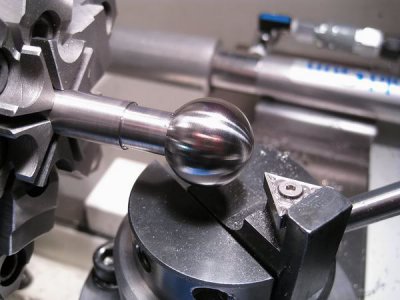
Does any one have ideas for a radius cutter?
Yup...Bob
http://www.hobby-machinist.com/album.php?albumid=142


