- Joined
- Dec 29, 2012
- Messages
- 394
In many occasions I have realized that modern tools have a life span as long as their warrantee lasts. This was also the case in my new 25 liters air compressor.
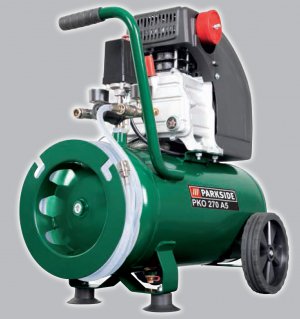
The compressor had a 3 year warrantee! And it worked flawlessly for exactly 3 years and an extra month.
Last month, when I tried to add air to a bicycle tube it started working continuously without raising enough pressure to do the job.
There the fun begins!
I opened the compressor head to discover that a horseshoe shape reed valve was broken in 3 pieces. I put some masking tape on it to establish its shape and work out a solution.
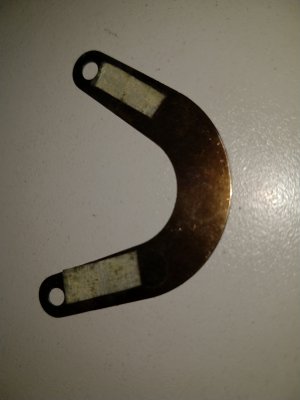
I started looking for a readymade one but nothing was available for the specific model.
I also looked for material to buy and make it but nothing was available locally.
I needed some raw material to fix it that has specific attributes:
A. It has to be a spring steel
B. It must be the same (or very similar) thickness
C. It must be available and cheap
After some head scratching and googling I found out that I had the material for years in my tool box!
Steel PAINT SCRAPPERS!
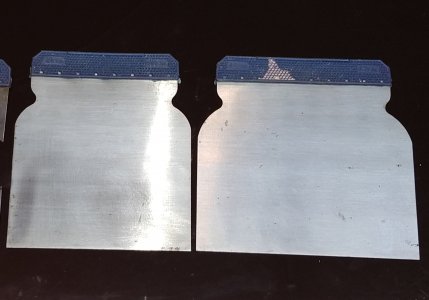
I sacrificed one of them scrapers...
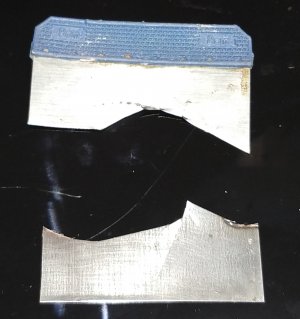
...with a little help from my dremel and my Sheet Metal Cutting Shears I made two reed valves just to have an extra spare!
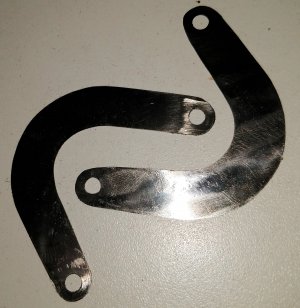
I was happy and proud that I managed to fix the tool but…
I noticed that the broken reed valve had many stains on it… particularly at the area where it broke...
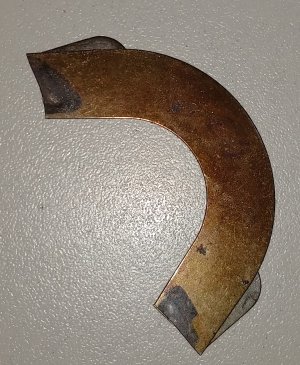
Playing it safe I thought “Why not make a stainless steel reed?”
It was just a matter of finding the right material.
Stainless steel scrapers are readily available for a few dollars. I bought a set!
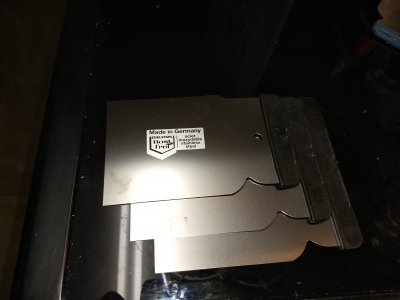
Again I sacrificed one and made another reed valve.
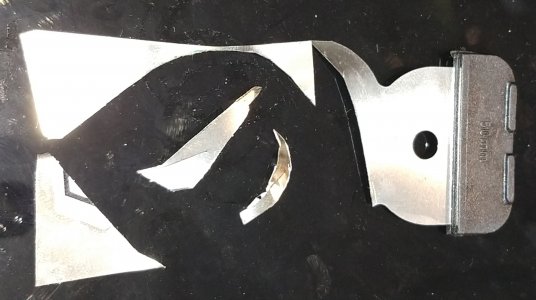
Here you can see from left to right the original, the stainless and the two steel ones I made.
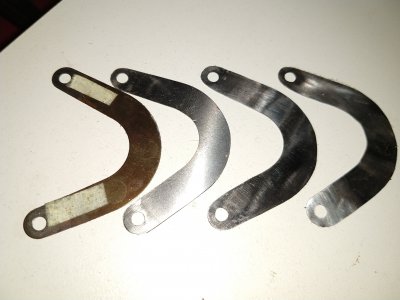
I must admit the stainless material was by far harder and more difficult to cut and drill.
I had to use a modified concrete drill that I have sharpened as a regular HSS drill
Needless to say that the compressor works as new again!
Thanks for reading
Petros

The compressor had a 3 year warrantee! And it worked flawlessly for exactly 3 years and an extra month.
Last month, when I tried to add air to a bicycle tube it started working continuously without raising enough pressure to do the job.
There the fun begins!
I opened the compressor head to discover that a horseshoe shape reed valve was broken in 3 pieces. I put some masking tape on it to establish its shape and work out a solution.

I started looking for a readymade one but nothing was available for the specific model.
I also looked for material to buy and make it but nothing was available locally.
I needed some raw material to fix it that has specific attributes:
A. It has to be a spring steel
B. It must be the same (or very similar) thickness
C. It must be available and cheap
After some head scratching and googling I found out that I had the material for years in my tool box!
Steel PAINT SCRAPPERS!

I sacrificed one of them scrapers...

...with a little help from my dremel and my Sheet Metal Cutting Shears I made two reed valves just to have an extra spare!

I was happy and proud that I managed to fix the tool but…
I noticed that the broken reed valve had many stains on it… particularly at the area where it broke...

Playing it safe I thought “Why not make a stainless steel reed?”
It was just a matter of finding the right material.
Stainless steel scrapers are readily available for a few dollars. I bought a set!

Again I sacrificed one and made another reed valve.

Here you can see from left to right the original, the stainless and the two steel ones I made.

I must admit the stainless material was by far harder and more difficult to cut and drill.
I had to use a modified concrete drill that I have sharpened as a regular HSS drill
Needless to say that the compressor works as new again!
Thanks for reading
Petros


