Making a gib for my lathe-

If you can't come up with a way to measure the thickness you should plan to make the new gib extra long and cut off any extra after fitting it to the target machine. This is usually a good practice with these things from what I have seen.
 
If you can't come up with a way to measure the thickness you should plan to make the new gib extra long and cut off any extra after fitting it to the target machine. This is usually a good practice with these things from what I have seen.
Yeah, I agree. I'm sadly right about at the max envelope of my machine. Plus I already cut my material at a little more than 2 iinches oversized
 
Made a bunch of progress today! I was able to cut the dovetail and get the piece cut off, and get it test fitted.

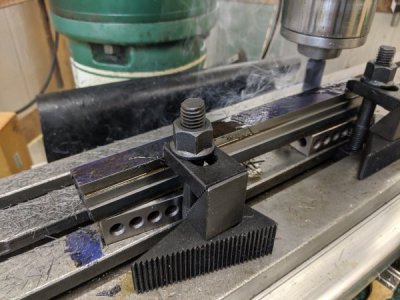
I clamped a parallel on the flat side near the camera, then put the old gib against it, and indicated against it. I got it to ~5 tenths along about 7 inches. Then, I cut the taper with it clamped to the table with a roughing mill.
IMG_20190907_134457.jpg

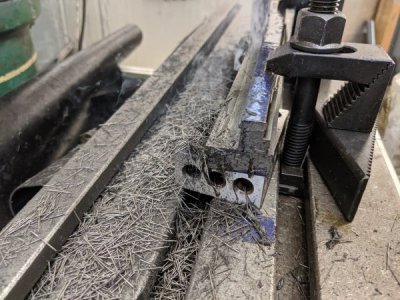
I cut until the small side was slightly larger than the small end of the gib I was copying. You can see the shape, the little 'shelf' on the bottom right (1st step) is part of the piece, the rest is clearance on both sides.
IMG_20190907_141049.jpg

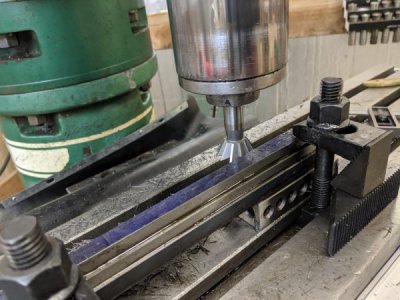
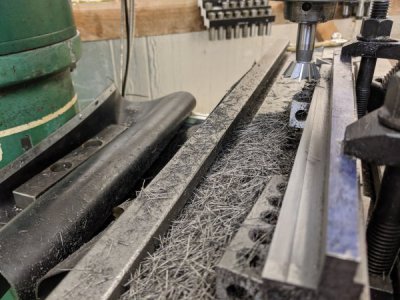
I lined up the dovetail cutter to cut about the height I wanted. A bit more stickout than I wanted, but I did only about 30 thou per pass.
IMG_20190907_142254.jpg

IMG_20190907_142257.jpg

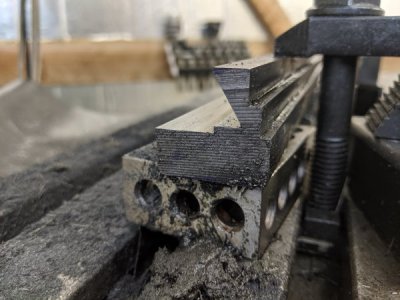
Here's the dovetail basically done. I think I did a spring pass right after this one to get it a bit smoother.
IMG_20190907_145240.jpg


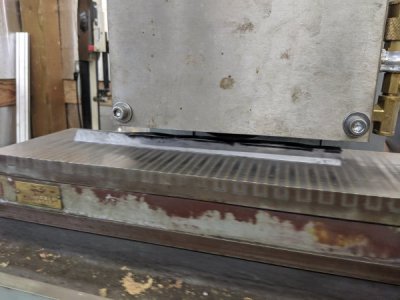
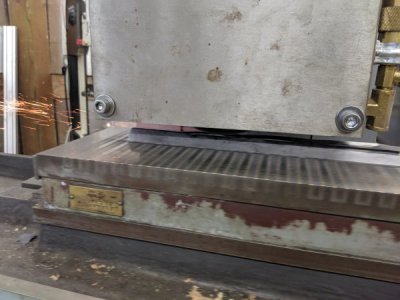
Someone had suggested a mag chuck, so thats what I did! Onto the surface grinder it went! I ended up having to take a bunch of material because my bandsaw cut wasn't anything close to even.
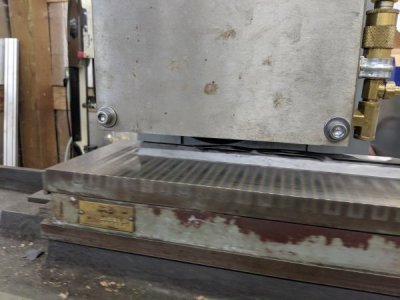
IMG_20190907_154459.jpg
MVIMG_20190907_154458.jpgMVIMG_20190907_154457.jpg


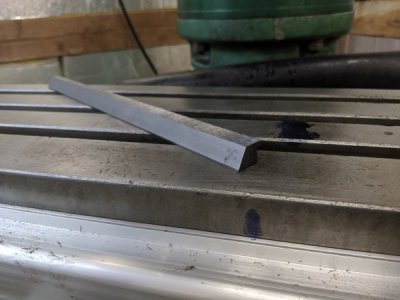
And here it is after!
IMG_20190907_155843.jpg

I did a little bit of deburring, reassembled the lathe, and popped it in. I tapped it in with my hand and moved the compound, and it seemed to work! I'm a touch oversized, so the last inch or so isn't supported, but I intend to fix that on the surface plate with some fine grit sandpaper. The compound moved smoothly and was tight, so I figure it is a success so far!
 
I forgot to take pictures of the rest of the process, but it was also quite educational. When I first put it in, it went in, but stopped about 1.25" from full depth. I blued the side, and ran the compound a few times and discovered that I was actually getting contact along just about the whole way. My taper must have been pretty close!

So, I started sanding on my surface plate. I was afraid at first of taking off too much material, so I started sanding with 1500 grit paper. I spend about 2 hours going back and forth, and got no apparent progress. I blued around the whole thing to make sure I wasn't binding anywhere else, and found I was still stopping on the taper.

SO, I switched to 300 grit paper. I went back and forth for another 3 hours, and got to about 1.15 inches short (yes, I made 10 thou of progress in 3 hours...). After calculating that that I was going to need the rest of my natural life to complete this, I tried 60 grit paper. I made SOME progress, but the paper didn't last very long, so I went through my whole pack very quickly.

SO, I switched to files, where I found that about 30 minutes of filing would get me about 1/4" of progress! A few more hours of filing, and it fit perfect! I also found that with it at the full 'correct' depth, I could leave it at full length and it wouldn't interfere with anything! I now have an extra 2" of material for the future! I cut the 200 thou slot in the side in the for the adjustment screw, and it was project complete!
 
Back
Top