Making a PID controller box for a 20lb melting pot

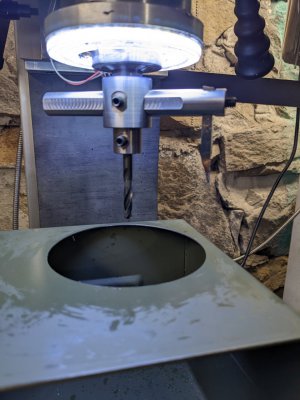
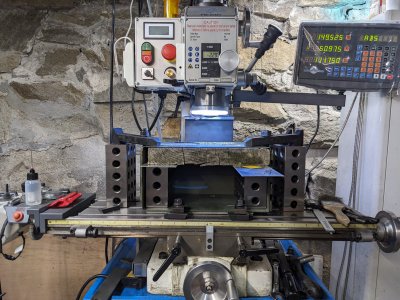
Ground the HSS cutter bit. Kind of had a brain fart and started grinding it the wrong way. Oops. I hope I haven't made the tip too small and fragile. Will find out soon enough. Back upstairs looking for the box drawings. Have to position the fixture/clamps so both the long drill bit and the cutter don't hit anything (like my 246 blocks!) when cutting the hole. Think I will cut off more of the drill bit shank, it sticks out too far. I'd like it only about 1/2" longer than the cutter. I'm using a stubby drill, but even it is too long.
 
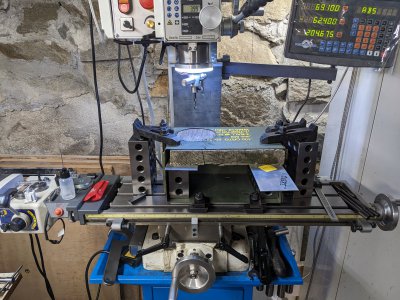
Decided to plow ahead, despite not knowing what I was doing. It was a bit scary, but nothing bad happened. I really need to shorten the drill bit. I also have to do the other side, so I will do it a bit differently. The side deflected a bit so I'll try to stuff the cavity to have a backing.
PXL_20230601_222900503.jpg
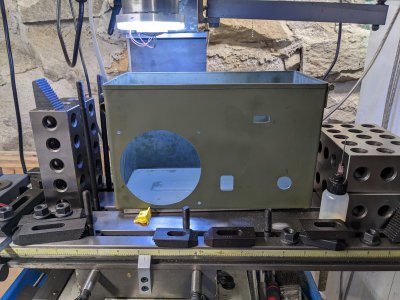
Got a couple more holes in place. Ran out of travel for the corner fan mounting hole. I'll have to get that one some how. I could have gotten that last hole if my lathe wasn't in the way. Have an over stuffed shop. Worst case, I mount the fan, use a transfer punch to mark the location and hand drill. Need to do some hand fitting, think I didn't draw the holes correctly for the snap in sockets. Like a goof ball, I did the back face first, but didn't want to flip it, because I had indicated the box. I use the term indicated loosely, this box is only sort of square.
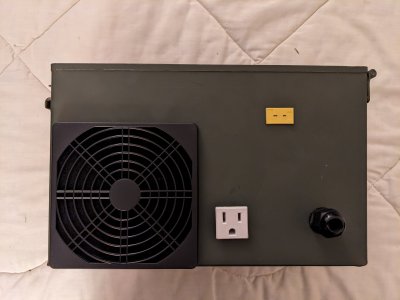
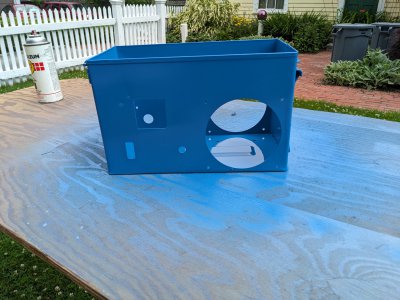
PXL_20230602_001236653.jpgTop hole to the right is for the thermocouple, big hole for the fan exhaust, square hole is for the electrical socket for the melting pot, and the round hole is for the power input.
 
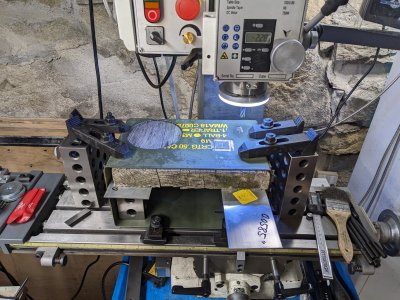
Gee, finally got some quality time in the shop to work on this some more. Machined the other side, which certainly was easier than the first side!
PXL_20230618_183552244.jpgPXL_20230618_193050938.jpgPXL_20230618_193300355.jpg
Then some fitting and filing to get the various gizmos to fit.
PXL_20230619_012312648.jpgPXL_20230619_012330115.jpgPXL_20230619_012407768.jpg
Tomorrow will be the wiring.
 
Wires are in! No magic smoke, or real smoke was released when powered up. It just turned on. Actually pretty pleased with that, considering the amount of "guessing" I had to do to figure out the lit switch. The PID controller came up and was set to 100C. The thermocouple was reading around 24C. Since the value was below the set point, the power outlet was active. I then used a hot air gun set at 100C, to see what would happen. Seemed to behave as expected. When the TC read 125C, the alarm relay could be hear actuating. After cooling down, the power was turned back on.

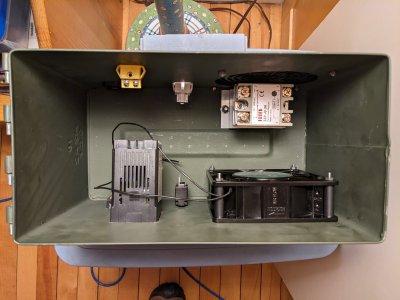
Have a couple of minor tweaks to do, need to replace a ground wire, since it is too small a gauge, and find some star washers. Once I get all that, I will tear it down and sand blast the box and repaint it. And obviously figure out where to mount the thermocouple on the pot. I don't have a pre-made thermocouple, I just have 5 meters of type K TC wire with a stainless steel jacket and high temperature insulation. So I will have to fiddle with that some.

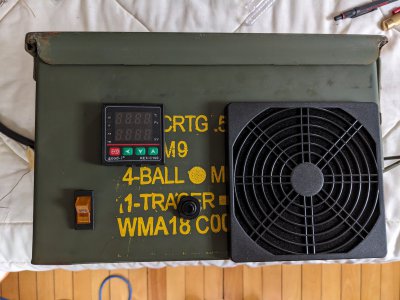
The picture shows the wiring, it's not too neat, but no switching or AC wires go by the TC wire. You can see the PID controller is crooked, (didn't push the mounting bracket home,) since I intend to disassemble it all for paint. This is not quite 5lbs of stuff in a 1lb box, but it felt like it at times, there wasn't a lot of room for my hands to do the wiring.
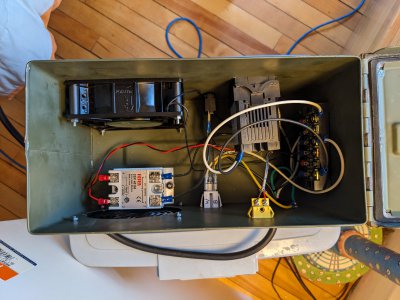
PXL_20230619_195415891.jpg
The fan is noisier than I would like, but since this will be used outdoors, I don't mind too much.
PXL_20230619_195247689.jpg
 
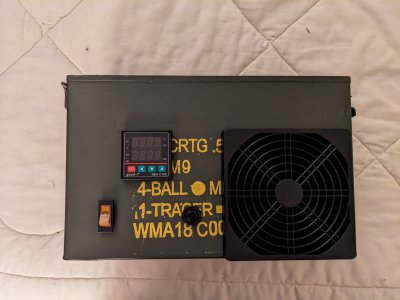
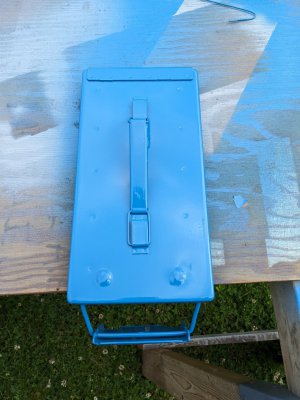
Painted the box safety blue. Thought the writing on the front face was really distracting.
PXL_20230621_143419288.jpgPXL_20230621_143437242_1920.jpg
Tomorrow it will be dry and I can re-assemble the box. Replaced the undersized ground wire in the harness, and found some star washers.

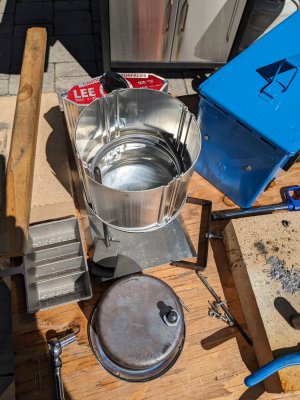
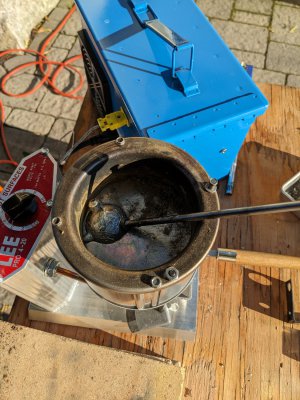
My first look at the lead pot tells me that my initial idea of attaching the thermocouple to the downspout on the exterior of the pot won't work. The mechanism is in the way. I could possibly physically mount the TC at the bottom of the spout, but there's not a whole lot of room there. Saw a YT video a while back that showed mounting the TC inside the aluminum housing at the bottom of the pot. That could work. Next step is to disassemble the pot, which is complicated by the clogged downspout and the lead in the pot. In order to take the pot apart, I have to get the lead out, to free up the mechanism, so I can remove it. Guess that is tomorrow's task.
 
I've determined empirically that the down spout is a bad idea for pure lead casting, outdoors. The slightest of breezes freezes the lead in the exposed bottom. It was a struggle to free it up. And it happened a second time to me, while I was stacking some ingots. I grabbed a butane lighter and warmed the down spout and more lead came out. So I will convert this pot to ladle pour. Freed up the rod from the lead, so I should be able to disassemble the melting pot. Just waiting for it to cool off now.

Oh, the PID controller works fine. Haven't auto tuned yet, but seems to work ok. Didn't realize it but the display is multiplexed. It's barely perceptible but shows up in photos as missing digits.
PXL_20230622_153100101.jpg
I was melting lead then, but you can't tell from the photo. The temperature was set to 362C.
 
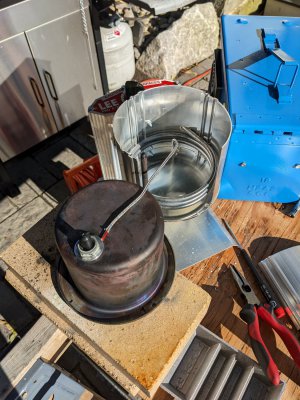
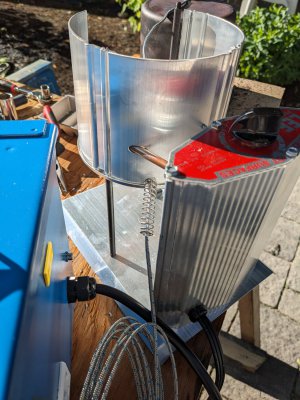
The down spout is not good for outdoor casting of pure lead. It was constantly freezing up on me, even though the pot was hot. A 3mph breeze was enough to chill the lead and block the pour. I decided to remove the mechanism and plug it. While doing this, I installed the thermocouple underneath the pot out of the way.

I managed to empty the pot into the ingot molds to store the lead. Once the pot was empty, I could raise the screw and free the mechanism and remove it from the pot.
PXL_20230622_193334412.jpg
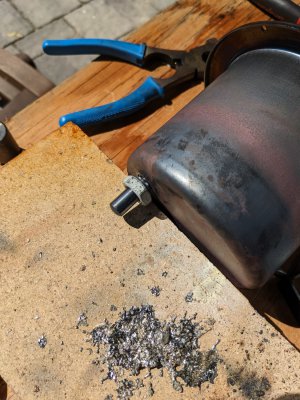
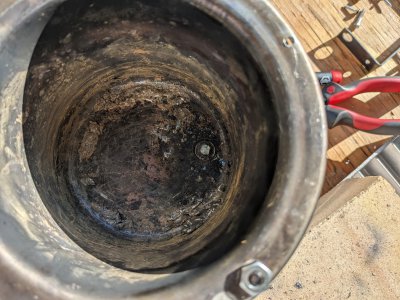
The plan is to capture the TC between the nut and the pot.
PXL_20230622_193404054.jpg
I made a washer out of 6061 that was 0.050" thick. I figured it would give a little while clamping the thermocouple wire. In the picture you can see the TC and the TC wire exiting the pot through a 5/16" hole. I used a spring as sort of a cable relief - need to make that a little better, but that is the basic idea.
PXL_20230622_215840804.jpgPXL_20230622_215851965.jpg
Machined a little aluminum slug to be a slight interference fit to the down spout. Just shaved off 0.005" of the diameter of some 1/4" stock. It's a nice snug fit, but there's a nub sticking out, should I want to fish it out somehow.
PXL_20230622_220109032_1920.jpg
Melted a nice pot of lead, using the newly installed thermocouple. No more stuff in the way - makes it easier to flux and clean.
PXL_20230622_224300076.jpg
With some luck, I'll be casting tomorrow.
 
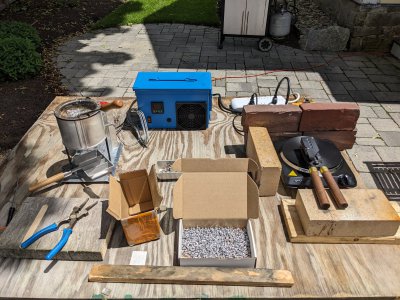
Spent a good part of the day casting yesterday. Got too much sun, but that's a different story. Can't say that I was super productive, but I am getting better at it. Lets just say I spent a bit of time getting it all organized.

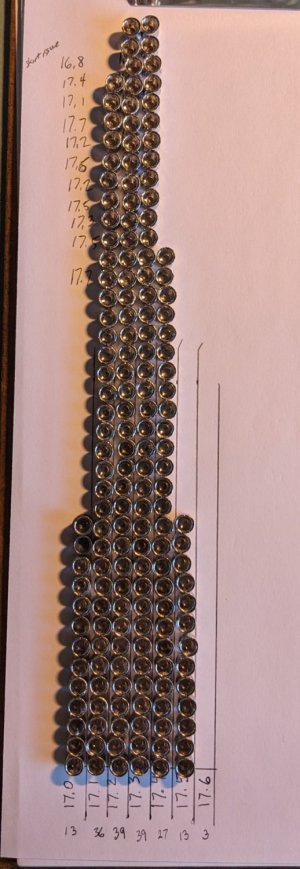
Casting pellets is a lot harder than solid slugs or round balls. It's tough to get the skirts to fill out properly, everything has to be just right. But I did get about 167 decent pellets out of that session. The yield wasn't that great, but it's a matter of technique. I did weigh and sort the pellets to get an idea of the distribution. Now this is after a massive cull of under-filled pellets and those with flash on them. Pellets that weighed over 17.5 gr tended to have flash on them, and those under 17 gr the skirts were not filled out.

What really helped was preheating the mold. I had a separate hot plate to leave the mold on, set around 375F. Whenever I was not casting, the mold was placed on the hot plate. Having the lead at the right temperature didn't hurt either.
PXL_20230623_164943113.jpgPXL_20230624_231111333_1920.jpg
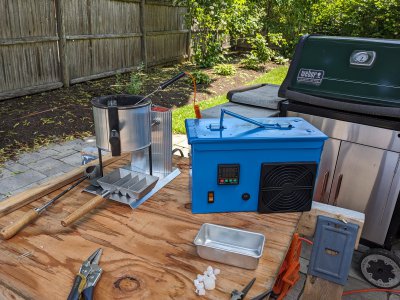
The larger box is full of the pellets I cast. At least 5 lbs worth. The only ones I kept are in the second picture. Hoping this gets a little more efficient. You can see that I still don't quite trust the plug I installed in the pot, I have the ingot mold underneath, just in case of a leak.
 
Did you see the thread from a member here where he made some very nice swaging dies for pellets? Could be a good second op for uniforming those skirt walls.

I'm glad you're working outside and that the weather is nice. I've kept my mouth shut about working with lead. It's not the vapor/fume so much, since you're watching your pour temperature closely. It's all the contaminated equipment you're handling here. But you're an adult and can be safe.

What I really appreciated about this project is your power supply and PID controller. I've been thinking about rolling my own heat treat oven, because lab furnaces are too small and everyone thinks they are hard to build, which keeps prices up. Your control box would work perfectly for a HT oven as well, so long as everything was matched just like you did with your pot element. So thanks for the thread, I got something out of it.

I also think you should put a Miller decal on that blue controller box.
 
Back
Top