Making Chuck Keys

Kroll

Active User
H-M Supporter Gold Member
Joined
Dec 23, 2012
Messages
1,307
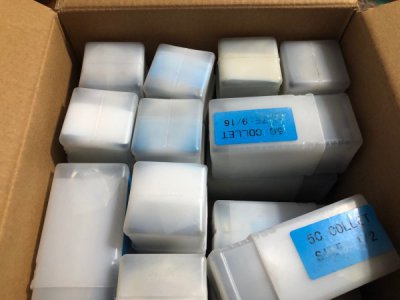
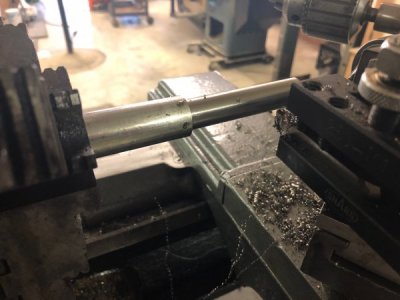
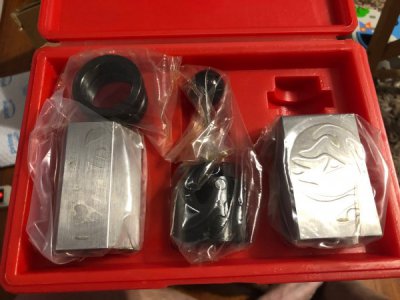
Yes Keys,I have to different sizes to make which Doc so graciously sent me some SS and a cutting tool to rough and finish turn OD.In my other post which I had ask about what material would work and receive lot of good answers.My excuse for not starting on the keys was due to the heat which today 97 and I need collet block set and some 5C collets.Well yesterday Amazon took away couple my poor excuses and this morning it felt pretty good outside so what tha heck.Lets get started,but first some pics for little entertainment.Guys I hit a stopping point when the sweat on my nose was dripping onto my lathe so enough for today.But I am making some progress,will try to add little character to my chuck keys.Blocks.jpgCollets.jpgDocs.jpg
 
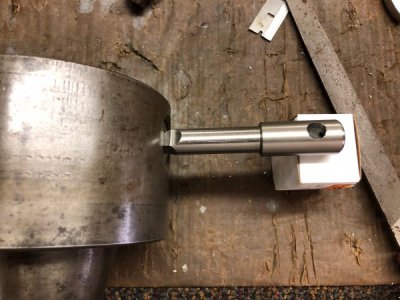
Guys here's pic of what I was able to get done,but who care's if I broke 1/4 tap off while make threads for setscrew;) This took me all day long,which I did make few mistakes up to this point but it fits the chuck.Pics don't hide any flaws do they,well I have to do little wet sanding and break the hole edges for the rod.My eye's just did not see those flaws but my camera did.Next I will be making the T handle,which I have some 3/8 rod.Just need cut to length then round over the ends,but that may be while have go back to work tomorrow dang it.key.jpg
 
That’s looking pretty good so far. Nice clean turning, crisp edges...:encourage:

-frank
 
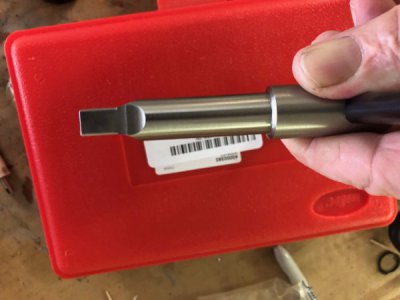
Guys I have finish the first chuck key which this was a learning experience for me.I first started out trying an insert then on next pass use Doc HSS that he had grind for me.Rough on one end and finish on the other end,what a difference it made.Which made me look like I knew what I was doing :)
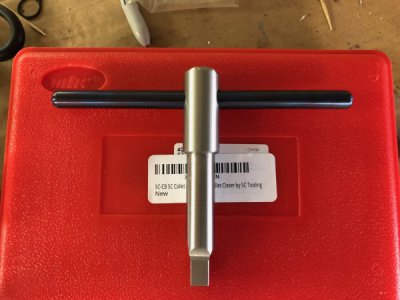
I did watch a few Youtubes on how to blacken steel to help keep from rusting but it took couple trys.First attempt I use my torch which I got it to hot started turning white.At first it was perfect looking on one side but when I turned it to look at other side it just look bad.So tried to heat it again then quince it in oil.But 1/2 was nasty black and other half look good.So buff it clean then wipe it down and put it in over and heat to I think 540* which gave it the color that you see,then in oil it when.It looks perfect so I just hope it keeps from rusting and last a while.OK next was my milling experience which in first pic it looks good,but in second pic which I turned over you can see I loss focus while milling that side.Oh well maybe better on next one which maybe in month.Guys thanks to all on this for all the advice that I receive on my other post/question and thanks to Doc for giving some SS to check out 304 and not that dang 316.Key1.jpgKey2.jpg
 
Nice, job.
I have a couple to make too, so will be looking back at yours when I get started.
-brino
 
Very nicely done!

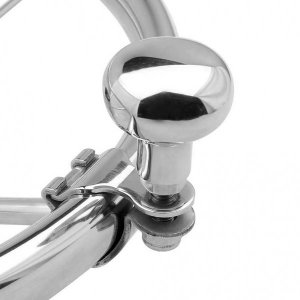
Do you know what a suicide knob on a steering wheel is?
61xvBWFzBWL._SL1001_.jpg

They are really handy on a lathe chuck key too... especially when you have a long way to move the chuck jaws. :)


Larry I did use mill which was my 3rd time,on one side I went past my mark.I loss my focus on that side.
 
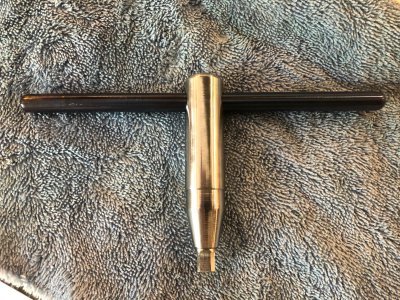
Guys I was going to use my 4 jaw chuck for the first time found that I don't have a chuck key for it.Well Doc sent me couple pieces of 304 SS so I had about 4" piece left over which is just enough for me to make another key.Well the SS come out better and I made a taper cut for the first time,will little sanding and buffing it come out pretty good.But the W2 3/8 not so much,it was just little tight getting it through the 3/8 hole was not 3/8 so I re-drill the hole in the key little over size.But while sliding the 3/8 rod and dropping it there is couple scratches on it now,but I hope that blacken the outside will offer little rust protection.Anyway guys I have to say that I am a fan of 304SS thanks to Doc,key5.jpg
 
Back
Top