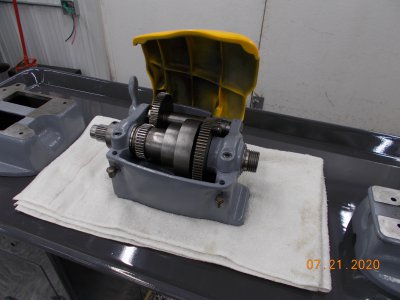
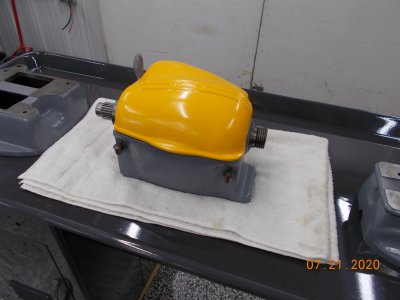
My 9A-#16490 NKR

Brino,
I did it by hand.
Although I did chuck up the tap to be sure all was straight then used a piece of drill rod in the chuck for a handle once I got the initial bite.
Oh, and I used a 3/16" end mill for a pilot hole.
Worked OK!
In a week or so, I should have the cabinet gutted so I can take it to the sand blast guy.
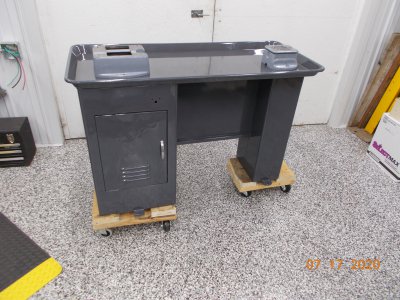
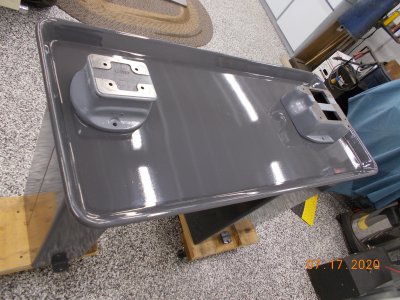
I think I'm going with Case/IH gray for paint. I can get a Qt for $33. It's the darker gray used on the Case skid steer tractors for trim.
I think it will compliment the gloss smoke gray I have been using for the rest of it.
I Appreciate your interest in my project.
 
Turned out pretty good, I think!!
I'm starting to get a little excited now about seeing this project thru to completion although it will take me some time more yet, Been a busy summer so far.

DSCN7946.JPGDSCN7947.JPG
 
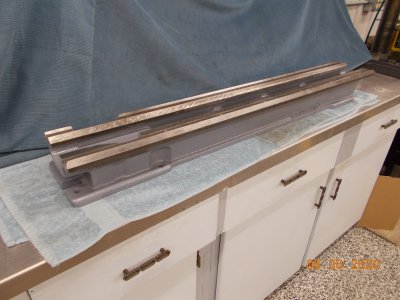
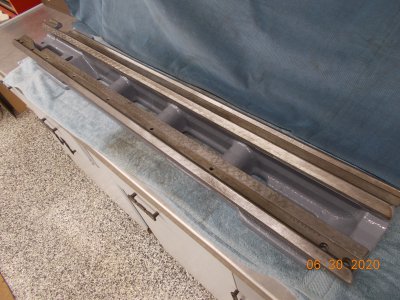
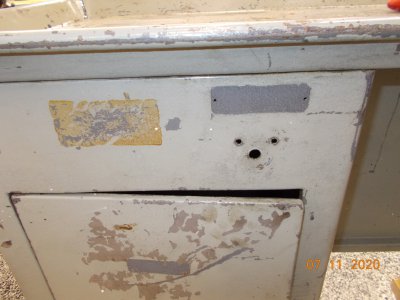
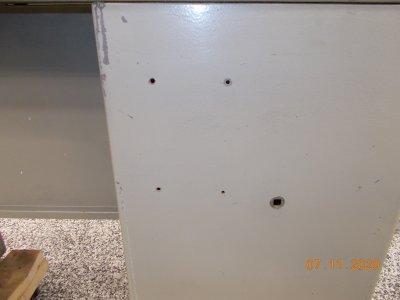
Cabinet is gutted and ready for a trip to the sandblaster.
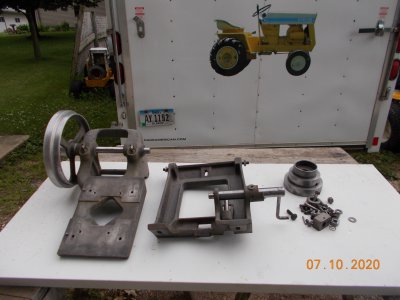
UMD components are cleaned and awaiting the cabinet refinishing so will be a few weeks yet.
Most components are done and awaiting re assembly at this point.

DSCN7952.JPG
 
Nice work on the restoration. To answer one of the follow-on questions (When are follower rests used?) - they are used when turning long narrow parts. I got one not because I needed one but because I might need one some day. Still have not used it for a project (but did put bearing rollers on it). BTW - I put in some hex nuts in those holes to keep them from getting junk stuck in them. I’ve sometimes thought it would be nice to mount a flat platform for an indicator using those bolts (the rest of the carriage surfaces are rounded)

Rick
 
Your project is coming along nicely!
It may be to too late but mark the wires that go to your on/off switch and take a picture of it.
On mine all the wires but one were black.
I can't wait to see it all together.
 
Thanks Karl! and I'm glad you mentioned the wiring as
that is another item I need to source as there are no switches or terminal box at all on this machine.
Just a cord coming from the motor out through the back of the cabinet with a plug on it.
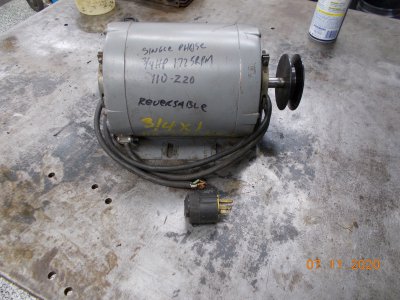
This is the motor that was on the machine when I got it.
Should I have this wired for 110 or 220 when/if I can locate what is missing?

DSCN7956.JPG

It is also missing the switches/parts that would/should have been located in the next 2 pic's
Perhaps one of the folks here has a 9A with the parts I am missing and could post some pictures please??
Is any of this stuff available anymore?

DSCN7954.JPGDSCN7955.JPG
 
The switch on mine is: left is forward, middle is off, right is reverse. I think the switch can be found at McMaster Carr.
My motor is 110 volt and has a two step pulley. I have a bad sketch on how mine is wired. Mine goes to a junction box behind the lathe. I am not sure if this is stock because I have a pump for coolant. I inherited mine from an uncle.
When i have a chance i will get part numbers for you.
 
Just to clarify i have a 10k lathe. You still should have a switch that reverses.
McMaster Carr does have the drum switches. I cant determine which one you need though.
My wiring is run through conduit underneath the pan. It goes from the switch, curves to the left into a juction box the to the motor.
This stuff could be bought at Home Depot, etc.
My wiring is 14 guage. From the motor to the juction box. Not sure from box to switch.
 
Well rainy days equals shop time.
Made a bit more headway today and finished up the headstock.
I hope to corner the neighbor tomorrow for help in laying down the cabinet and installing the UMD components.

DSCN7986.JPGDSCN7987.JPG
 
Back
Top