- Joined
- Oct 31, 2015
- Messages
- 23
When I got my Jet mill a couple of years ago, It needed some love. The left crank wheel on the X axis was missing and the right one was busted up.
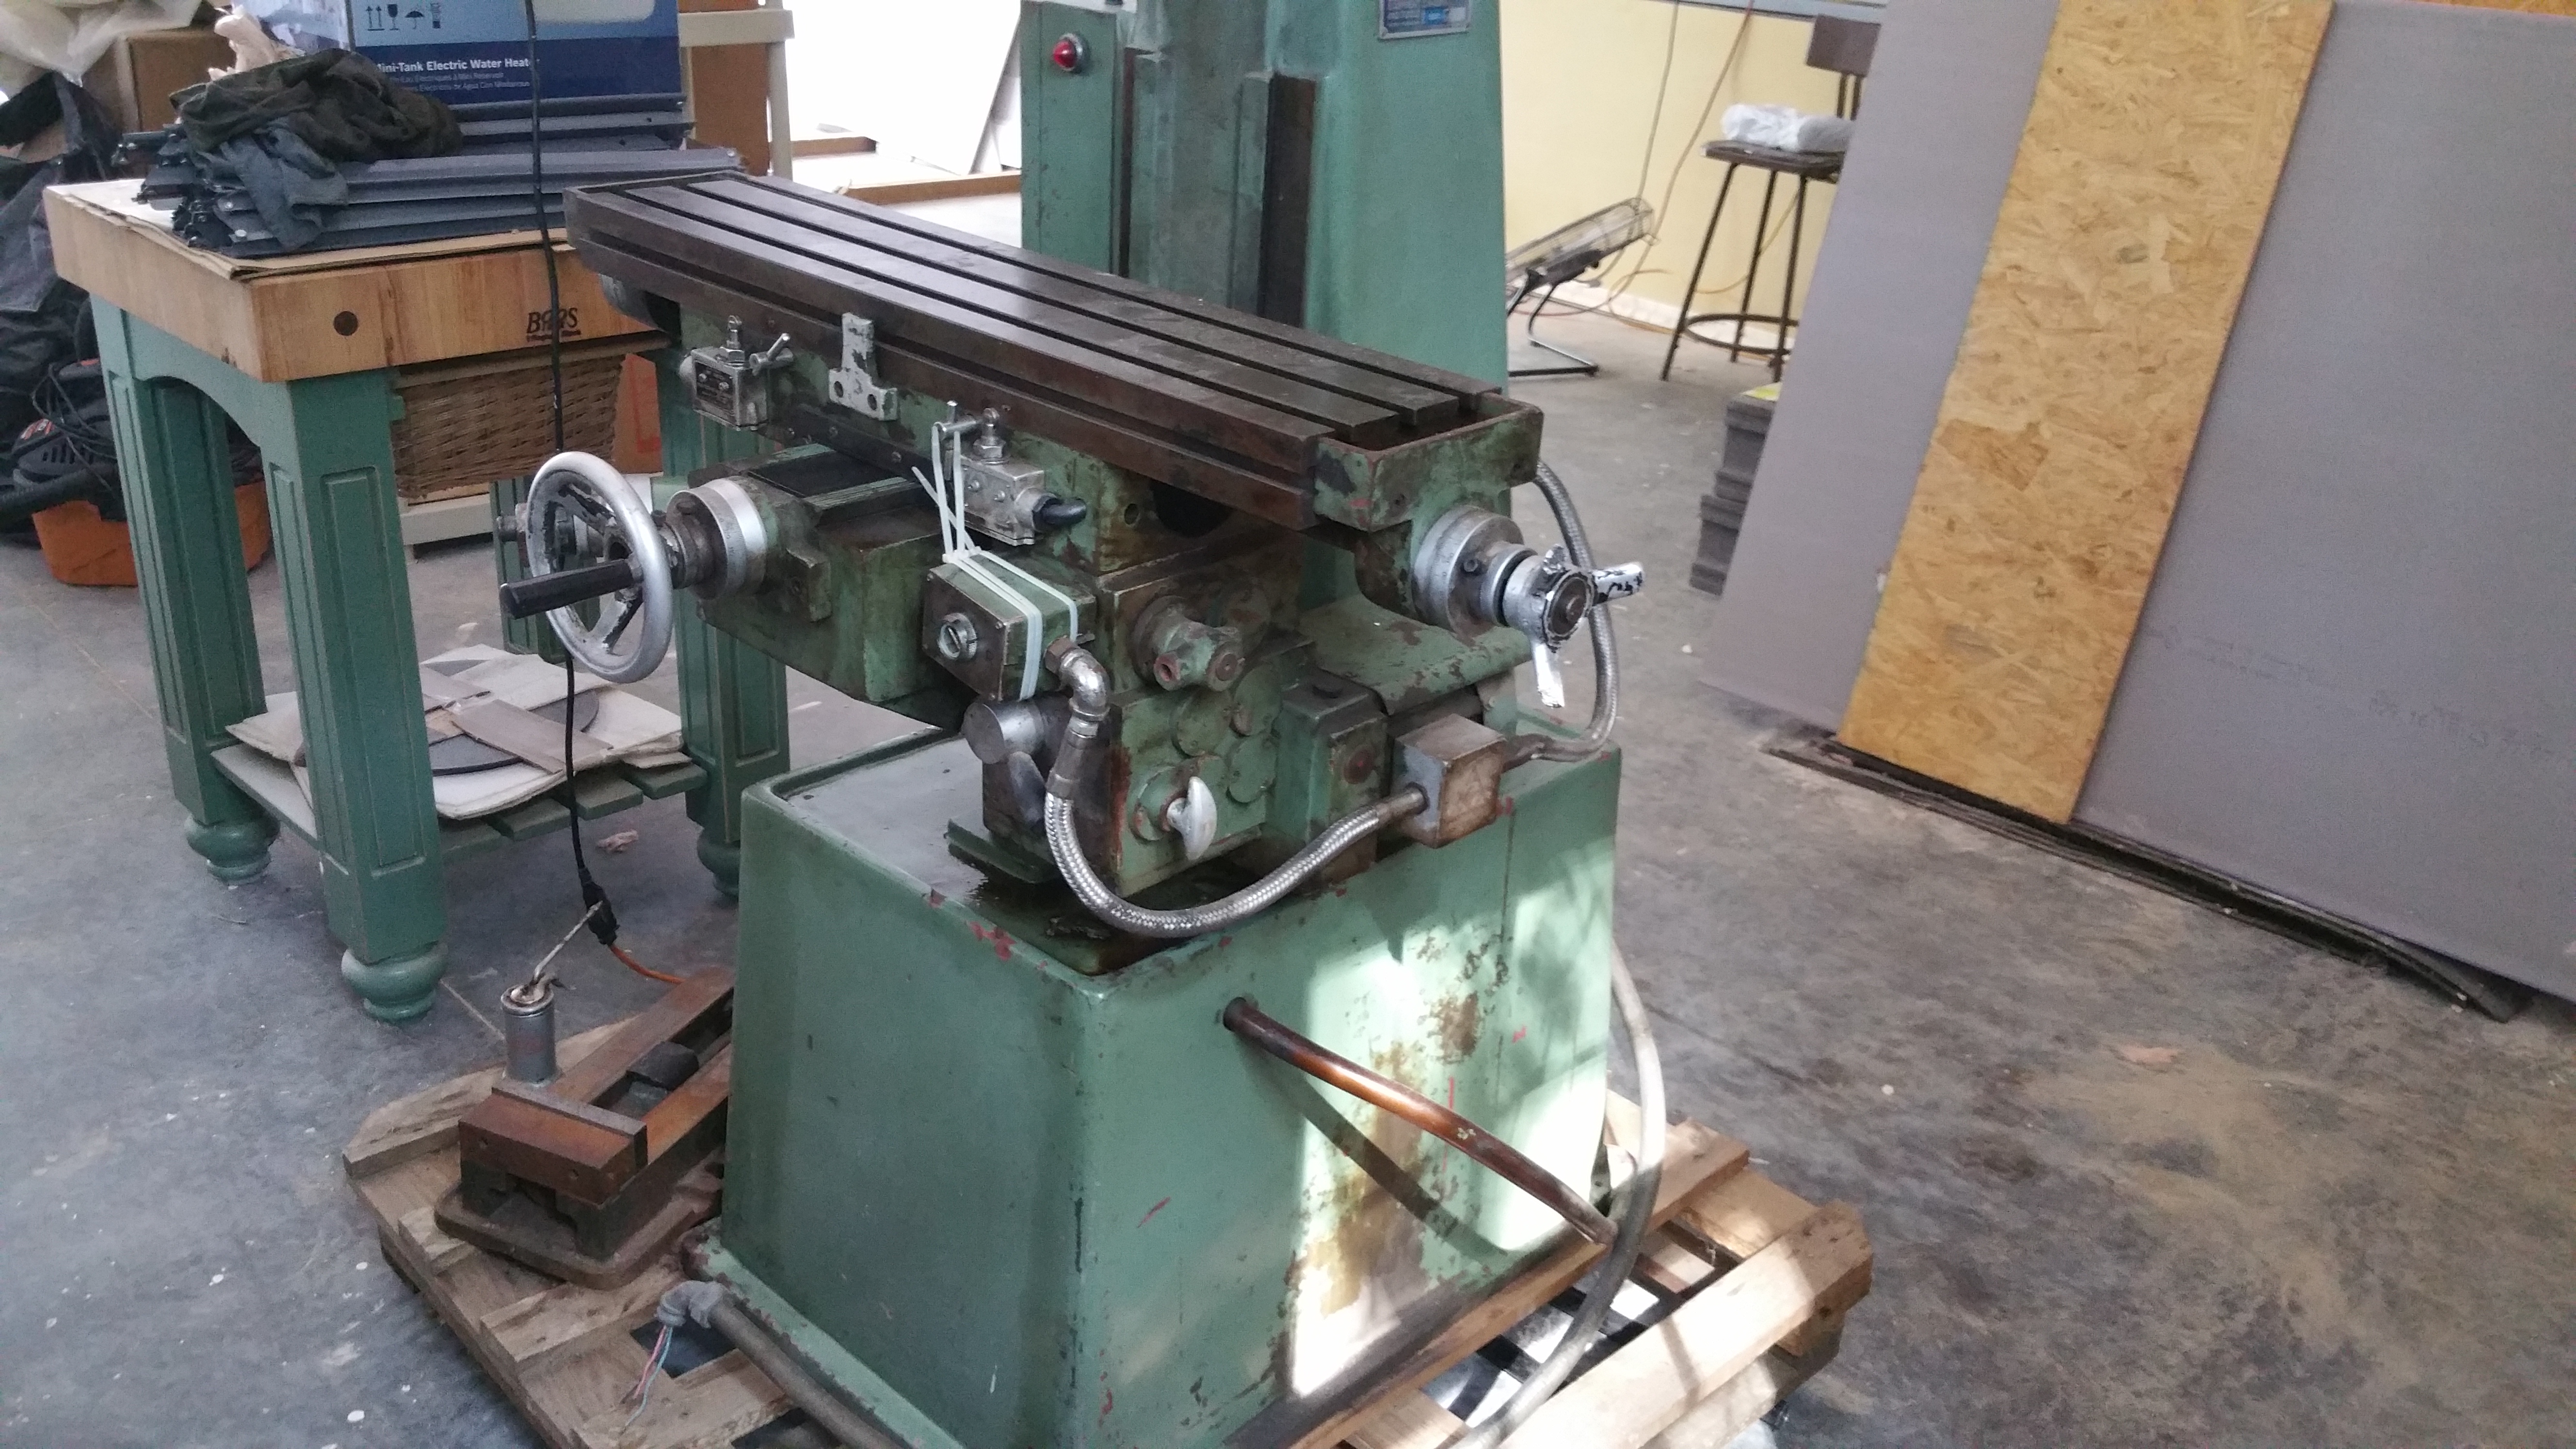
I ordered a couple of cast hand wheels off of Amazon and bored one out to press in the cogged clutch piece. A shoulder bolt was used for the handle as seen below.
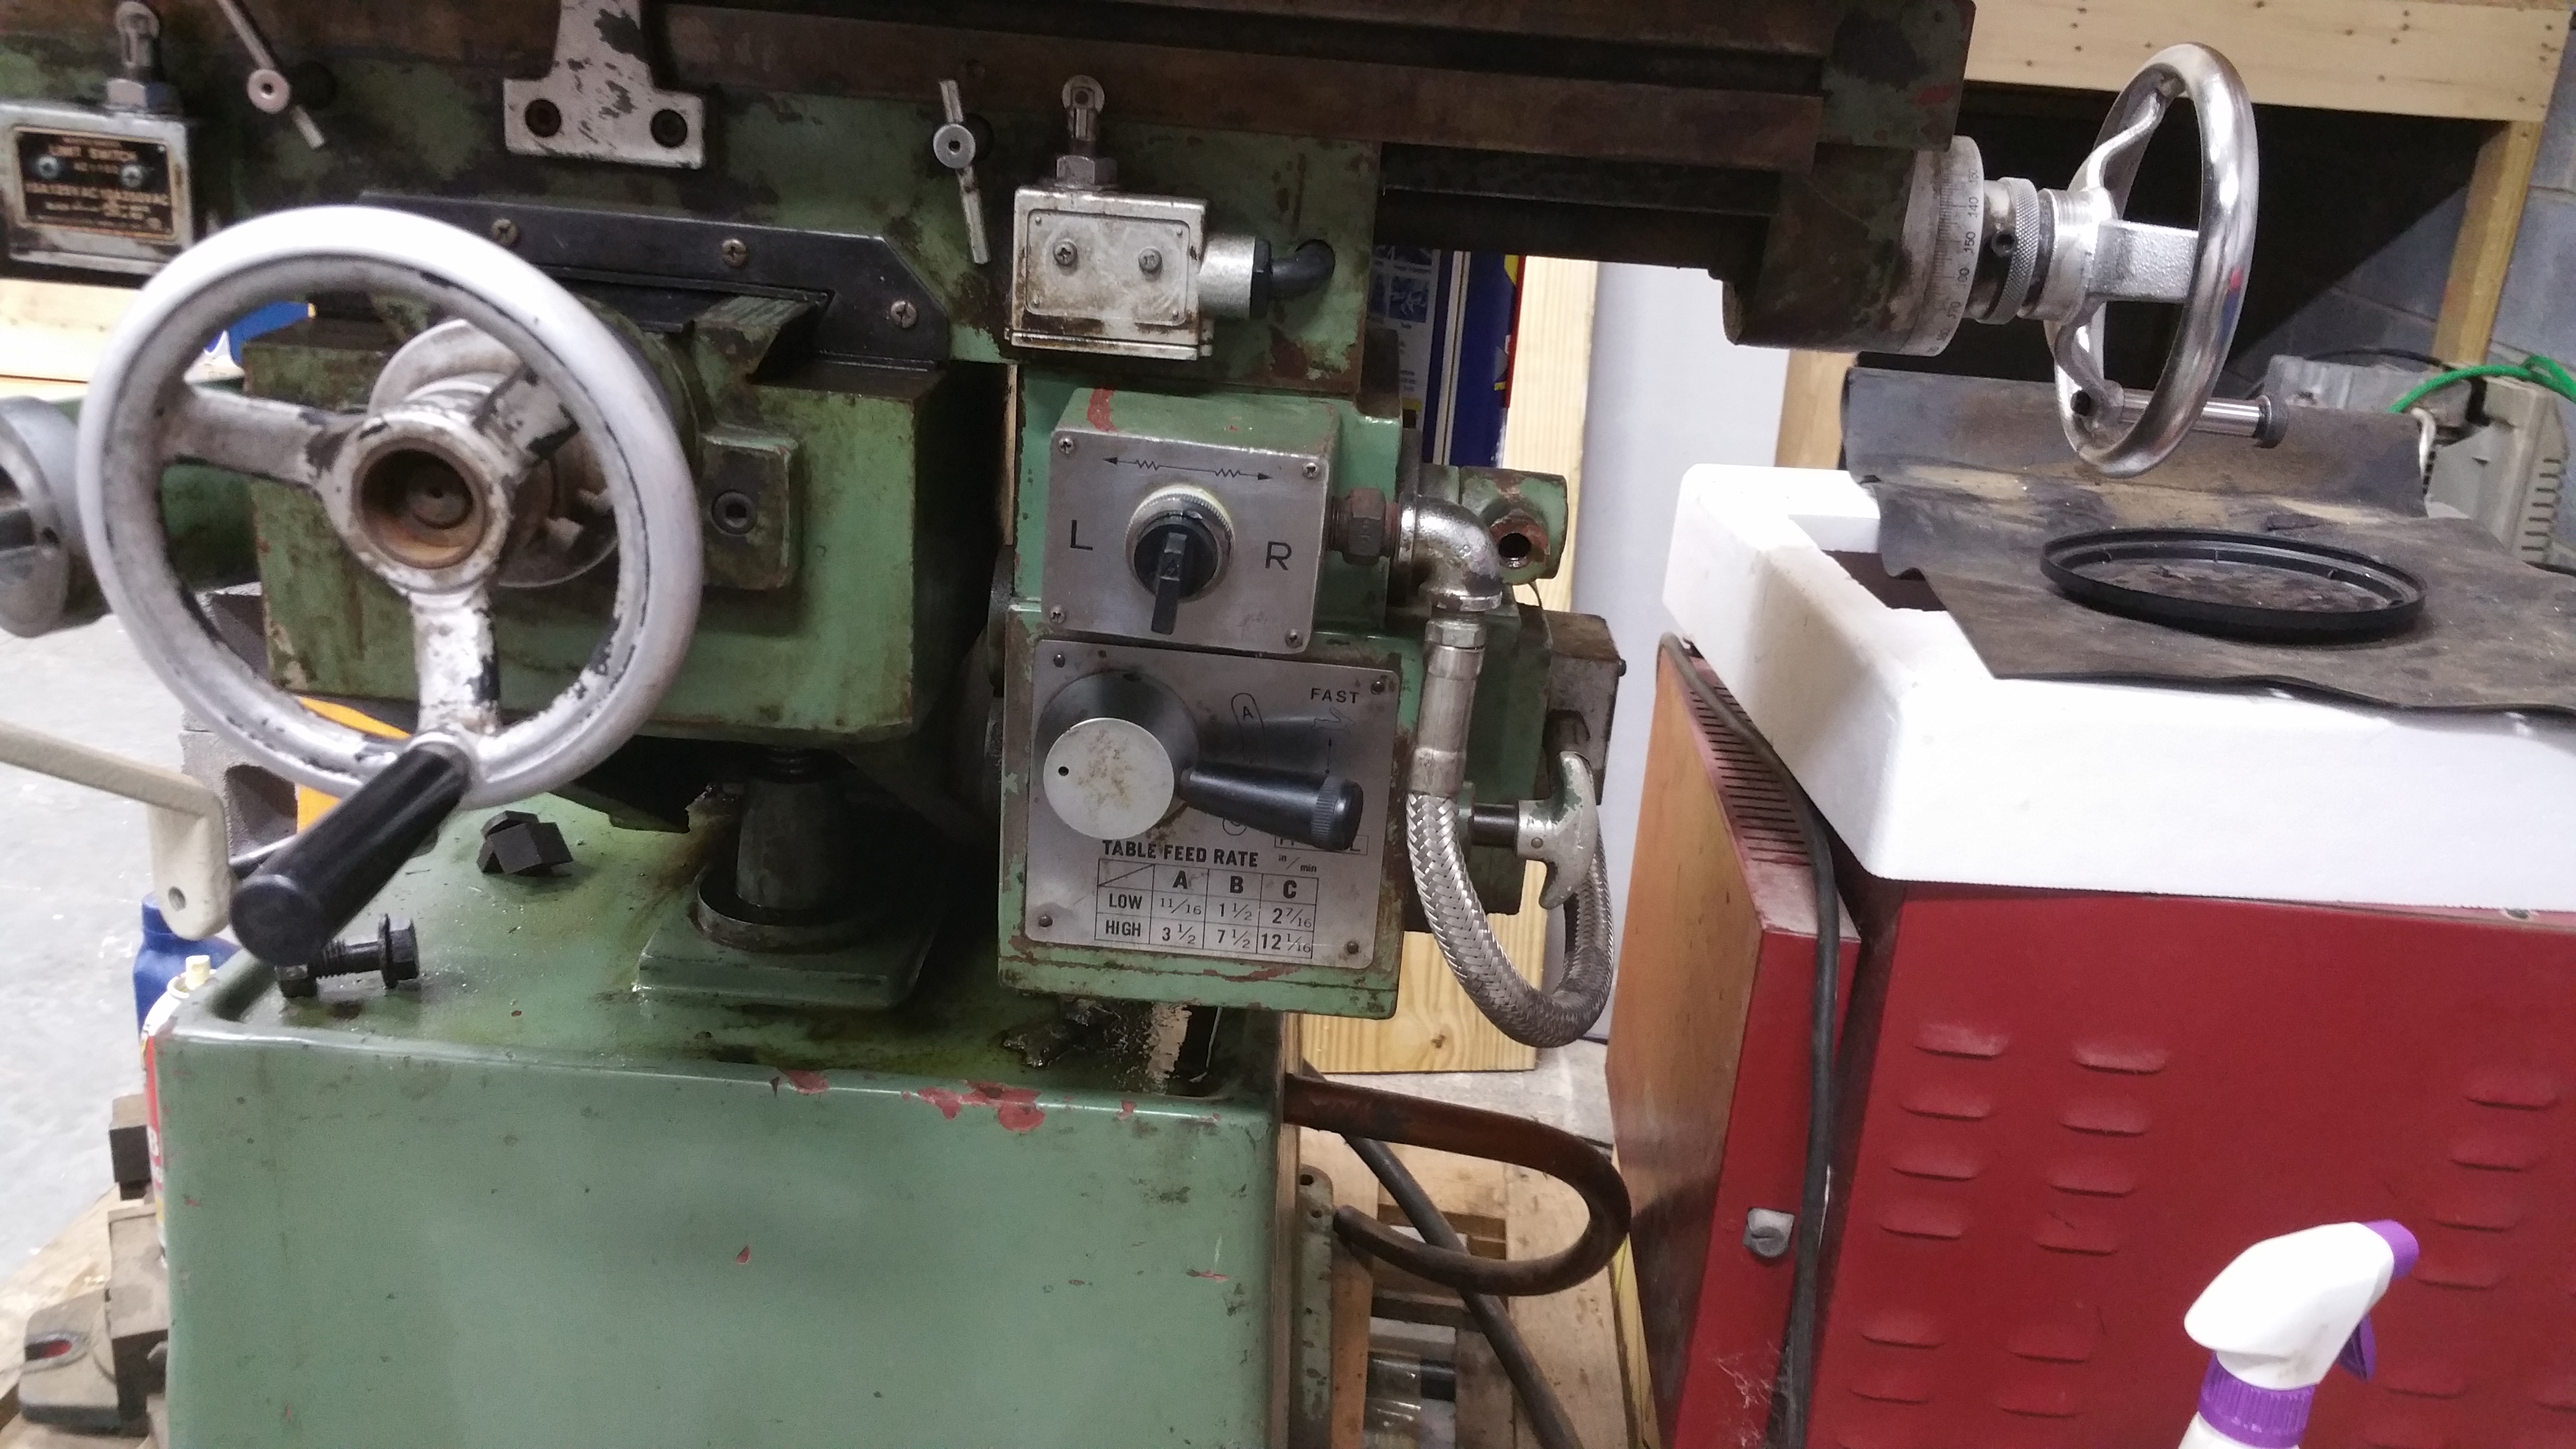
The mill worked OK with one handle, but really needed two handles. In order to make a second handle, two actions were needed. I had to straighten the X-axis lead screw to remove a kink on the right end. This was easily accomplished with a little work on the HF 20 ton press. The second action was to machine a send cogged clutch piece for the second handle. I do not have an index or rotary table so some creative but inexpensive solution was needed. I thought about this for some time. The cogged clutch piece has 7 teeth, so I needed something to set up 14 angle settings to duplicate the piece. After watching a few You tube videos on guys making indexing wheels of lathes, it occurred to me that I might be able to use a 28 tooth gear as an index. I have a set of gears with my Logan 1825, but no 28 tooth gear. A search on Ebay netted a 28 tooth gear off a South Bend lathe for $11 shipped.
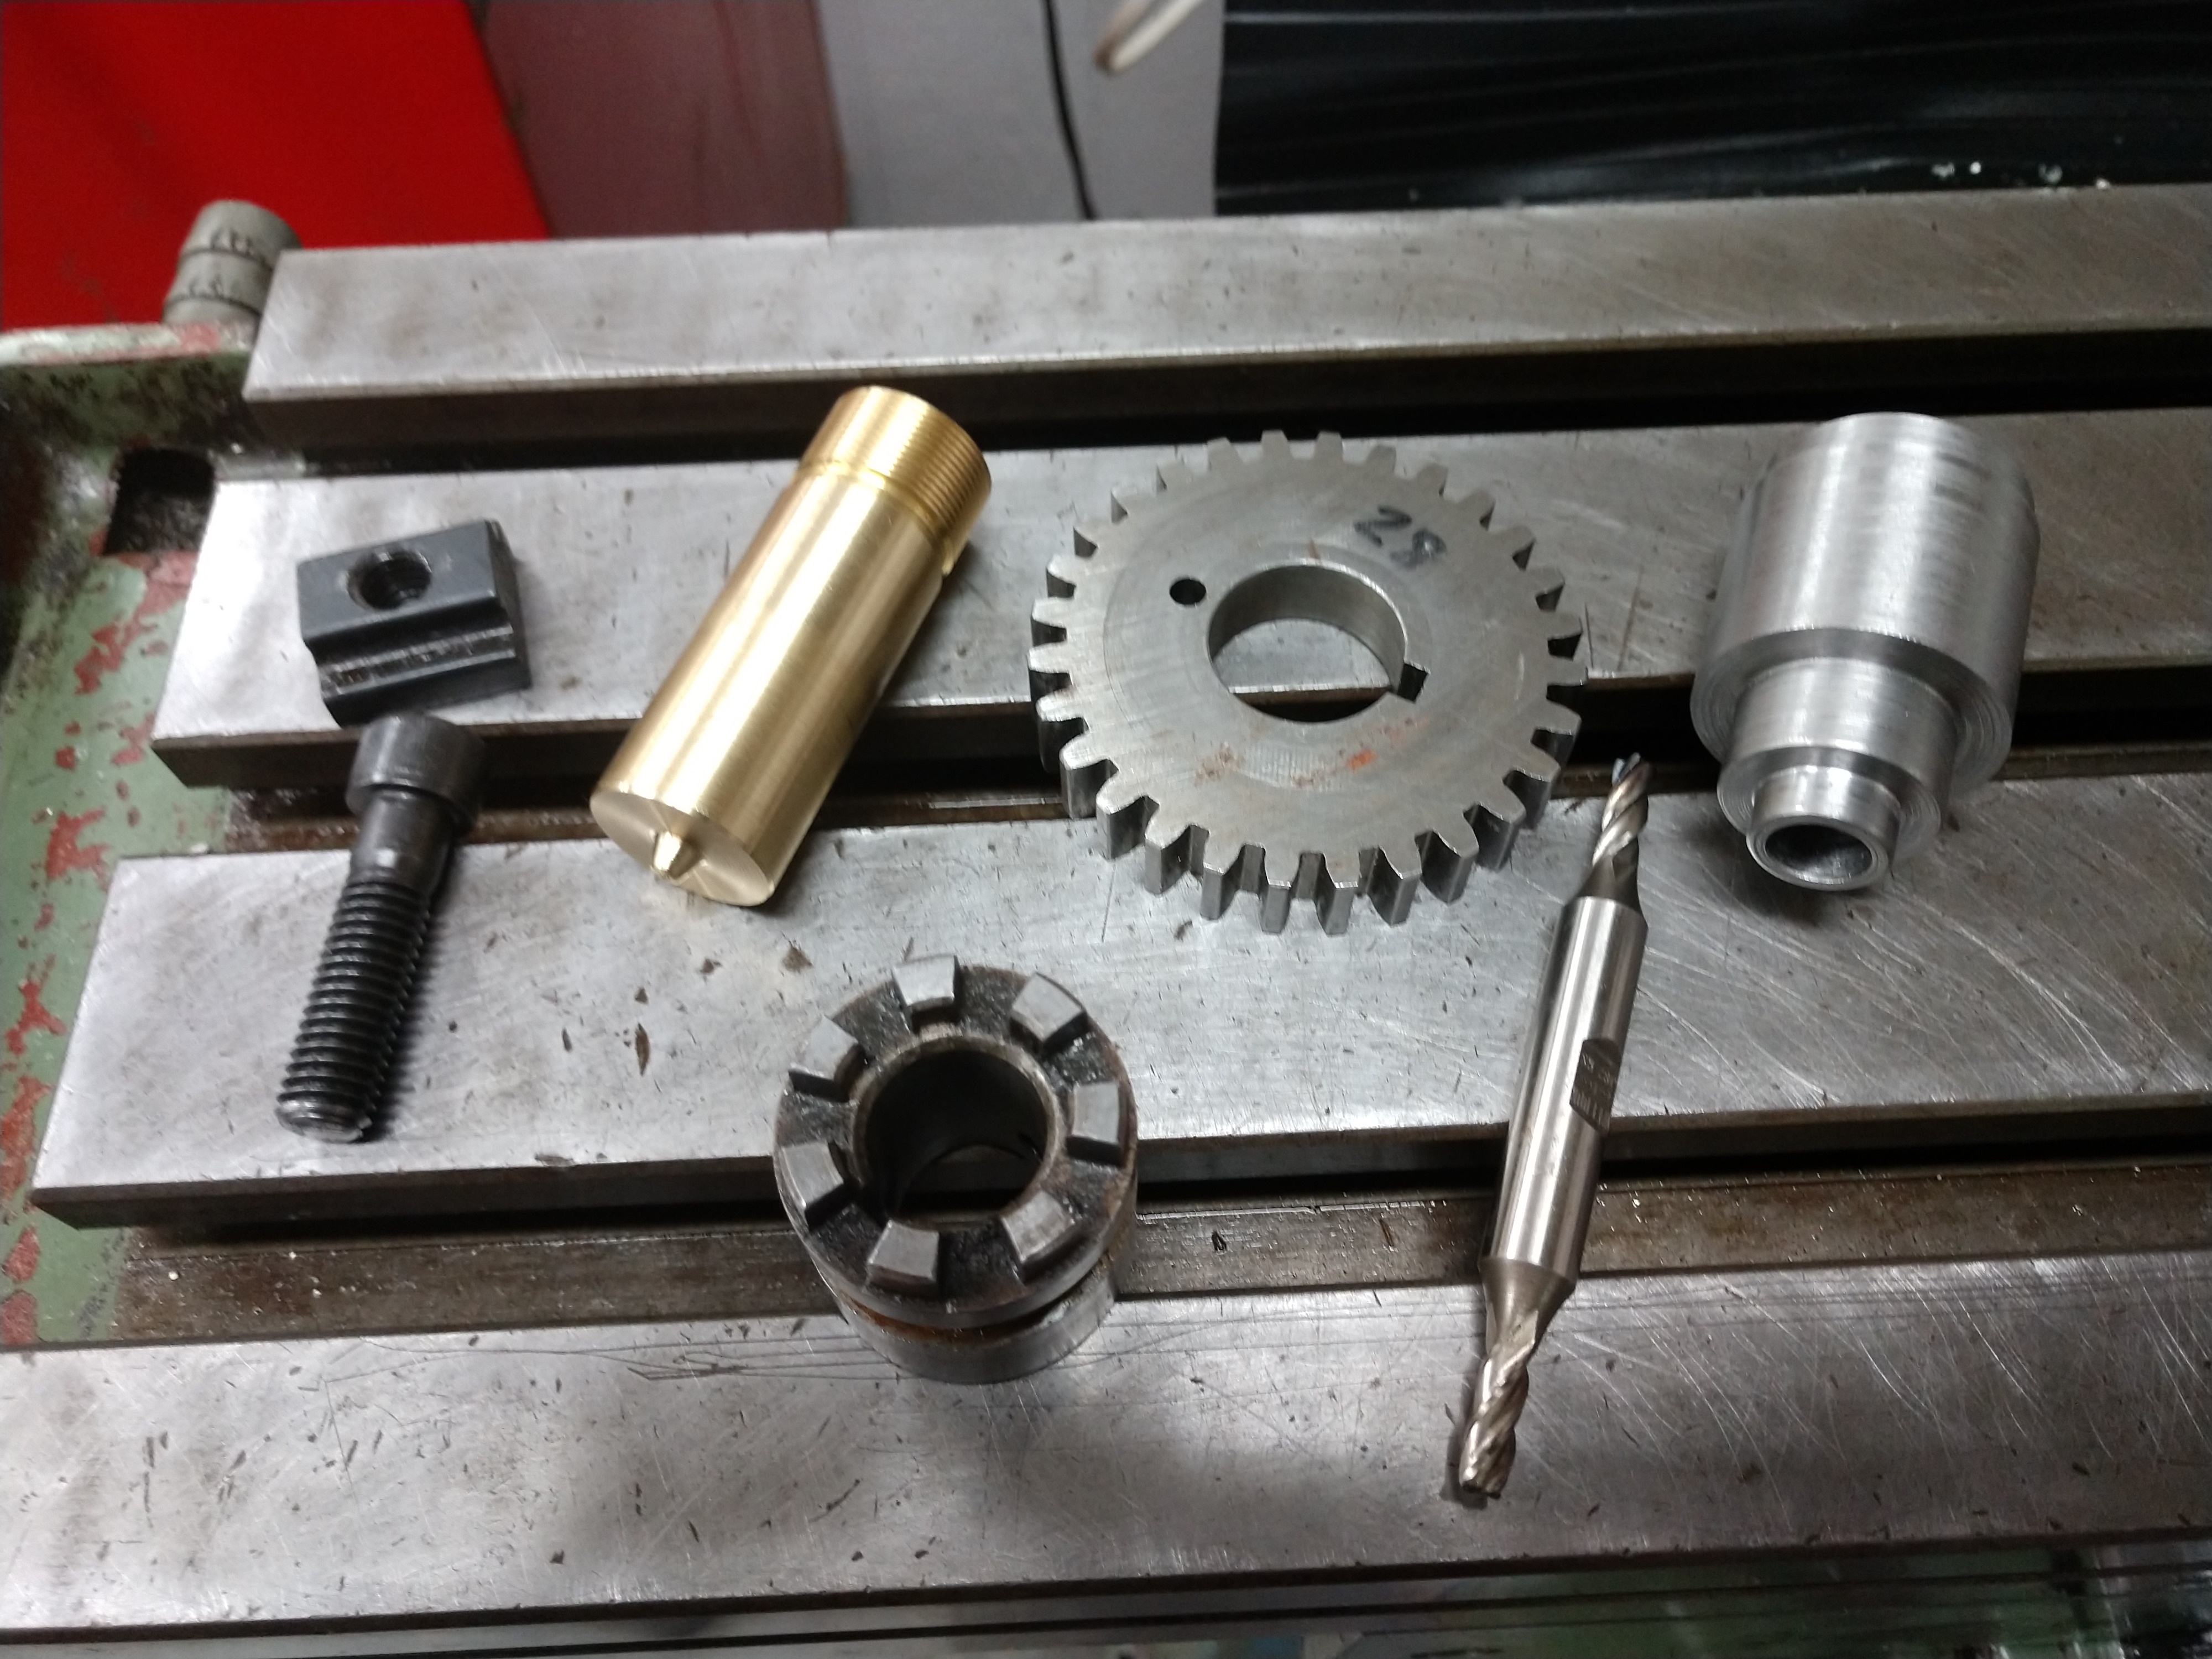
Seen below are the pieces of the solution for machining a replacement cogged clutch piece. L to R is
1. T-nut
2. 3/8" cap screw
3. 1" diameter brass piece with small tapered nose turned on one end.
4. 28 tooth gear
5 Stepped blank to become machined
6. Mating clutch piece to check fit of new piece
7. fresh 3/16" HSS end mill
The smallest diameter on the machined blank was turn to pilot in the T slot of the table.
The middle diameter was machined to fit the center bore of the gear.
The large diameter was machined to mate with a bore in the new crack handle.
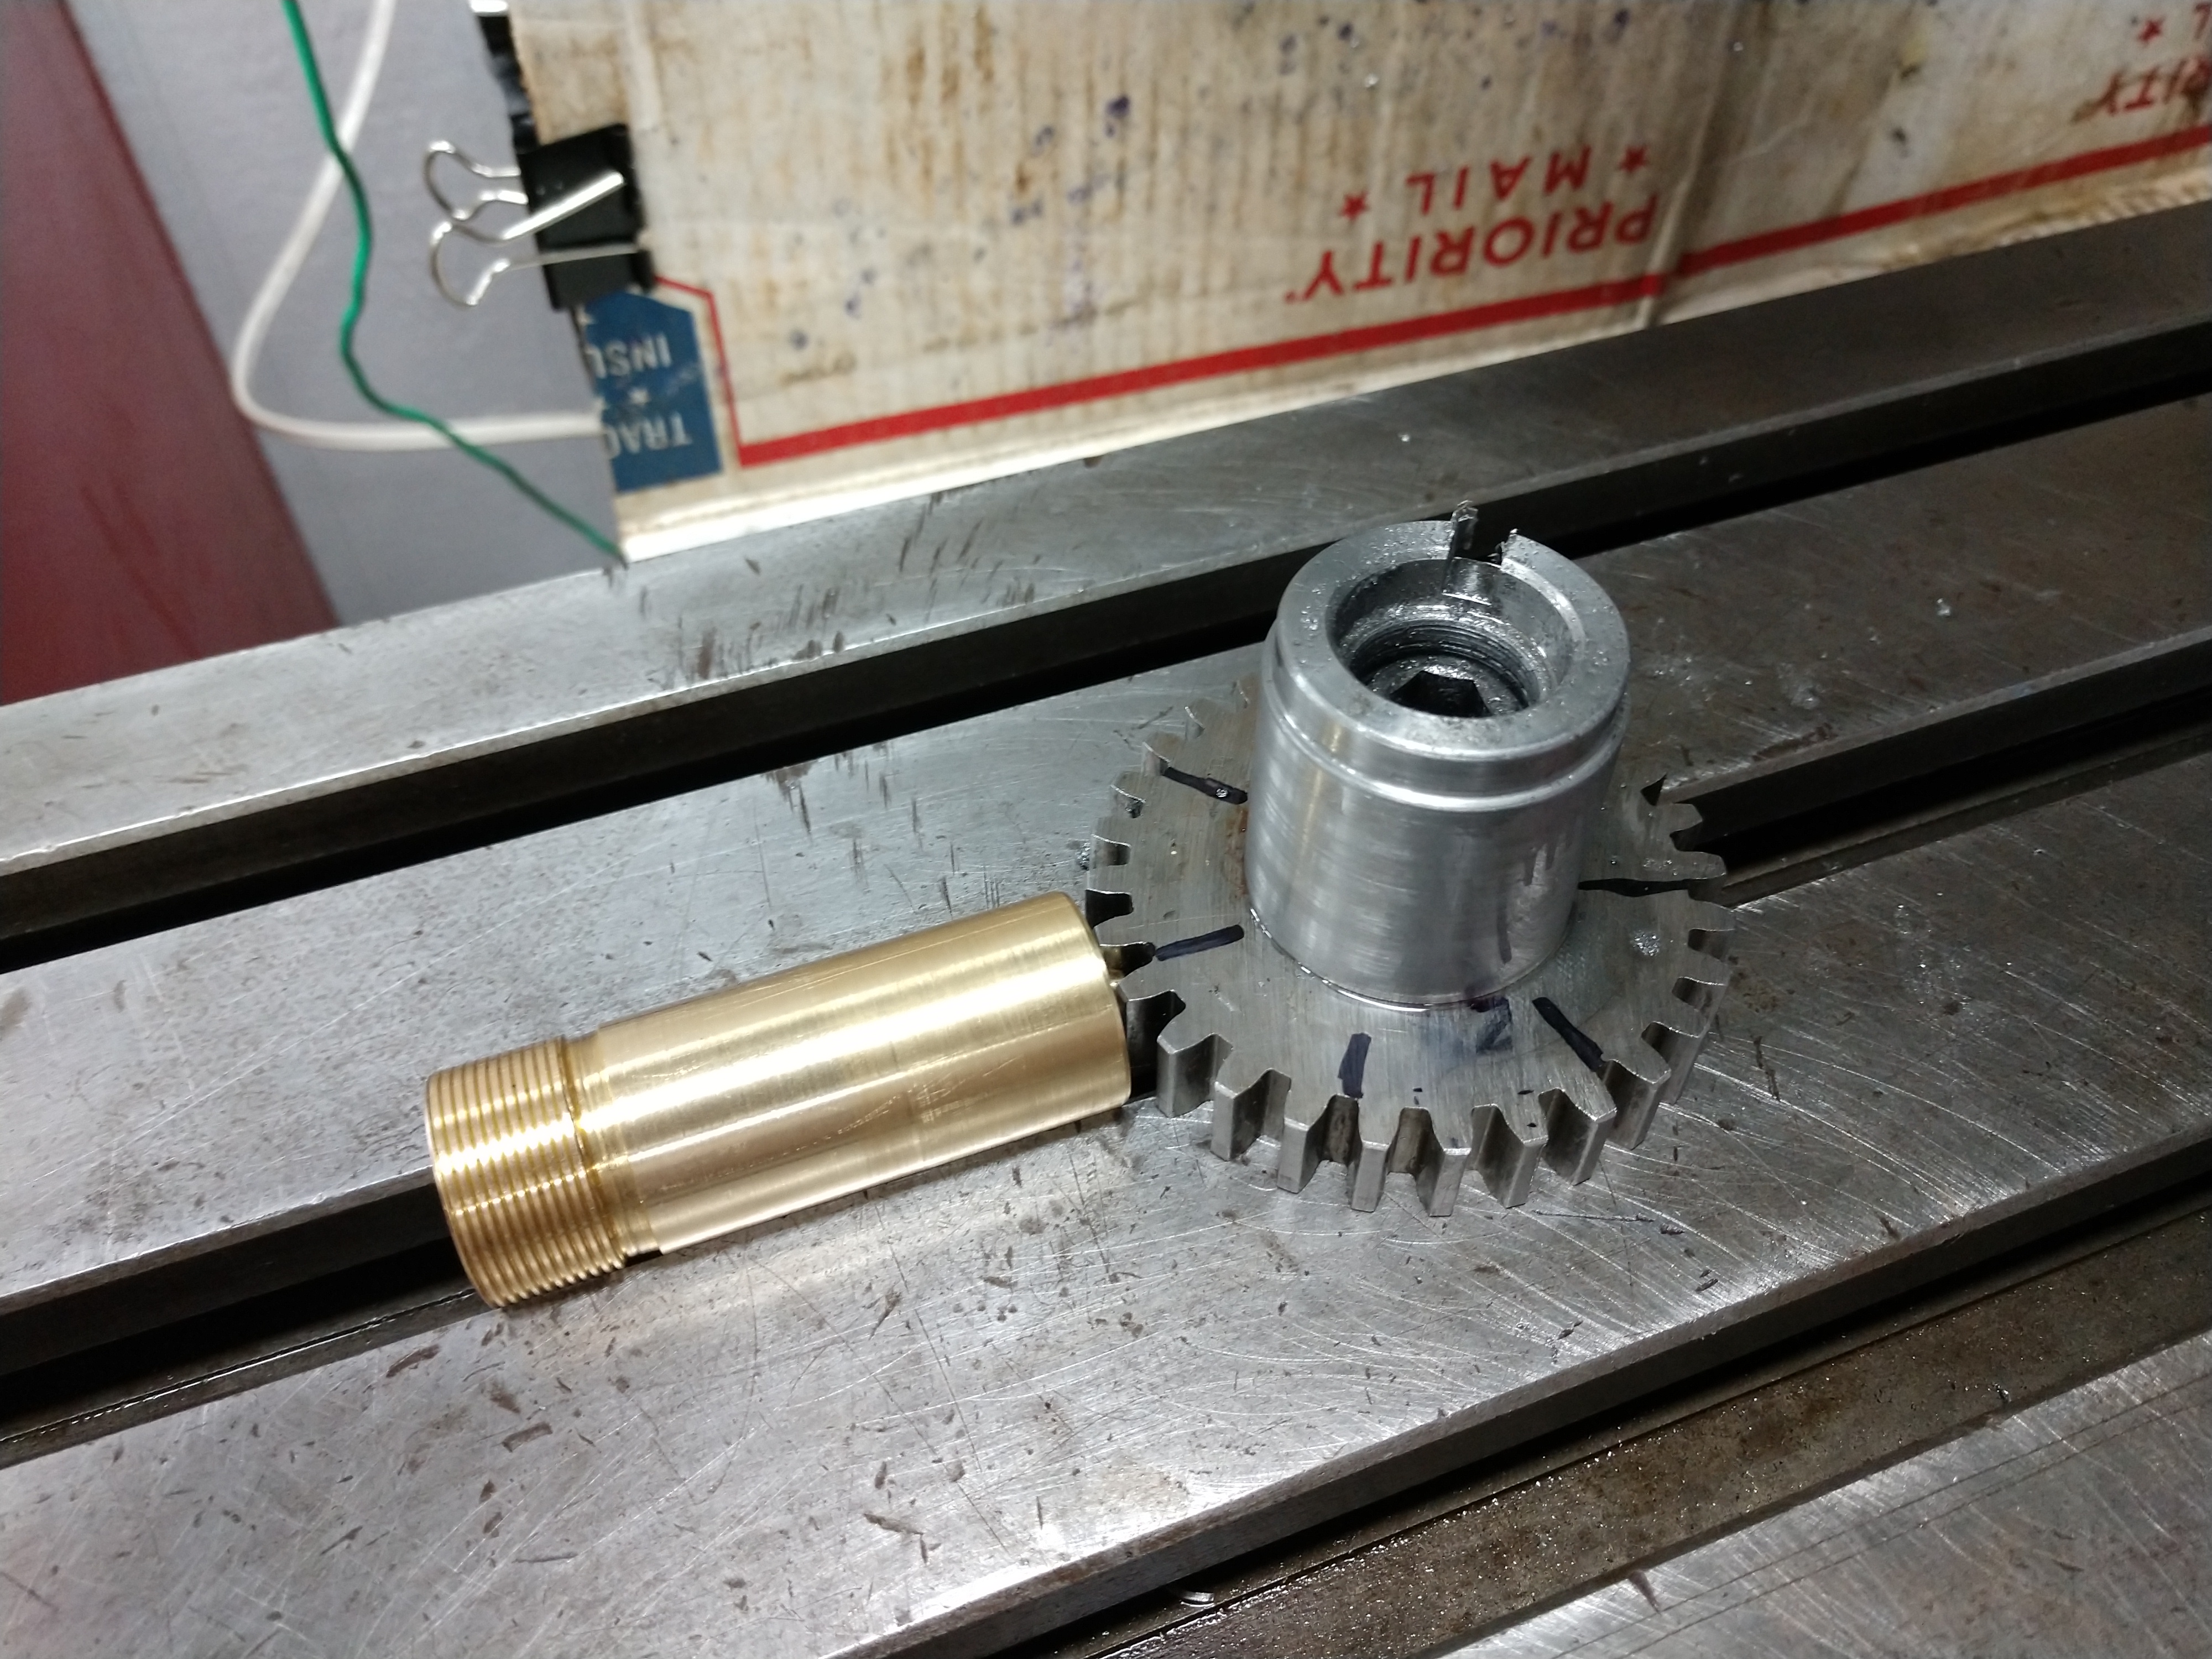
The setup on the table is shown below. The brass piece was slid along the t-slot in the table to align with the Sharpie line on the gear. With the gear tooth and brass taper pressed together, the cap screw was tightened and the second center path was machined. This process was repeated for all seven slots. Two addition sets of slots were then machined, the second set aligned with the tooth to the right side of the Sharpie mark and the third set aligned to the tooth on the left. The table was shifted .092" forward or back as required on the second and third passes.
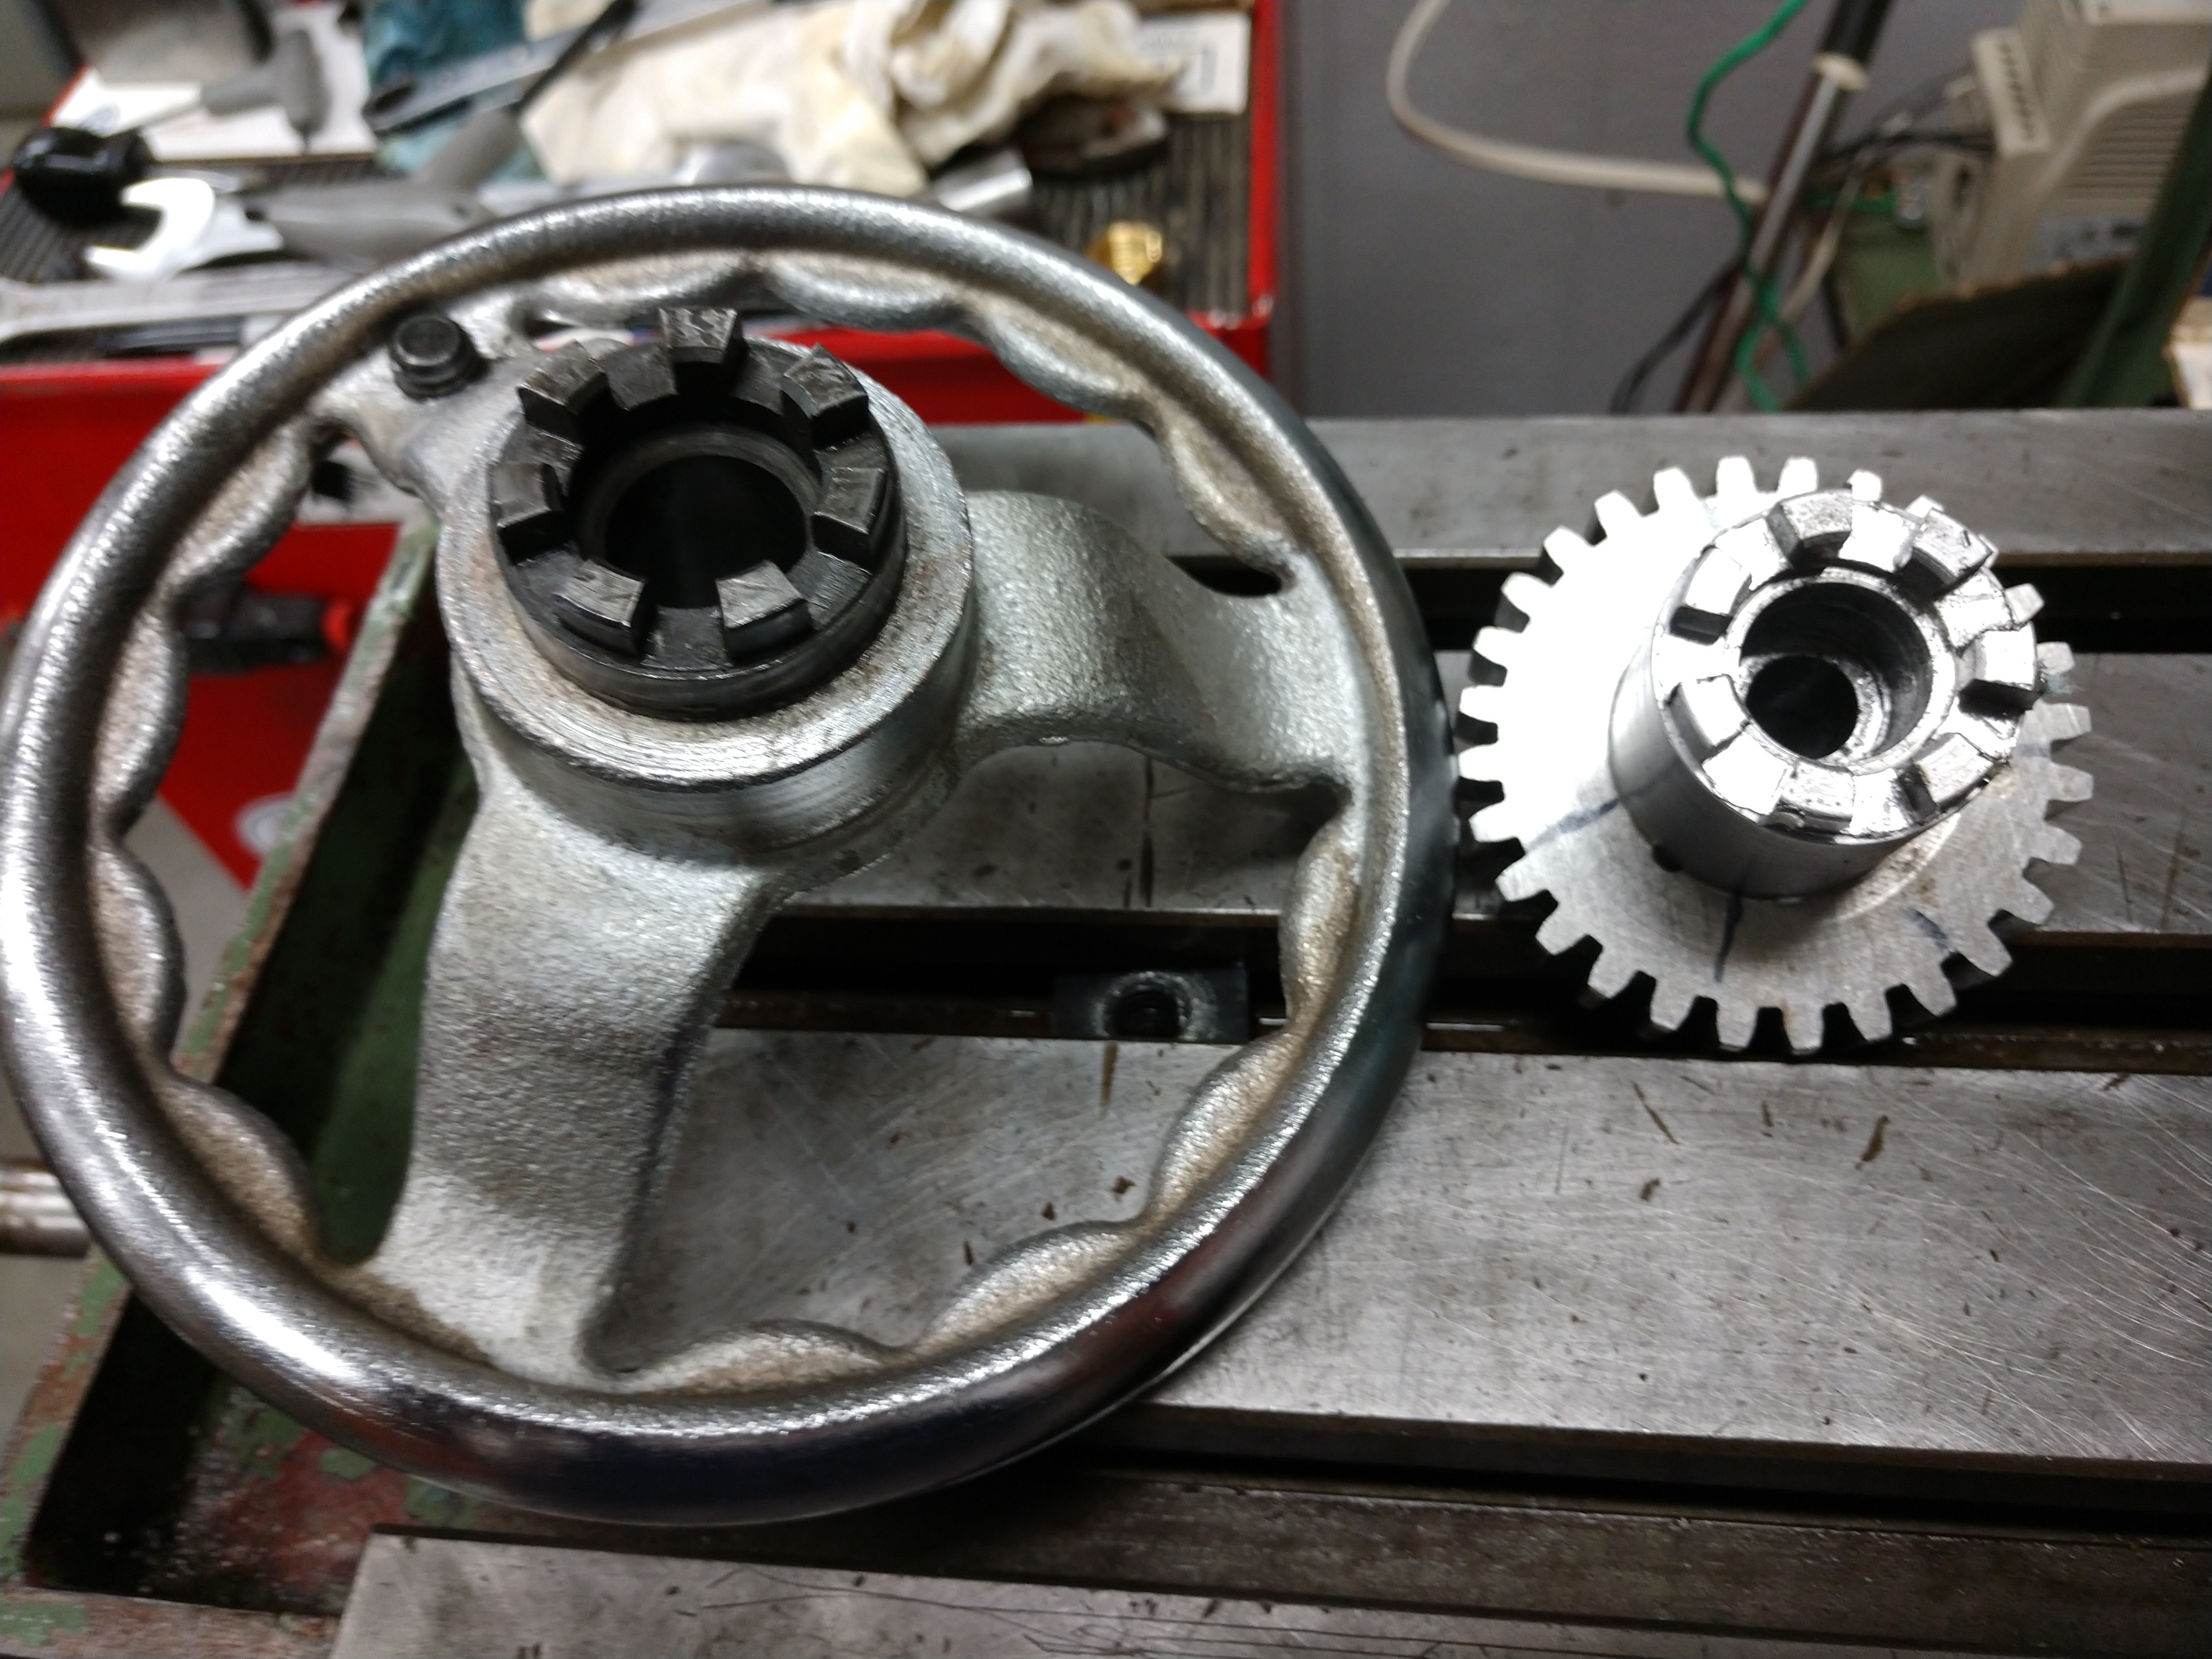
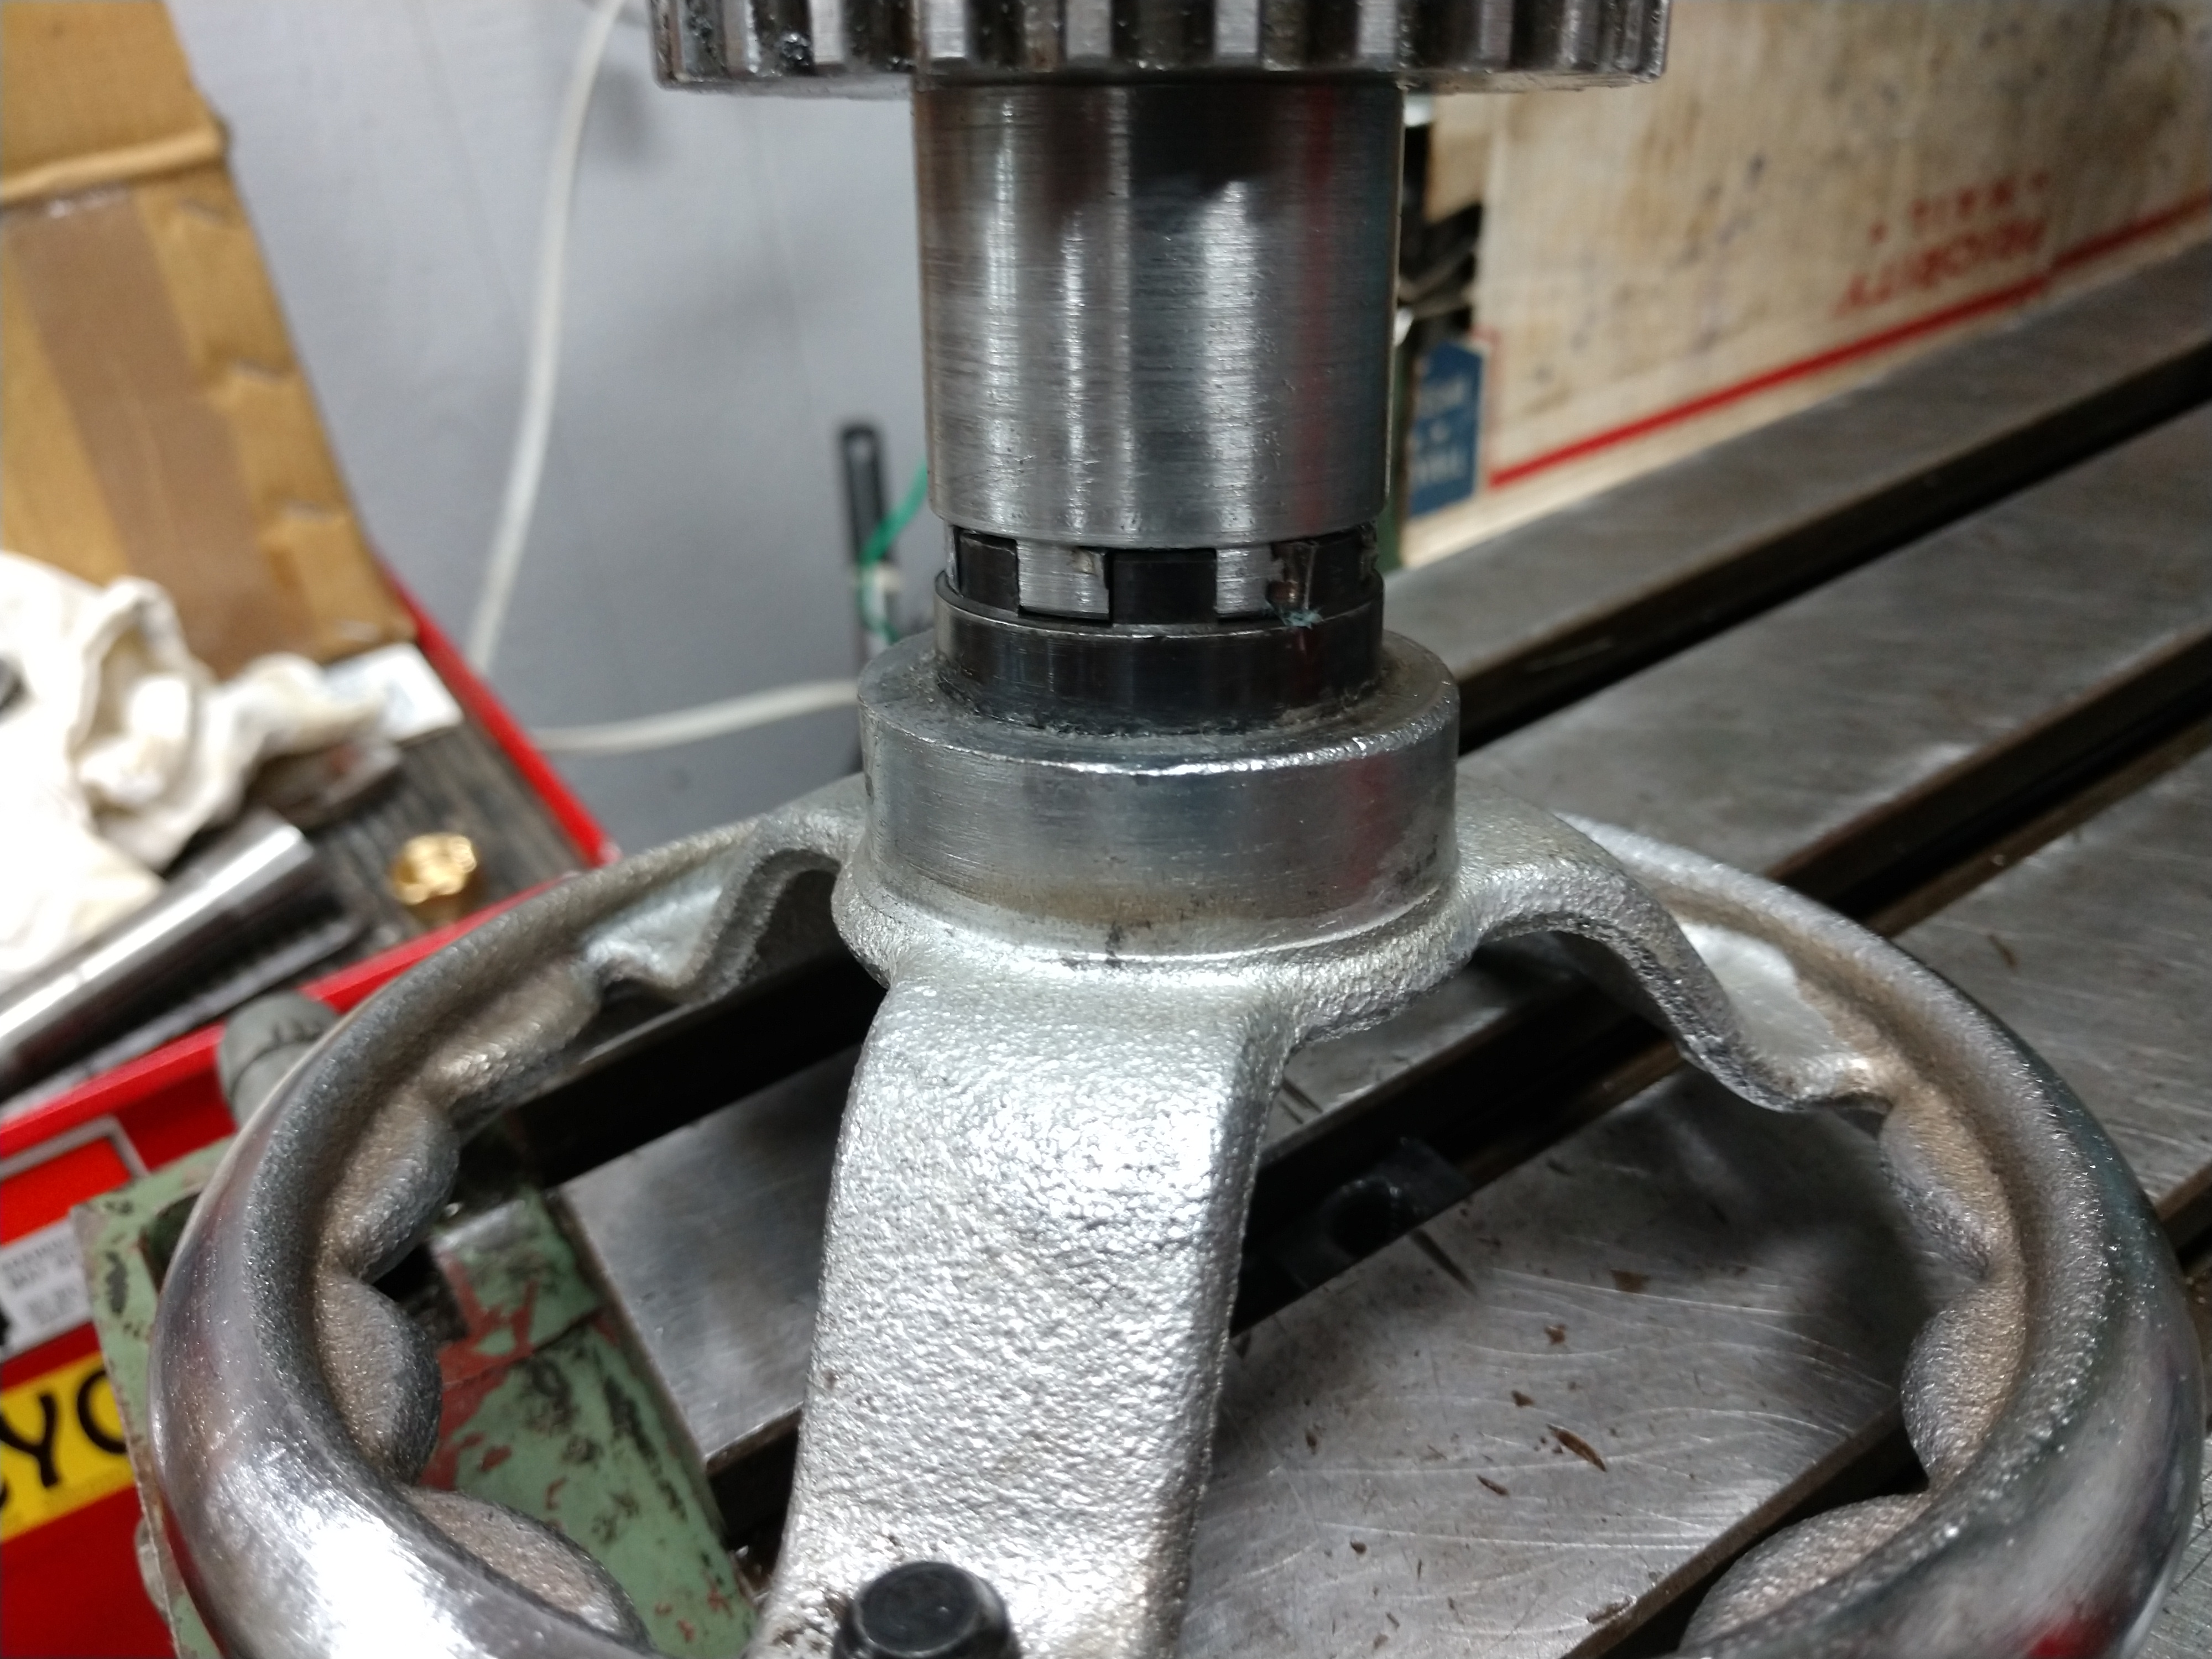
The process worked nicely. The freshly machined piece compared to the existing crank wheel piece.
So that completes a second crank handle for the X-axis on the table for my Jet JVM-840 mill.
I ordered a couple of cast hand wheels off of Amazon and bored one out to press in the cogged clutch piece. A shoulder bolt was used for the handle as seen below.
The mill worked OK with one handle, but really needed two handles. In order to make a second handle, two actions were needed. I had to straighten the X-axis lead screw to remove a kink on the right end. This was easily accomplished with a little work on the HF 20 ton press. The second action was to machine a send cogged clutch piece for the second handle. I do not have an index or rotary table so some creative but inexpensive solution was needed. I thought about this for some time. The cogged clutch piece has 7 teeth, so I needed something to set up 14 angle settings to duplicate the piece. After watching a few You tube videos on guys making indexing wheels of lathes, it occurred to me that I might be able to use a 28 tooth gear as an index. I have a set of gears with my Logan 1825, but no 28 tooth gear. A search on Ebay netted a 28 tooth gear off a South Bend lathe for $11 shipped.
Seen below are the pieces of the solution for machining a replacement cogged clutch piece. L to R is
1. T-nut
2. 3/8" cap screw
3. 1" diameter brass piece with small tapered nose turned on one end.
4. 28 tooth gear
5 Stepped blank to become machined
6. Mating clutch piece to check fit of new piece
7. fresh 3/16" HSS end mill
The smallest diameter on the machined blank was turn to pilot in the T slot of the table.
The middle diameter was machined to fit the center bore of the gear.
The large diameter was machined to mate with a bore in the new crack handle.
The setup on the table is shown below. The brass piece was slid along the t-slot in the table to align with the Sharpie line on the gear. With the gear tooth and brass taper pressed together, the cap screw was tightened and the second center path was machined. This process was repeated for all seven slots. Two addition sets of slots were then machined, the second set aligned with the tooth to the right side of the Sharpie mark and the third set aligned to the tooth on the left. The table was shifted .092" forward or back as required on the second and third passes.
The process worked nicely. The freshly machined piece compared to the existing crank wheel piece.
So that completes a second crank handle for the X-axis on the table for my Jet JVM-840 mill.

