- Joined
- Mar 20, 2014
- Messages
- 418
Hi Tom,
My bandsaw is a fantastic bit of kit. It's one of these:
http://www.axminster.co.uk/axminster-model-engineer-series-ue-127dv1-bandsaw-505214
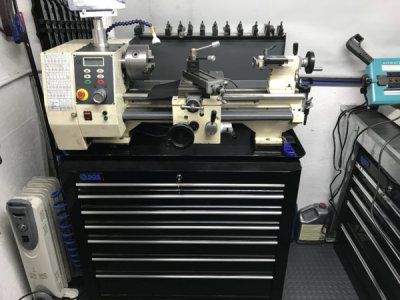
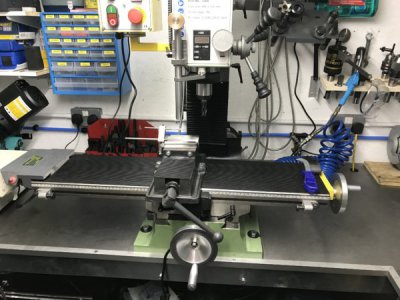
Axminster tend to import Chinese / Taiwanese stuff, but it's usually been either modified or designed specifically for them. For example, my Axminster lathe is actually a Sieg, and my Axminster mill is actually a Rong Fu.
The saw has an auto cutoff and a big e-stop switch, and has the ability to get switched into a hand feed mode where you activate the saw with a trigger in the handle.
As for wether you can get it over in the US, I bet you can. Just doing a quick search on the model number comes up with this, which appears to be the original manufacturers in Taiwan:
http://www.band-saw-waytrain.com/bandsaw.htm
And then looking for their distributors in North America gives these hits:
http://www.baileigh.com/portable-metal-cutting-band-saw-bs-127p
Which appears to be the same thing, but without the auto feed / auto stop.
Cheers,
Jason


