Need 5yo explanation for Fusion360 project

Holy #@^@&, 6 hours??? Now I don't feel so bad.

I succumbed to vtcnc's advice (thank YOU so much for that) and switched to the chamfer tool. Now that I understand why all the oddball things were happening I can address those issues as I go forward with other sketching but I really just wanted to get one small victory under my belt

View attachment 375134

Now my only question is, how do I make that "nose" piece wider? If I change the angle then I don't get the side chamfers to line up with the top chamfer line.
Take the victory for sure. In the chamfer tool make sure you are set on angle and length. Then there is a flip option. When I played with it earlier I had length on the front edge and angle back down the side but hard to alight them. Set the length down the side and on the top and set all your lengths the same like 1”. Then adjust the angle to where you want on the front edge. You can turn the dot by the arrow for angle or type it directly in the dialogue box for the chamfer. As long g as you set the two side angles the same you should be symmetrical.
 
Take the victory for sure. In the chamfer tool make sure you are set on angle and length. Then there is a flip option. When I played with it earlier I had length on the front edge and angle back down the side but hard to alight them. Set the length down the side and on the top and set all your lengths the same like 1”. Then adjust the angle to where you want on the front edge. You can turn the dot by the arrow for angle or type it directly in the dialogue box for the chamfer. As long g as you set the two side angles the same you should be symmetrical.

Got it!!! Well, that was sure easy.....rotfl.png

Thanks so much to you and vtcnc and everyone else who jumped in here with suggestions and words of support. This place continues to amaze me. I'm on so many online forums for different interests and this site has THE best group of people who go above and beyond to help without the normal "forum trolls" that you want to block.
 
Got it!!! Well, that was sure easy.....View attachment 375179

Thanks so much to you and vtcnc and everyone else who jumped in here with suggestions and words of support. This place continues to amaze me. I'm on so many online forums for different interests and this site has THE best group of people who go above and beyond to help without the normal "forum trolls" that you want to block.
Awesome, glad you got it!
 
I know this is a really old post but I didn't see anyone mention the loft command. So in case anyone in the future comes across this post, here is an even simpler way to create this part :)

 
@Chaindog,

First, Welcome to the group!

Second, please don't take this as criticism, I really appreciate you adding value to this answer, but I am significantly over 5 years old and you lost me. However, it is me being dense and inexperienced.........

I played it several times, pausing my way thru, but still could not follow along.
I haven't got to the "loft" command in your video yet and the features that you build your answer on are way above me.

offset plane okay I get it, make a sketch onto the offset plane......... still okay
"We are going to want to project that body through onto that sketch plane" ? :surrender:
okay I see how you got there in the menus, but why project? What does it give you?
Can't you just draw on the new sketch plane while looking thru it?
How did you select what body to project thru? I didn't see that at all; or was it default since that was the only body in the drawing?

Draw a rectangle to represent the small face of the toe clamp, okay, yes no problem.
But how are you applying those limits to keep the new face centred?
Sure I have used "Construction lines", but I don't see how you applied them.... you must be using keyboard short-cuts that are already above my pay grade.

For me at least, I would need it dumbed down and slowed down with more explanation and less assumption of my existing CAD skills........

Brian
 
Last edited:
Draw a rectangle to represent the small face of the toe clamp, okay, yes no problem.
But how are you applying those limits to keep the new face centred?
Sure I have used "Construction lines", but I don't see how you applied them.... you must be using keyboard short-cuts that are already above my pay grade.
After drawing the construction lines, he clicked on the equal symbol under the constraints menu, and then clicked on each construction line, that makes the two construction lines equal length and centers the rectangle.

@Chaindog thank you for posting this, I haven’t used projection before and can see how that will be helpful in some of my drawings.
 
After drawing the construction lines, he clicked on the equal symbol under the constraints menu, and then clicked on each construction line, that makes the two construction lines equal length and centers the rectangle.

Yep. I saw that.
What I don't know is how the construction lines were done.
I assume it was with keyboard shortcuts since I did not see them accessed in a menu.
However, as a CAD beginner I need to see all the steps laid out in front of me so I have a chance to follow along.

.....and I still don't see why a projection was required. You can just draw on the plane.

Brian
 
Without doing a projection, you can't pick up points on the object you are referencing. By projecting, when he sketched the box, it picked up the bottom edge of the extruded shape so that you know it is aligned with that bottom edge. You can do the same for the corners, midpoints, etc. You can't do any of that if your offset plane has not had the underlying shape projected onto it, ie the offset plane is a plane in space with no reference. If you just draw on your offset plane, then that is not referenced to anything on the original shape unless you find a way to align the sketch to it and it might not line up properly. Try making an extruded box, then do the offset plane and start a sketch. You will see you are drawing in space and can't use the box behind it to snap to the edges. This will be necessary when doing the construction lines to center the sketched box you are drawing on the offset plane. If you did not project the box onto the offset plane, when you go to center the box you drew, the construction lines will become equal lengths using the = button, but it won't move the box since those construction lines are not referencing the shape behind it.

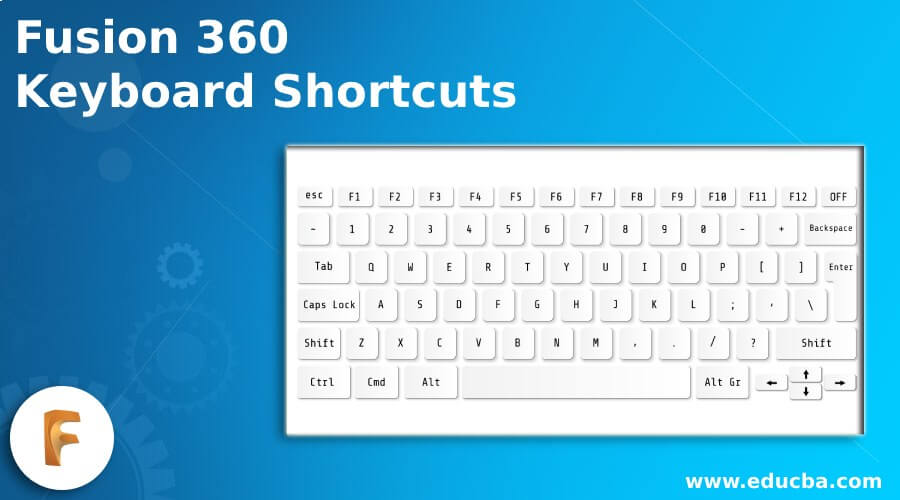
I think he did use a shortcut for drawing the construction lines, you can see the line menu item is blue when draws the lines which indicates that is active. Here is all the shortcuts you can use in F360
 
Without doing a projection, you can't pick up points on the object you are referencing. ......... If you just draw on your offset plane, then that is not referenced to anything on the original shape unless you find a way to align the sketch to it and it might not line up properly.
Thanks very much @Ischgl99 that was not obvious!
I did try to follow along with the video in Fusion, but as stated I got lost/left behind. I did try it both ways; with the projection and without. I did draw directly on the offset plane not understanding why the projection was required. I understand now (from your explanation) that even though it looked okay, the dimensions of that drawing were not referenced to the original object.

Here is all the shortcuts you can use in F360
Do those short-cuts get shuffled every time they do a user interface change?
The last change to the friggin ribbon type interface had me thinking I need to abandon Fusion and go to FreeCAD so that it does NOT look different every time I try to use it.

Thanks again!
Brian
 
Thanks very much @Ischgl99 that was not obvious!
I did try to follow along with the video in Fusion, but as stated I got lost/left behind. I did try it both ways; with the projection and without. I did draw directly on the offset plane not understanding why the projection was required. I understand now (from your explanation) that even though it looked okay, the dimensions of that drawing were not referenced to the original object.


Do those short-cuts get shuffled every time they do a user interface change?
The last change to the friggin ribbon type interface had me thinking I need to abandon Fusion and go to FreeCAD so that it does NOT look different every time I try to use it.

Thanks again!
Brian
You’re welcome! When things snap to the grid, it doesn’t seem like projection has value, until you have things that are just not lining up properly. I understand your pain, a lot of the videos on Fusion go a bit fast and don’t disclose when they are using shortcuts, I had the same issue when I was first learning it, and still do at times! I didn’t use projection prior to seeing the video in this thread and struggled getting things to line up in past designs, measurements that are off by just a tiny bit, etc. I can see using this frequently from now on.

I don’t use the keyboard shortcuts, I can never remember them, so can’t answer if they change, but I agree with you, the constant changes are annoying!
 
Back
Top