

I posted in another thread about the tumble my new SB 14-1/2 took when it turned over removing it from the skid. I know I’m new with little credibility on the forum, and what I’m needing may need old-friend status with some of you. I get that, and wish I had time to earn more respect here, but this is the hand I dealt myself when I let the lathe tip over.
Now I’m trying to put the toothpaste back in the tube.
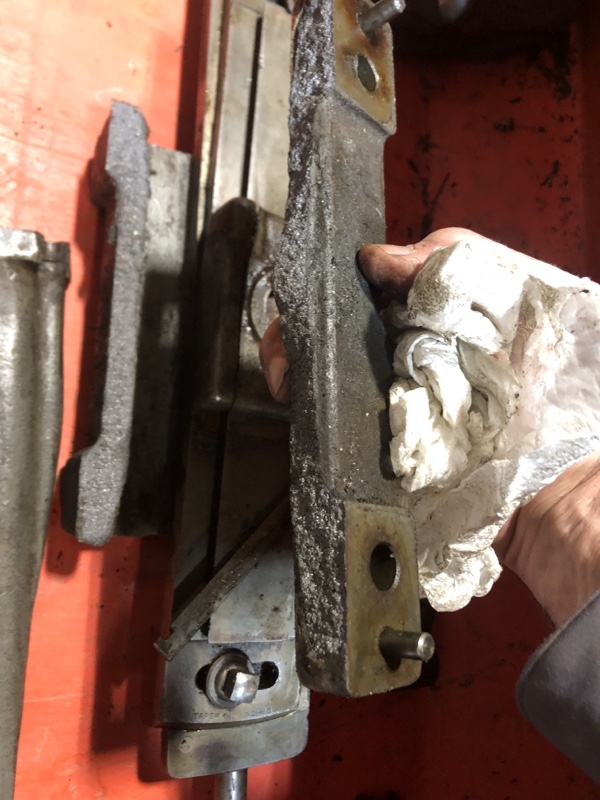
The taper attachment slide block (6 on the diagram shown further down) and the bed bracket (28) are destroyed, broken into several pieces. Those parts are cast iron and brittle (the photo doesn’t show it, but one of the dovetails from the slide block was snapped off—it’s sitting in its correct spot in the photo).
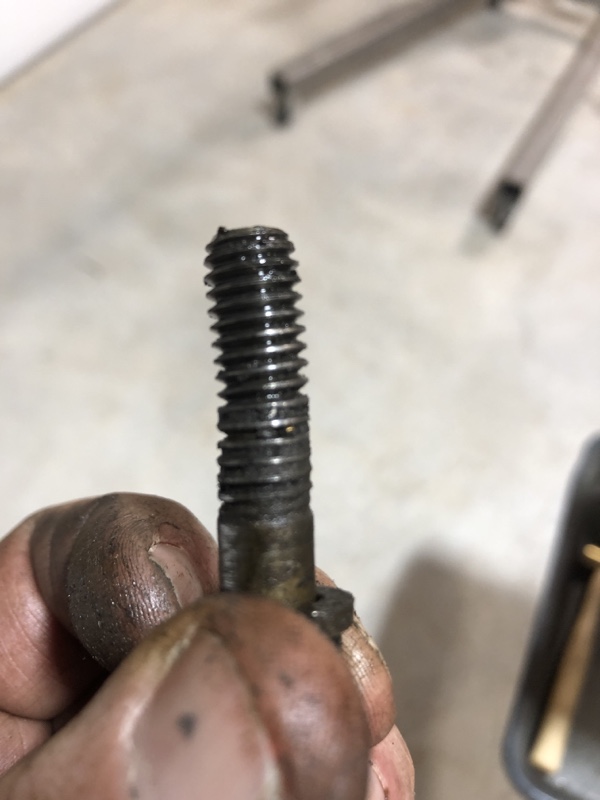
Another victim is the crossfeed screw, which buckled into a camel hump:
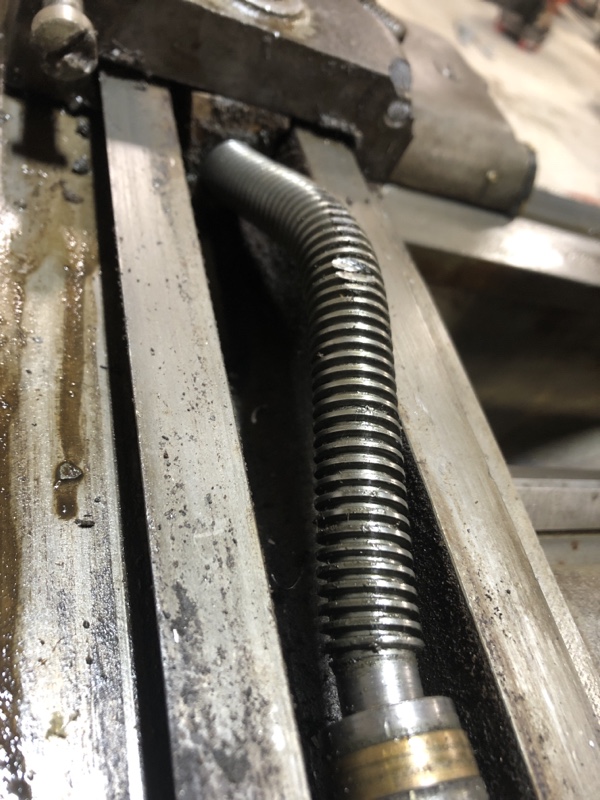
The brass nut still turns on the screw, but I already have a new nut in hand. The nut retainer hollow bolt broke as well. I’m assuming at present that the front part of the slide shaft is undamaged, or at least repairable with new thrust bearings.
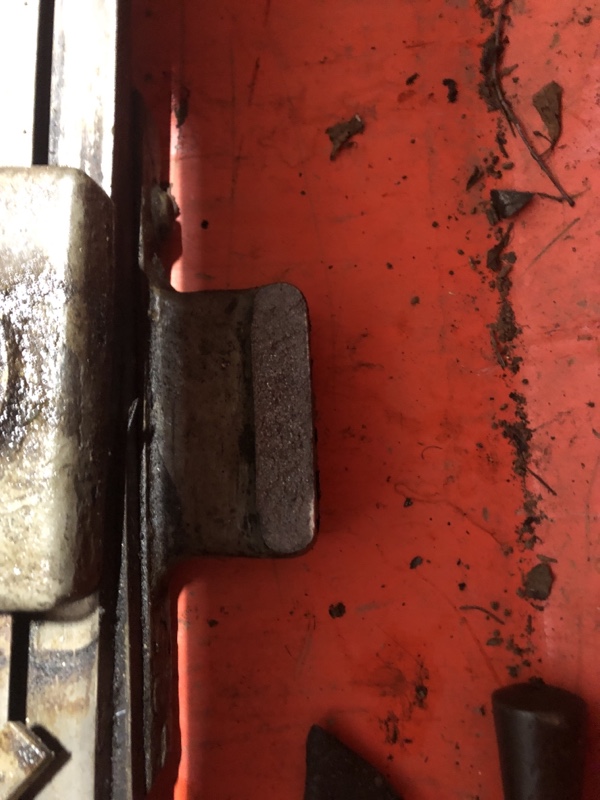
The connecting bar (4) was distorted and is out of flat by about 1/16”.
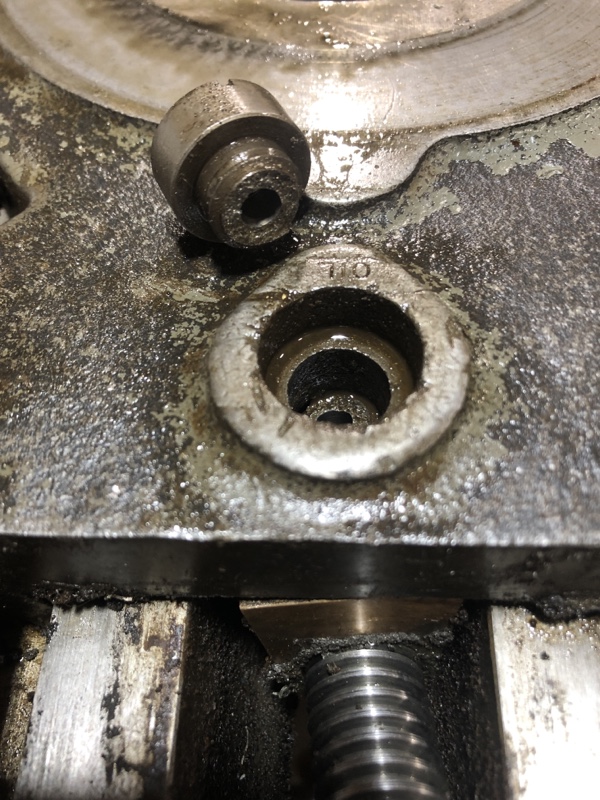
The saddle took some damage but not fatal. One connecting bar bolt blew out a chunk of the casting, but most of the thread is still there and I can epoxy a stud in its place. And one gib bolt on the back of the saddle broke, and the other two bent, but the gib is undamaged and the bolts are common. The gib held and I believe prevented further damage to the saddle, which still moves smoothly on the bed.
The binder stud (5) that locks the connecting bar is broken. But the sleeve (21) is fine.
Here is a parts diagram with broken parts circled:

Options:
1. Find a replacement taper attachment with screw. Obviously, this is the preferred course but they are not thick on the ground. (More expensive alternative 1a is to fabricated the broken parts from steel, but I expect that would be pricey).
2. Replace the screw and the bed bracket only. The bed bracket is necessary for the taper attachment screw, because that screw is only keyed to the power-feed spur gear on the cross slide shaft, and depends on the thrust bushings in the taper attachment to retain it into that spur gear.
3. Convert the lathe to a non-taper version. This would require a new cross slide shaft/screw all the way out to the handle, with the threaded portion fixed in the spur gear instead of a keyed insertion. Then, the bushings at the handle end do all the thrust work. Alternate 3A—find a 11/16-8 LH Acme threaded rod and pin or braze it into the spur gear. That would close the door on a future restoration of the taper attachment.
4. Modify a 16” taper attachment to fit. The 16 uses the same 11/16-8 LH Acme thread as the 14-1/2, and presumably only differs in length. If the 16 taper attachment could be mounted in a useful location, I suspect the screw could be adjusted to fit. The connecting bar wouldn’t fit on the slide, but maybe I can machine flat my old one and make it work. I’d need someone with a 16 taper attachment to measure it up for me so I could understand the differences.
5. Use a SB 16 screw and fabricate enough of an outer bracket to install a thrust bushing to retain the screw. No taper attachment, but might be easiest. I’d need help from a machinist willing to fab up that bracket, but I am sure I could provide a good drawing. This would preserve the ability to restore the taper attachment in the future.
I’m hoping against hope that someone is parting out a 14-1/2 Toolroom model and still has the basic taper attachment parts.
Ideas? Advice? First priority is to get it working without the taper attachment.
Also needed: a carriage stop for the 14-1/2. I had ground down one from a 16 that worked, but the carriage was locked when it fell and this part broke.
Rick “asking a lot” Denney
Now I’m trying to put the toothpaste back in the tube.
The taper attachment slide block (6 on the diagram shown further down) and the bed bracket (28) are destroyed, broken into several pieces. Those parts are cast iron and brittle (the photo doesn’t show it, but one of the dovetails from the slide block was snapped off—it’s sitting in its correct spot in the photo).
Another victim is the crossfeed screw, which buckled into a camel hump:
The brass nut still turns on the screw, but I already have a new nut in hand. The nut retainer hollow bolt broke as well. I’m assuming at present that the front part of the slide shaft is undamaged, or at least repairable with new thrust bearings.
The connecting bar (4) was distorted and is out of flat by about 1/16”.
The saddle took some damage but not fatal. One connecting bar bolt blew out a chunk of the casting, but most of the thread is still there and I can epoxy a stud in its place. And one gib bolt on the back of the saddle broke, and the other two bent, but the gib is undamaged and the bolts are common. The gib held and I believe prevented further damage to the saddle, which still moves smoothly on the bed.
The binder stud (5) that locks the connecting bar is broken. But the sleeve (21) is fine.
Here is a parts diagram with broken parts circled:
Options:
1. Find a replacement taper attachment with screw. Obviously, this is the preferred course but they are not thick on the ground. (More expensive alternative 1a is to fabricated the broken parts from steel, but I expect that would be pricey).
2. Replace the screw and the bed bracket only. The bed bracket is necessary for the taper attachment screw, because that screw is only keyed to the power-feed spur gear on the cross slide shaft, and depends on the thrust bushings in the taper attachment to retain it into that spur gear.
3. Convert the lathe to a non-taper version. This would require a new cross slide shaft/screw all the way out to the handle, with the threaded portion fixed in the spur gear instead of a keyed insertion. Then, the bushings at the handle end do all the thrust work. Alternate 3A—find a 11/16-8 LH Acme threaded rod and pin or braze it into the spur gear. That would close the door on a future restoration of the taper attachment.
4. Modify a 16” taper attachment to fit. The 16 uses the same 11/16-8 LH Acme thread as the 14-1/2, and presumably only differs in length. If the 16 taper attachment could be mounted in a useful location, I suspect the screw could be adjusted to fit. The connecting bar wouldn’t fit on the slide, but maybe I can machine flat my old one and make it work. I’d need someone with a 16 taper attachment to measure it up for me so I could understand the differences.
5. Use a SB 16 screw and fabricate enough of an outer bracket to install a thrust bushing to retain the screw. No taper attachment, but might be easiest. I’d need help from a machinist willing to fab up that bracket, but I am sure I could provide a good drawing. This would preserve the ability to restore the taper attachment in the future.
I’m hoping against hope that someone is parting out a 14-1/2 Toolroom model and still has the basic taper attachment parts.
Ideas? Advice? First priority is to get it working without the taper attachment.
Also needed: a carriage stop for the 14-1/2. I had ground down one from a 16 that worked, but the carriage was locked when it fell and this part broke.
Rick “asking a lot” Denney
Last edited:
