New mill Wells-Index 745

Thanks NorseDave, I'm enjoying working on the Mill but it sure does take a fair bit of time.

In regards to the Miller 211. So far I've just been using small (2lbs) spools of .030 wire. I have quite a few small spools left over from my old welder I want to use up first. I haven't had any issues with them. I'll keep in mind that I may need to modify the 'axle' if I want to run the 10lbs spool at some point. Thanks for the tip.
 
Hey Guys, While the 745 is all apart I have been contemplating if I should retrofit a 1 shot oiler system for it. I found a kit online for series 1 bridgeport... Would it be almost the same as the my index 745 or are they a totally different number of ports etc?

Trying to decide if the expense and effort is worth while...
 
I think those systems are fairly easily adapted to different mills - just count up the ports and make sure you get enough parts. I've never installed one though, so hopefully someone who has will chime in.

I had originally thought about installing one on my 645. I have since discarded that idea since finding the little oil gun I referenced earlier. It takes maybe 15 or 20 seconds to oil all the zerks and leaves zero mess.
 
Thanks for the info T.J

It looks like my 745 has more oiling points than a comparable bridgeport, so adapting a one shot oiler kit (for a bridgeport) may be not as strait forward as I had hoped. Since you say it is very quick to just use an oil gun I think for now I'll just get the mill up an running as is and I can take on adding a one shot oiler down the road sometime.
 
Hi Guys, I did a little more work on the Mill.

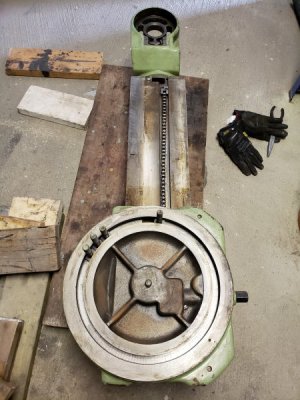
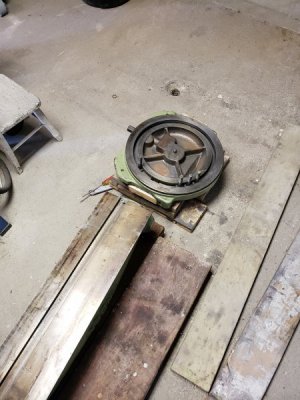
I figured it was time to get started dealing with the turret and over ram.

I flipped it upside...
20181020_120449.jpg

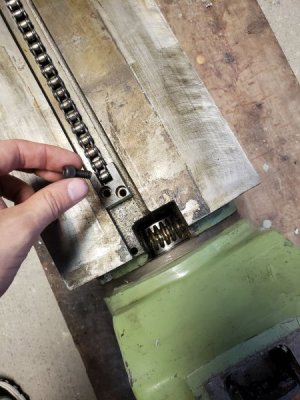
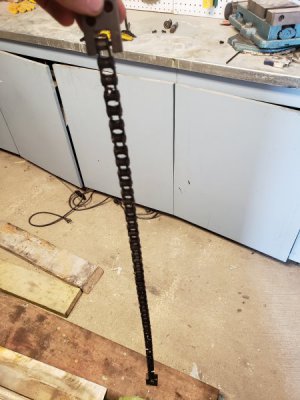
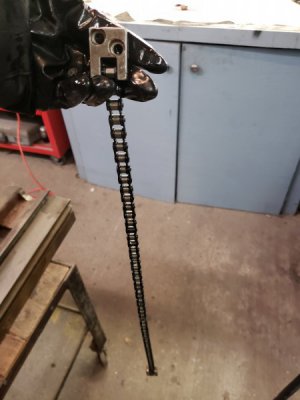
The chain on the underside of the turret can be disconnected at both ends which allows the over ram to be removed from the turret.

20181020_121411.jpg
20181020_121422.jpg
20181020_121448.jpg

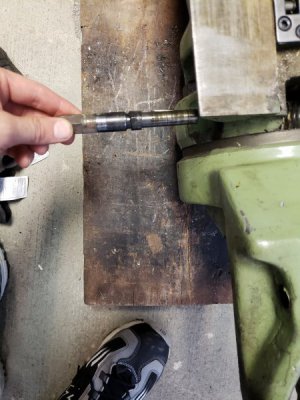
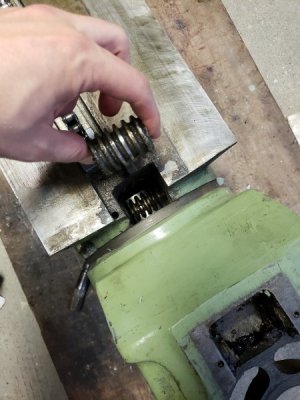
Next I removed the worm gear head nod mechanism.
20181020_120410.jpg
20181020_120414.jpg
20181020_125605.jpg

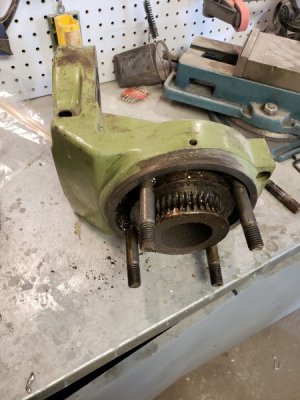
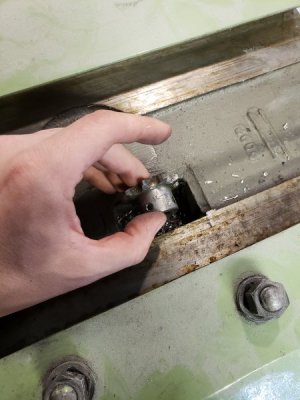
Next I removed the gear mechanism on the turret...The gear is retained with a set screw and a pin which both have to be removed.

20181020_122251.jpg
20181020_122244.jpg
20181020_122240.jpg
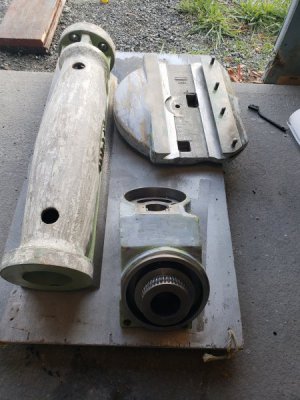
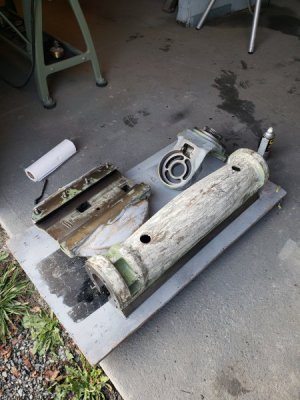
Now the Turret, over ram and head knob mechanism were all separated.
20181020_125611.jpg
More updates to come...
 
Just a small update:

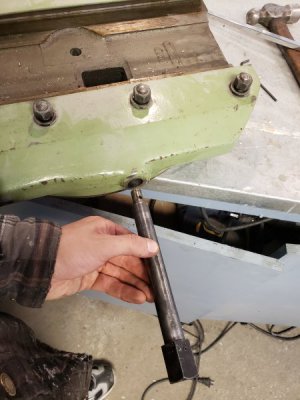
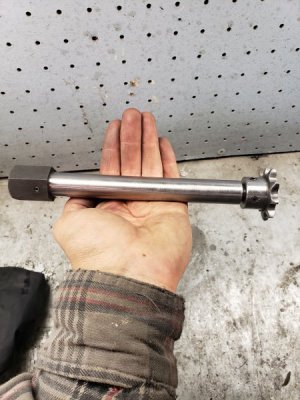
I decided the next thing I would do was restore one of the bags of small parts. I decided on the over ram slide mechanism.

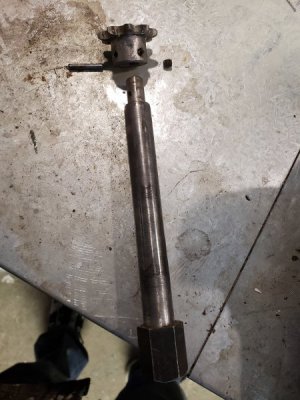
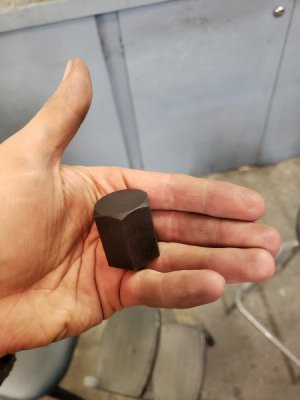
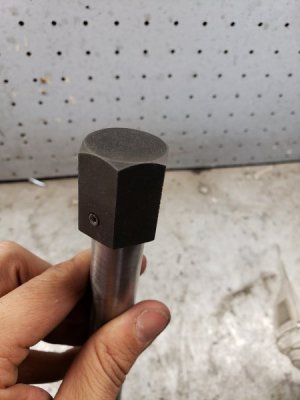
It was a bit grungy and the 'bolt head' part of the handle that you put a socket on to move the over ram forward and back has some surface rust on it.

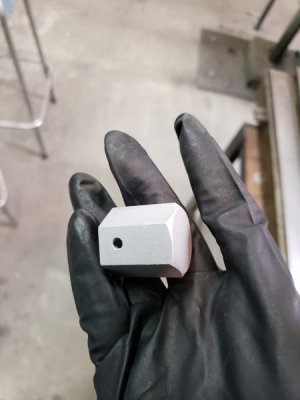
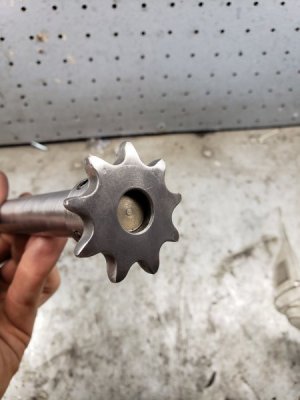
I polished up the gear and shaft, than I sand blasted and re-did the black oxide part of the handle. I think it came out nice...
20181022_153812.jpg
20181022_154201.jpg
20181022_155043.jpg
20181022_155106.jpg
20181022_155053.jpg
The chain part of the slide mechanism had a lot of dried out grease, caked on dust and metal chips. So i scrubbed it clean in the parts washer and then lubricated it with some mobile Valcera.

20181022_160111.jpg
The mechanism is now all ready to go when I start putting everything back together.

More updates to come.
 
That looks like one place where they made improvements over the Model 645. That shaft on a 645 isn't near as beefy. There must have been more 200 pound gorillas like me who broke theirs trying to get it unstuck with the big wrench!:cower::p
 
That looks like one place where they made improvements over the Model 645. That shaft on a 645 isn't near as beefy. There must have been more 200 pound gorillas like me who broke theirs trying to get it unstuck with the big wrench!:cower::p

Interesting, yes I believe the model 745 is a bit different from the turret upwards but everything below that is more or less the same as the model 645. That shaft actually requires a 1 inch socket or wrench to fit the head on it. It moved pretty easy on my mill but as you say it might be a place they did a redesign on the 745. Sorry to hear yours broke, hope you were able to get it unstuck...
 
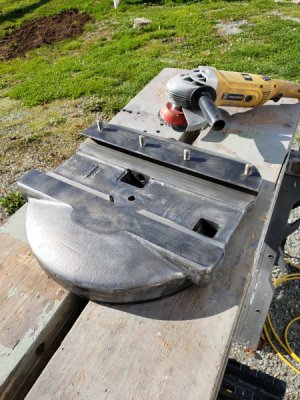
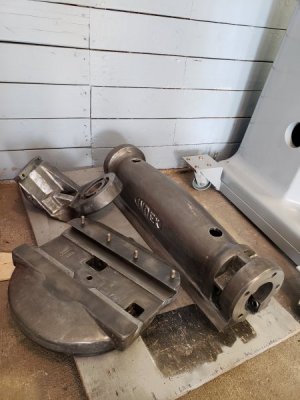
Next I started working on cleaning up and stripping the paint on the turret, over ram and head knod assemablly. It took quite a few hours but eventually I got them all down to bare metal.

I first cleaned them with purple power and scrubbed off all the hardened old grease, next I used aircraft paint stripper to remove as much paint and filler as possible. What was left was then removed with a wire wheel on a 7in angle grinder.

After paint stripping...
20181020_163355.jpg20181020_163401.jpg

Finally down to bare metal....

20181022_122010.jpg
20181022_151308.jpg
It probably goes without saying but I was very careful around the precision machined surfaces....

Also, just a note about safety, since the original coat of paint might have lead in it, I used a supplied air system and did the whole process out doors.

Next up will be start painting and filling, more updates to come...
 
I got a little more work done on the Mill recently.

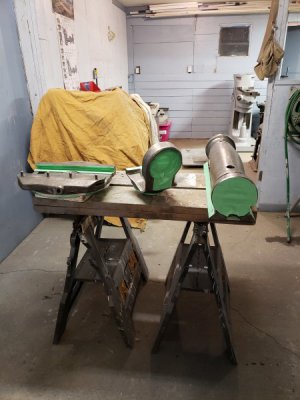
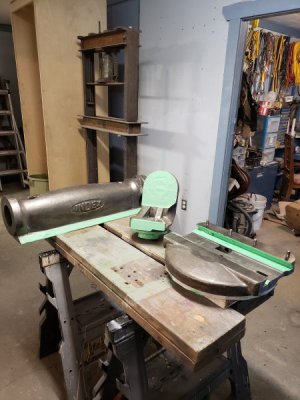
I spent a bit of time painstakingly taping off the turret and over ram parts in peparation for paint.

20181029_113608.jpg
20181029_113626.jpg
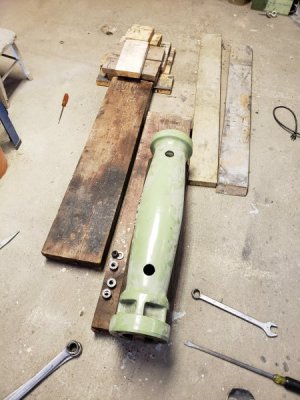
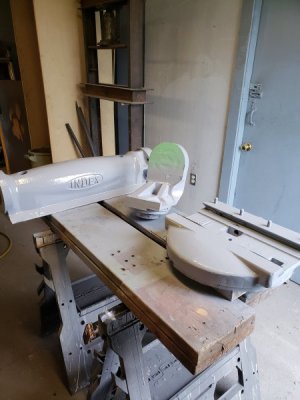
After the taping was done I applied 2 coats of epoxy primer, followed by 2 coats of 2k high build primer.

20181029_131947.jpg

I'm going to let the paint cure for a bit, then it will be time to start the process of filling. sanding and applying more high build primer until the surface in acceptably smooth.
 
Back
Top