New PM25MV on the way!

It is soooo much fun opening a crate and seeing a brandy brand mew machine that nobody has ever had an opportunity to mess up. Once you two finish uncrating and Johnson Fab gets his CNC kit on and working you two will have a ton of fun learning how the machine can help you. Once you start using it, you will start to wonder why you didn't do this earlier. Good luck and have fun uncrating them.

Bob
 
Nice I wish I had all that CNC stuff, maybe someday I will do that but I want to learn how to use the machine manually first. I got my X DRO installed today start the Y tomorrow. Good luck with yours.
 
Nice I wish I had all that CNC stuff, maybe someday I will do that but I want to learn how to use the machine manually first. I got my X DRO installed today start the Y tomorrow. Good luck with yours.

That reminds me that I have to order my DroPro 3M today. Hate installing them, but love using them. :D
 
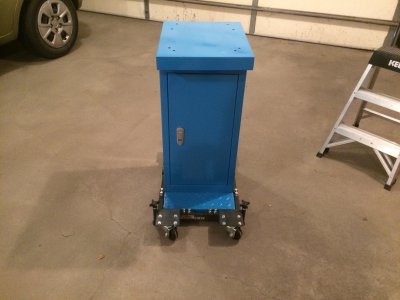
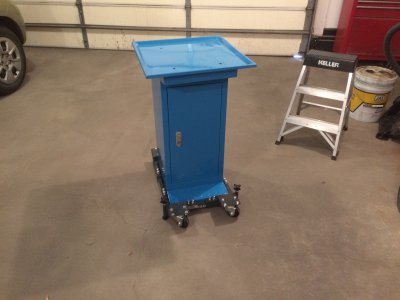
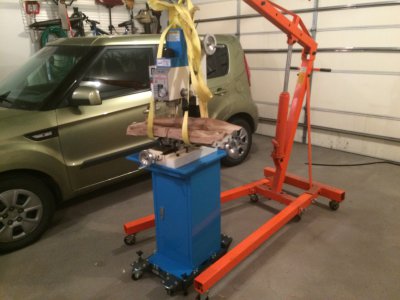
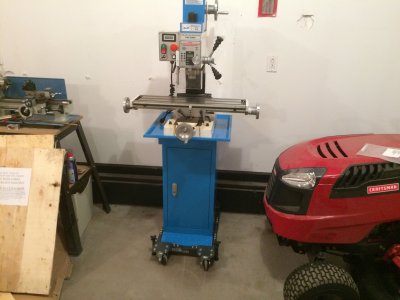
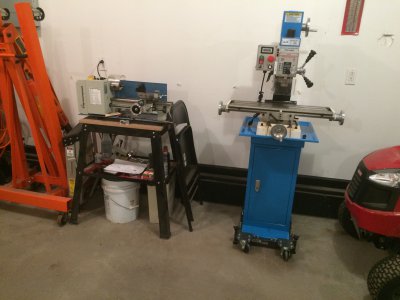
Today's progress, got the mobile base done, the vise cleaned, and the mill up on the stand an in it's new position.
Found a couple things wrong with all of this today.
1st, the knob/jack screw on the mobile base is not long enough. I am going to have to find a knob with a longer screw stud on it, there is less than 3/8 inch of adjustment on it when it is installed, and with the sloping floor in my garage, that is not enough.
2nd. the y table stop adjusting screw handles are real chintzy and just trying to gently adjust one of them, it broke in my hand. I will be getting a better quality one out of stainless from McMaster-Carr or Grainger to replace both of them. Other than that, i'm real happy with my purchase so far. Man, there is a lot of that yellow goo on the machine, going to take me a few days to clean all that off. I need to take it apart anyway to install the cnc kit, so may as well start now.

Mobile Base done
mobilebasecomplete.JPG

Chip tray placed on the stand
chiptray.JPG

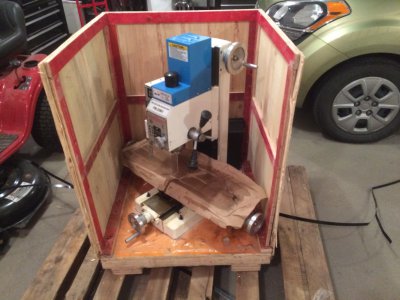
Opening the rest of the crate
millopeningcrate.JPG

mobilebasecomplete.JPG chiptray.JPG millopeningcrate.JPG
 
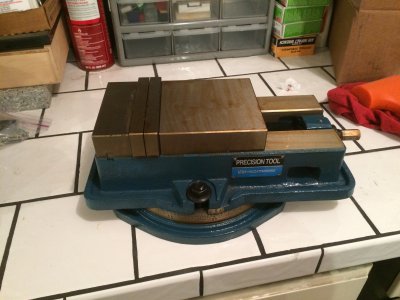
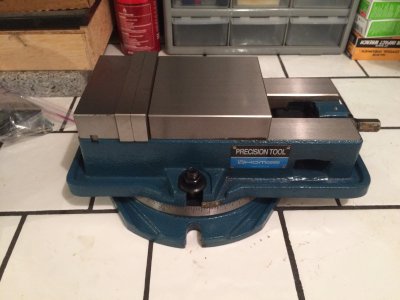
Vise before cleaning. I got a 5inch vise, a little big for the machine, but they were out of the 4inch vises, and this was only 10 dollars more. You can really see in this picture how much of that yellow goo is on everything.
visebeforeclean.JPG

Vise after cleaning
viseafterclean.JPG

visebeforeclean.JPG viseafterclean.JPG
 
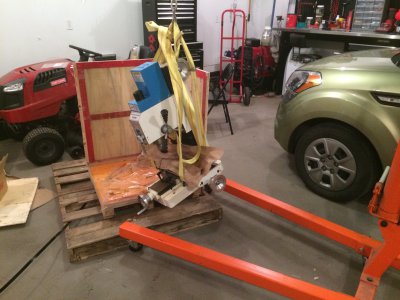
Putting the mill up on the stand, and putting it in its new home :))
Hmmm, all this blue, i should have bought a Dillon 550b reloading machine instead of a Hornady, so all my machines would match!

Pulling it out of the crate
preparinglift.JPG

Up on the stand!
uponstand.JPG

Mill relocated
relocated.JPG

My machines, together at last
mymachines.JPG

preparinglift.JPG uponstand.JPG relocated.JPG mymachines.JPG
 
Congrats on your new Precision Mathews machine. Nice job on the stand as well. Looks great.
 
Nice Work, I have taken the bed off of my machine and cleaned everything off. There was a lot of grime on the lead screws and ways. Everything is clean, I just need to reassemble. Next I will tackle the z-axis and mill head.
 
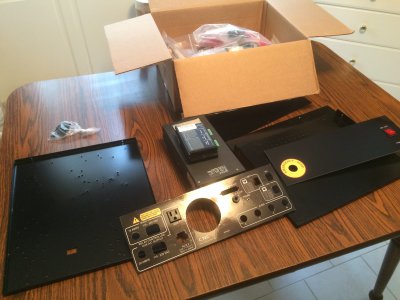
Well, i got my control box kit in, i got a 4 axis controller from CNC4PC and decided to save a little money and put it together myself. Got the box on Wednesday and opened it up and wow are there a lot of parts in that box. I will be taking some pics this weekend as I strive to assemble it. Might be a good tutorial as i work through the thing one piece at a time. It's going to be a challenge, the box itself even has to be put together. The bottom plate has about 60 pre-drilled and tapped holes, but there is no documentation as to what goes in what hole. There is a basic layout diagram of the box, but it's not very detailed. This is going to be a fun challenge, and i will share it with you all. So, the basics of what came is a C32 ethernet breakout board, ethernet smoothstepper card, 3 each KL8056 drivers, 1 KL8070 driver, KL600 power supply, and various other boards for relays, and miscellaneous small parts. It even comes with connecting wire, the kit is pretty complete, i must say.
I'm going to have to practice my soldering skills a little also, i'm a little rusty at that, been a while.
I haven't decided yet how or where i'm going to mount the box when it is assembled. the sides have ears for a rack mount, but I don't think i want to mount it directly on the machine when chips and coolant start flying. I have been considering getting a 12U mobile rack to put it in, then i can get a 4u server compartment and build a pc to put in there and have it all self contained in one unit. the mobile racks are a little spendy though, i'll have to think a little more on that.
 
ok, here we go on today's pictures:

Here is the kit as i received it.
Kit.JPG

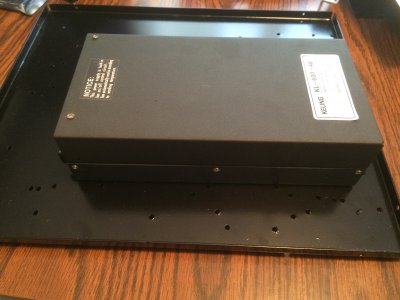
I started out trying to pre-fit everything before i tightened down all the bolts, here is trying to figure out which bolt holes to use for the KL600 power supply
fiting power supply.JPG

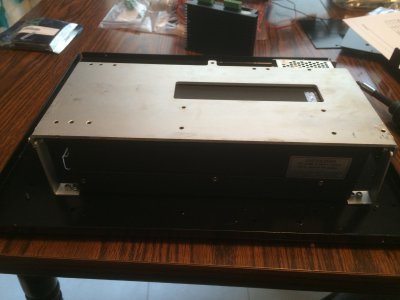
Pre-fitting the board mounting bracket.
pre-fitting 1.JPG

Kit.JPG fiting power supply.JPG pre-fitting 1.JPG
 
Back
Top