- Joined
- Feb 7, 2016
- Messages
- 172
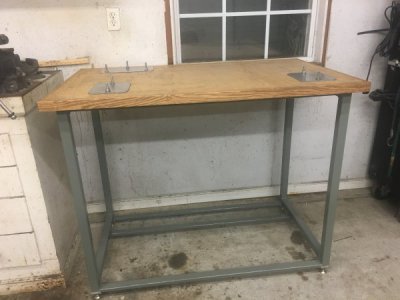
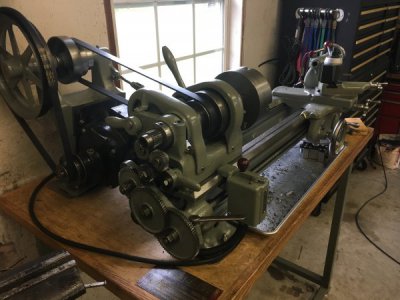
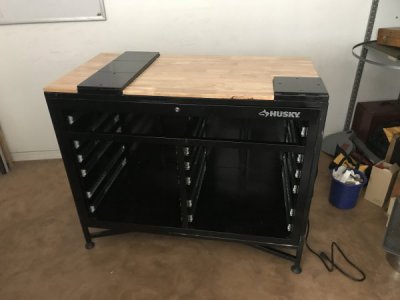
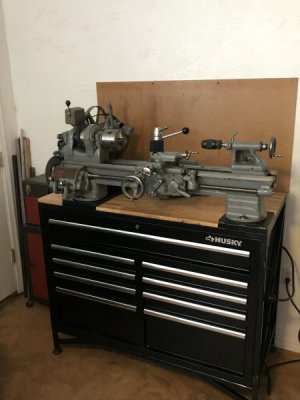
I decided to improve the workbench for my SB9. It had originally sat on a 2'x4' wood table that was sufficient for my needs. However, I bought a new tool box on sale to keep all the tool organized for the lathe and possibly mill. Due to the size of the tool box, a new workbench was needed.
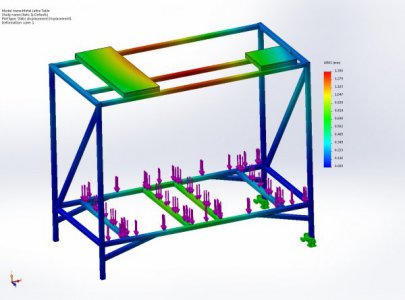
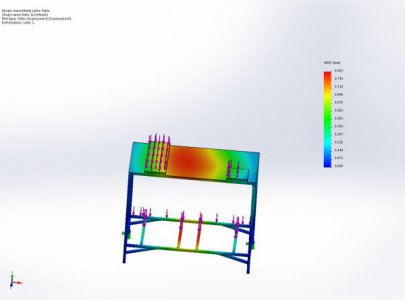
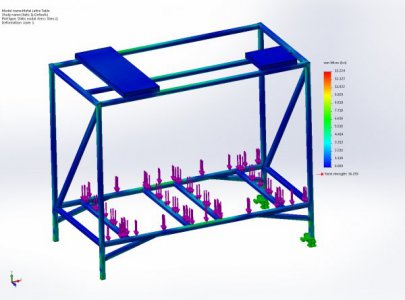
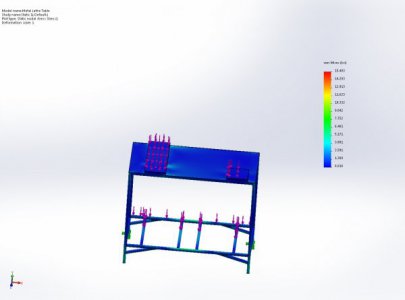
I decided to build the new bench out of metal to dampen some of the vibrations and withstand the weight of the tool box, lathe, and tools. I ran some FEA on 1"x1"x0.12" tubing. I wanted the stand to be sturdy but also light. I also wanted a little more room underneath the bed for the chip tray. Without a top cover the max deflection was around 1.4mm between the lathe risers. With a top cover to act as a stressed plane, the max deflection was around 0.862mm. The angled supports near the feet helped immensely with the deflection. I tried various angles and came up with a 15/75 angle that worked the best for stress and deflection.
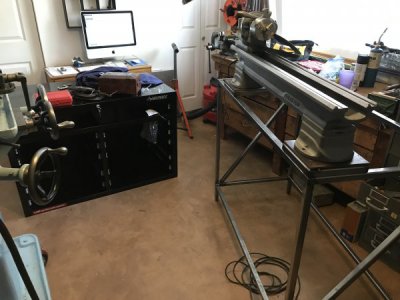
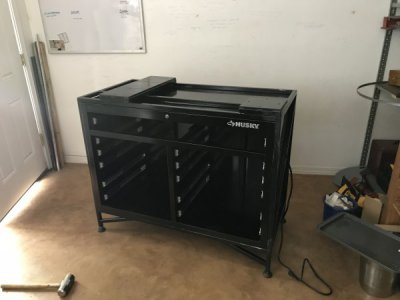
The hardest part was slipping the cabinet into the frame. My measurements and welding were too precise which caused some frustration during assembly. I am confident the tool box will not come out of the frame without persuasion.
The wood came with the tool box and was used as a stressed plane and finishing top. Overall dimensions of the workbench are 24"x48"x37" (Metal frame), tool box is 24.5"x46"x30". The feet came from McMaster and are 600lb rated for vibration dampening. During the install of the lathe, I decided to add adjustment setscrews to the lathe risers to keep the lathe level independent of the workbench.
Total cost:
$250 Husky Tool Box 9 Drawer 46"x24.5"
$140 1"x1"x.120 7-10' sticks
$40 8x8x0.375" steel plates
$30 leveling vibration feet
$10 for hardware (set screws and new bolts to mount lathe)
Will likely run test cuts on new bench in two weeks. In the meantime, I need to figure out how I want to organize each drawer and if I want to use the kaizen cut out foam.


