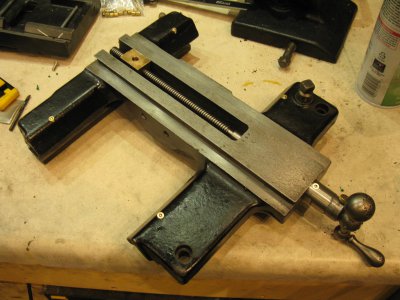
New to me 1929 wide (heavy?) 9" long bed and overhead silent drive casting trade

thanks guys! I very much have a soft spot for my 618 and it'll make a great lathe for someone when I finish putting this together, but I am starting to bounce up against its limitations. Mostly the through spindle clearance and bed length, plus the minimal tail stock ram travel, but it is a very capable lathe for its size. I can't wait to get the SB up and running though, it's going to be awesome. Silverhawk is right - these were a short(ish) run odd ball lathe before the SB9 workshop (A/B/C) came out in '34 or thereabouts. They have a "heavy" 10 (10L?) bed with a downsized head and tailstock. Bed is 7" wide compared with the 6" of the workshop (I think, don't have one to measure). Spindle height and spindle nose are the same as the later 9" lathes (1 1/2 - 8tpi, 3/4" through hole), therefore backplates from later lathes fit but the steady won't. So you can actually make a heavy 10 out of it if you found an appropriate headstock and tailstock, which is pretty crazy.

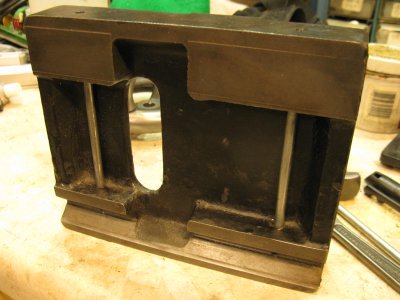
Currently working on the tail stock, putting in oil galleries.

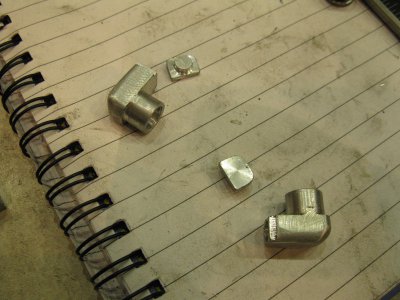
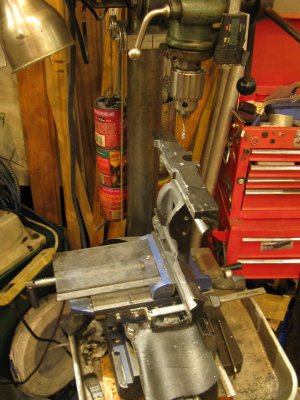
3/16 brake line, with the end turned down to 5/32 (longest drill I had of about the right size)
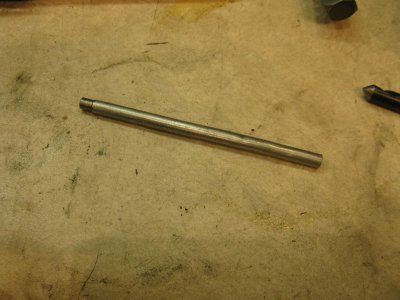
IMG_98081.JPG

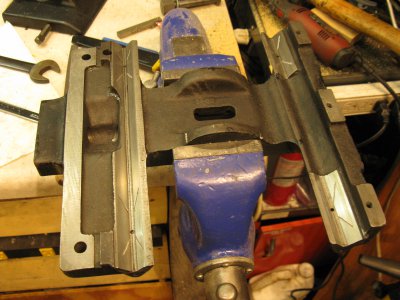
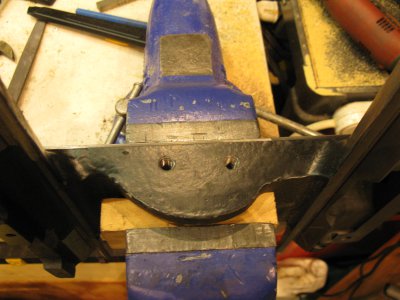
cross holes drilled, opened up to 3/16 on the flat way side and pipes pushed in
IMG_9810.JPG

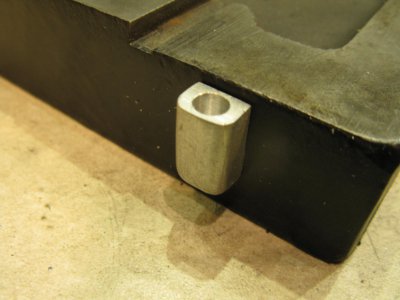
I've drill and cut oil grooves, but haven't taken a picture of that yet. Also realised while lying in bed this morning that I have somewhat painted myself into a corner as the carriage wing can extend past the front of the tailstock. So I'm going to have to make oil cups that have an angled bottom to clear the carriage :)
 
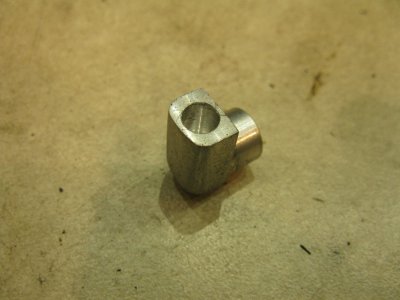
bleh, not my proudest work, but it'll do. Only screwed up once - put it in the 4 jaw the wrong way round, so ended up a lot thinner than intended!

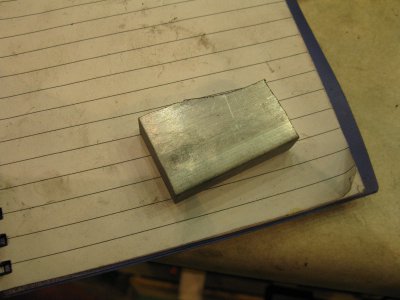
chunk of 1/2" scrap
IMG_9815.JPG

now an oil cup! I'll make a little cap or plug later.
IMG_9817.JPG
IMG_9818.JPG

shot of the flat way oil grooves. 3/32 ball nose from memory, not quite full diameter depth.
IMG_9819.JPG
 
plodding along. Finished the tailstock oil cups yesterday, so making way wipers today. No bets on how long it will take me to lose one of those caps!
IMG_9826.JPG
also cut the oil grooves for the v way
IMG_9827.JPG
 
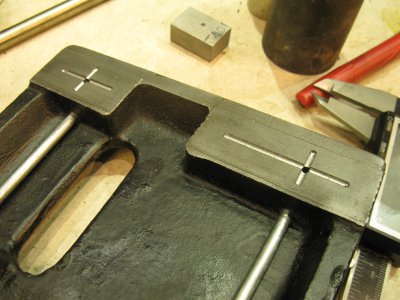
got a bit distracted from working on the tailstock. Made a couple of way wiper covers for the flat ways, looked at the V ways and decided to work on the carriage instead.
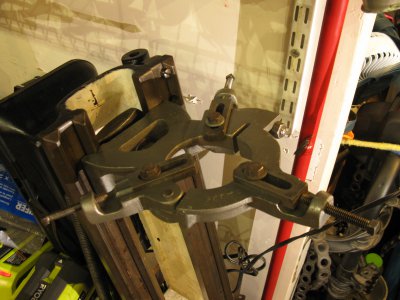
cross slide screw was bent in a couple of places and there was a ton of back and forth slop. Fixed the bends first and it's mostly ok. Any better would take a dial indicator and my hydraulic press and I want to put it back together first and see if it's an issue.

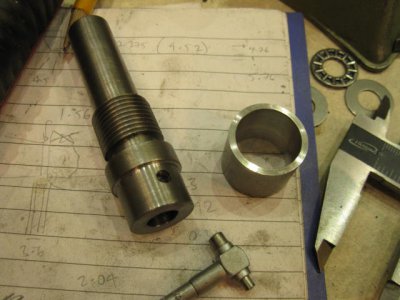
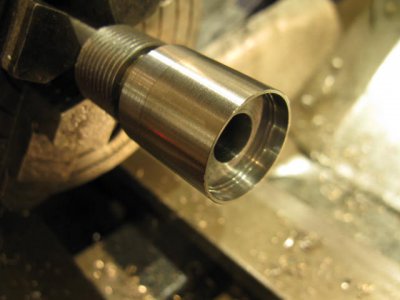
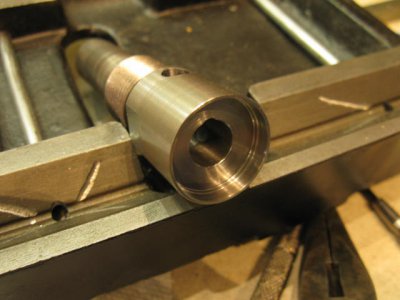
I also wanted to add a thrust bearing, because, well who wouldn't right? I had one just the right size from a scavenged bed lift motor but needed a way to get it inside a housing. The cross slide screw housing was kinda boogered up, so I turned that down some, then made a sleeve to press over it.
IMG_9870.JPG
Pressed it on, then bored it to depth and ID. Made the inner thrust bearing race a tight fit and the rest of the housing was bored to fit the dial.
IMG_9871.JPG
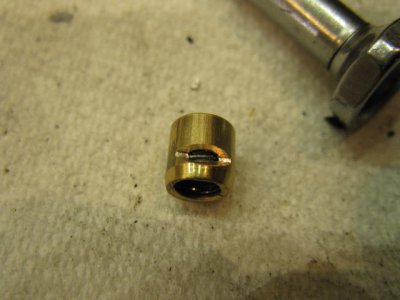
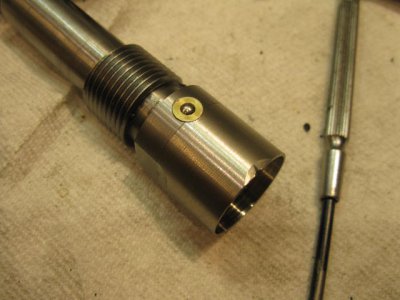
Modded a little ball oiler so some oil would come out the side
IMG_9874.JPG
Then pressed it in
IMG_9877.JPG
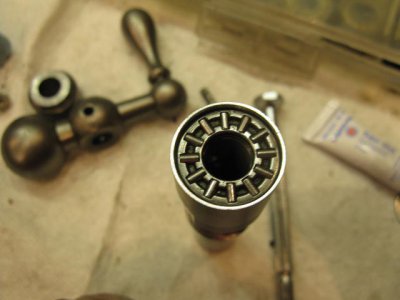
Also cut a small groove leading to the ball oiler and slightly notched the inner thrust bearing race so that the thrust bearing would get some oil
IMG_9875.JPG
in goes the thrust bearing
IMG_9876.JPG
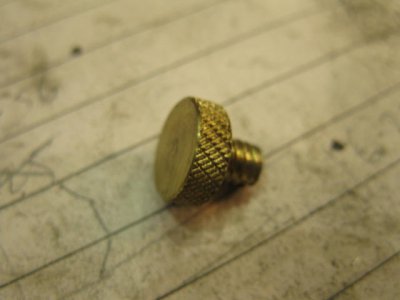
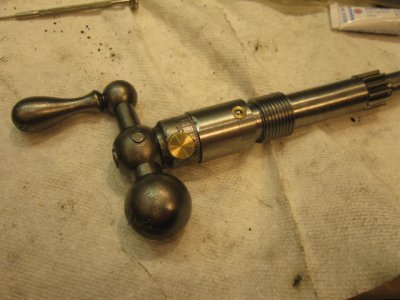
Needed a way of locking the dial so made a small 10-24 thumb screw out of brass
IMG_9879.JPG
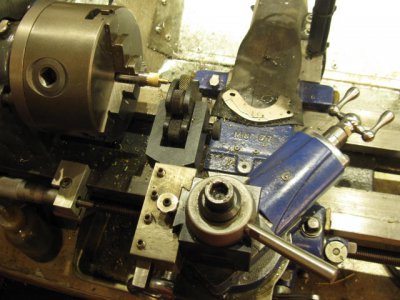
Knurling is kinda nasty, but not bad for a bump knurler on a small Atlas. The following also shows why a bigger lathe = better
smile.gif

IMG_9878.JPG
All back together
IMG_9880.JPG
It's pretty smooth, with a slight catch every turn probably from a slight bend somewhere.

Next up, ball oilers for the carriage.
 
finished up the carriage!

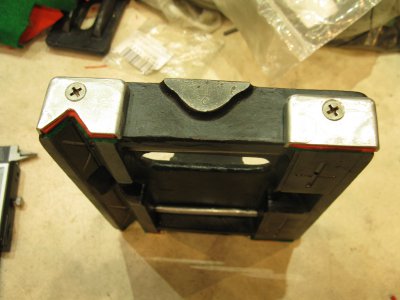
Drilled oil holes from the bottom and then used a 6mm endmill from the top to fit ball oilers to each wing.
IMG_9882.JPG
added oil grooves and very carefully filed of the wear lip. I know it doesn't fix the wear, but it will allow old oil to get out from under there more easily.
IMG_9883.JPG
drilled and tapped 5/16-18 holes opposite the ones for the follow rest. I'll be using those for a DRO, so these will do if I ever need to fab a follow rest. I'll fill them with a couple of set screws until needed.
IMG_9884.JPG
drilled and tapped a couple of holes for a DRO mounting point. Easier to do now than later.
IMG_9885.JPG
All put back together and tucked away until everything goes together.
IMG_9886.JPG
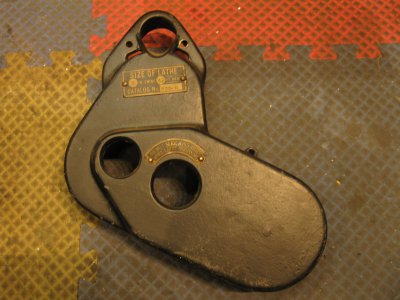
picked up the gear cover and compound screw assembly from the seller today, lathe catalogue no. is 382-R which is neat to know
IMG_9893.JPG
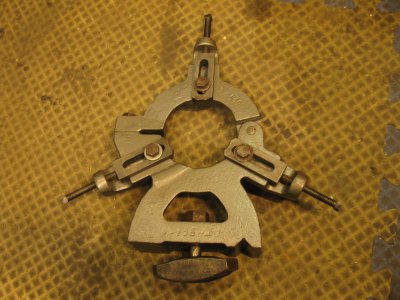
also got a steadyrest!! Saw the castings at the sellers today when I went to pick up the gear cover and compound screw assembly and managed to trade him a nice 1/2hp 3ph Dayton motor and blower for it that I got at an auction that day for $10
smile.png

IMG_9894.JPG
and it fits perfectly. I'm so pumped! I was planning on making a steady as there's no way I could afford to buy one.
IMG_9892.JPG
 
nothing but the finest dog food for my drill press :) It's hard to see, but there's a Del Monte's peach can on the other side..
 
You picked up a steady for $10? Whoa! That is AWESOME!

joe
 
$10+fees and tax :) I think it counts as probably the best trade I've ever made. Funny thing is that I already had the other parts (clamp, bolt+nut, hinge rod and the 3 adjustment screws) in with my large collection of bits'n'pieces, so as soon as I got it home I could put it all together. Still really pumped about that!
 
Back
Top