-
Welcome back Guest! Did you know you can mentor other members here at H-M? If not, please check out our Relaunch of Hobby Machinist Mentoring Program!
You are using an out of date browser. It may not display this or other websites correctly.
You should upgrade or use an alternative browser.
You should upgrade or use an alternative browser.
Optical Centering Microscope
- Thread starter rwm
- Start date
- Joined
- Mar 25, 2013
- Messages
- 4,614
Thanks guys!
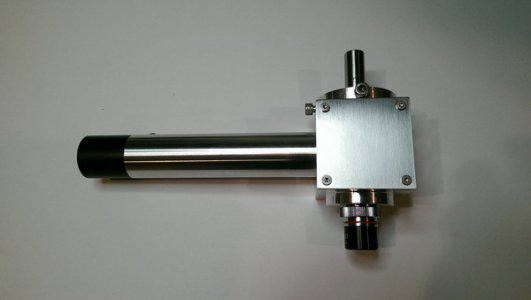
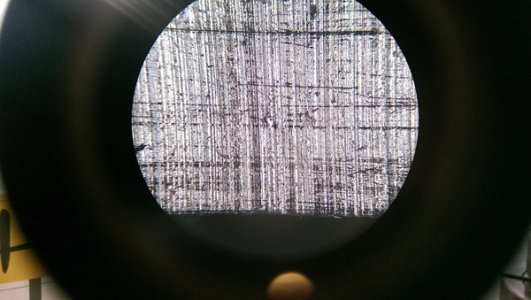
To calibrate the centering I used the lathe because I know it does not have a headstock angle error. I put a spot drill in the lathe chuck and drilled a tiny hole in a piece of material mounted in the tool holder. Then I swapped out for the microscope. The drill hole was slightly off center. I used the 4 screws like a 4 jaw chuck to line up the drill hole. Bam! I had a little motion when I tightened down the 3 holding bolts so I had to repeat a few times to nail it. Not too hard.
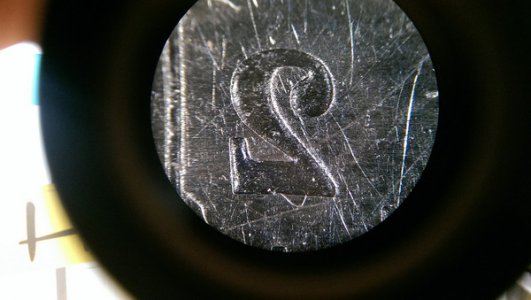
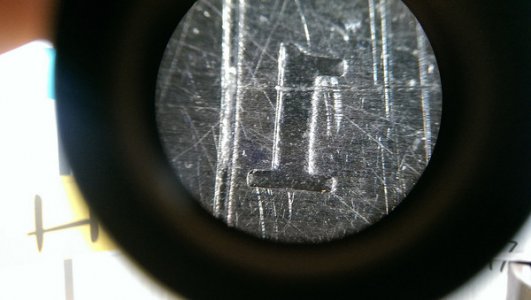
The depth of focus of this system is very narrow so you are always at a fixed distance to the target. I should be able to calibrate the scale in terms of inches and mm also.
If you have a tramming error the center will appear to move off center as you rotate the spindle.
I think this will be very useful and same tons of time. I'm tired of screwing around with cigarette paper! Also centering for drilling on punch marks will be a snap.
R
I should note some details. The mirror is a first surface mirror. $8 for 2 on ebay. The eyepiece is 10 x and the objective is 4 x so about a 40 x magnification. You could buy an old microscope on ebay for less than I paid for the eyepiece new. My mirror box is not perfect. I should have started with 2 x 2" stock so I had square parallel sides to start with. Then turn between centers to create the bosses at the top and bottom. Then cut out the pocket. Then bore the hole for the tube and thread it 36 TPI. . Then turn all the sides on the lathe to make it pretty. I will eventually do that. Also, you should note that microscopes use a 36 TPI thread. Interesting because the objective lenses are threaded 20.1mm x 36 TPI (yes metric and imperial) They are Whitworth but I used a standard 60 deg thread and it works fine.
Robert
Last edited:
- Joined
- Sep 19, 2014
- Messages
- 234
Nice work!
Where did you source that retical?
Where did you source that retical?
- Joined
- Mar 25, 2013
- Messages
- 4,614
http://www.ebay.com/itm/190814081294?_trksid=p2057872.m2749.l2649&ssPageName=STRK:MEBIDX:IT
$32. Pretty sure you can buy a whole microscope on ebay for that.
R
$32. Pretty sure you can buy a whole microscope on ebay for that.
R
- Joined
- Mar 25, 2013
- Messages
- 4,614
Gunrunner you need to order a set of these for the Z axis hand crank. Bill did you just spit coffee on your monitor? :rofl:
View attachment 253356
View attachment 253356


Last edited:

