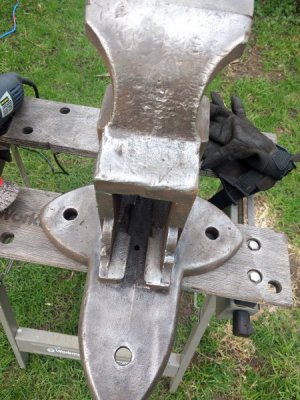
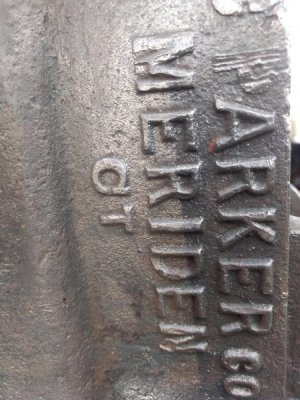
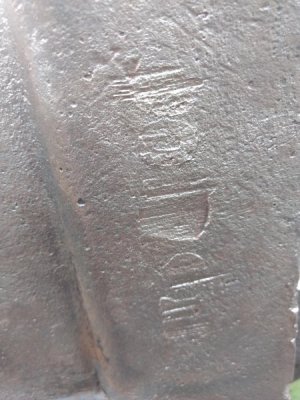
I have a Parker Eclipse no. 107-6 vise (or at least that's my ID based on sizes) in need of several repairs. I'm mostly taking it on as a series of welding and machining challenges.
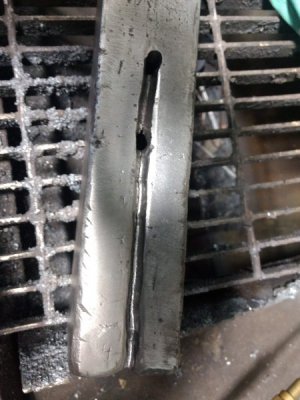
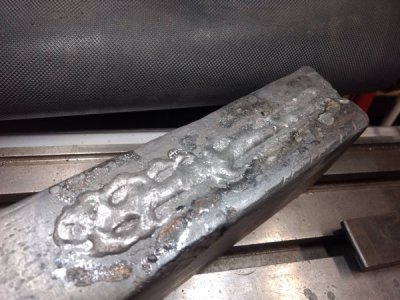
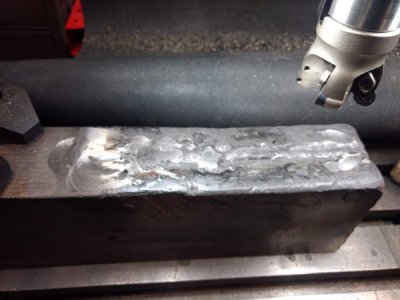
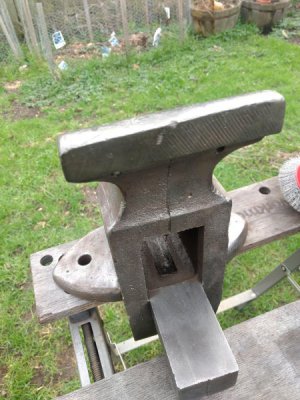
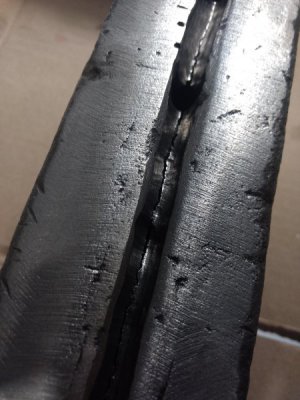
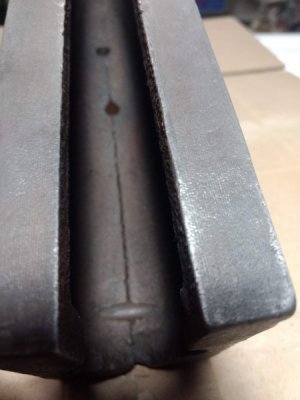
1) The rear slide needs to be welded up, since it has a deeply unfortunate crack running about half the length. No good pictures of just the crack, I got in a rush and vee'd it out before I got taking many. I plan to do this weld with Crown no. 6 cast iron rod and cast iron flux, and I've already done a practice run on a Parker main vise body which was in 2 pieces, acquired specifically to be weld practice.
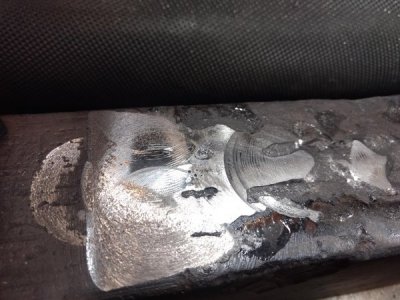
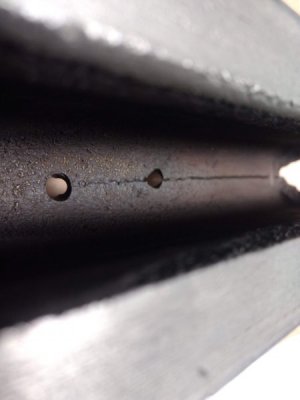
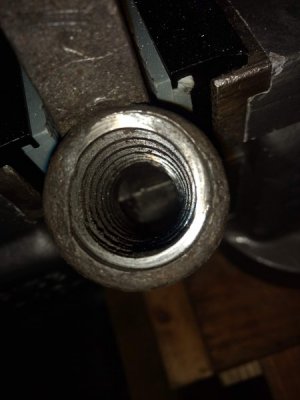
2) The nut dovetail in the fixed jaw/main body has been broken out. Reading around online, it sounds like this was likely the result of a fall in some previous life. I'm leaning towards using cast iron rod and cast iron flux to build the broken out areas back up and then file them back down to fit the nut snugly. This will be a deeply annoying amount of work, but it should result in a decently strong and sort of original looking repair.
3) The jaws are nearly smooth, so I will be needing to build a new set in the machine shop. I'm leaning towards using up some of my weird collection of tool steel on them, but we'll see, since I'm not sure I'll want to send them out for hardening. I'll need to figure out getting the old ones off first, but that should be eased somewhat by the process of preheating the entire vise to 1000*F for the welds and slow cooling the entire thing.
Cheers,
Will


d
1) The rear slide needs to be welded up, since it has a deeply unfortunate crack running about half the length. No good pictures of just the crack, I got in a rush and vee'd it out before I got taking many. I plan to do this weld with Crown no. 6 cast iron rod and cast iron flux, and I've already done a practice run on a Parker main vise body which was in 2 pieces, acquired specifically to be weld practice.
2) The nut dovetail in the fixed jaw/main body has been broken out. Reading around online, it sounds like this was likely the result of a fall in some previous life. I'm leaning towards using cast iron rod and cast iron flux to build the broken out areas back up and then file them back down to fit the nut snugly. This will be a deeply annoying amount of work, but it should result in a decently strong and sort of original looking repair.
3) The jaws are nearly smooth, so I will be needing to build a new set in the machine shop. I'm leaning towards using up some of my weird collection of tool steel on them, but we'll see, since I'm not sure I'll want to send them out for hardening. I'll need to figure out getting the old ones off first, but that should be eased somewhat by the process of preheating the entire vise to 1000*F for the welds and slow cooling the entire thing.
Cheers,
Will
d
Attachments
-
 IMG_20190501_190847910.jpg78.4 KB · Views: 11
 -
 IMG_20190501_190913287.jpg72.8 KB · Views: 9
 -
 IMG_20190501_190928421.jpg63.2 KB · Views: 10
 -
 IMG_20190501_190940607.jpg67.7 KB · Views: 11
 -
 IMG_20190501_210054459.jpg54.7 KB · Views: 11
 -
 IMG_20190501_210158131.jpg33.9 KB · Views: 10
 -
 IMG_20190501_210208040.jpg24.8 KB · Views: 9
 -
 IMG_20190501_212009154.jpg41.8 KB · Views: 9
 -
 IMG_20190501_212017629.jpg35.6 KB · Views: 10
 -
 IMG_20190501_212025725.jpg38.7 KB · Views: 13