- Joined
- Sep 5, 2013
- Messages
- 3,203
About a month ago I was doing something stupid and snapped my parting tool. I say parting “tool” and not parting “blade” because it was a tool I had ground from a piece of square high speed steel. It worked great and I got a number of years out of it, but then I broke it so end of story. And I didn’t feel like grinding another one from scratch again sooo....new project: parting blade holder.
I saw a number of good ideas here in recent weeks and was going to go with the one-piece block with the flexure slots, but at the last minute I decided to make a two-piece style with separate cap.
I started with a blank of 2” round, faced both sides on the lathe, and then squared up one edge for the nose.
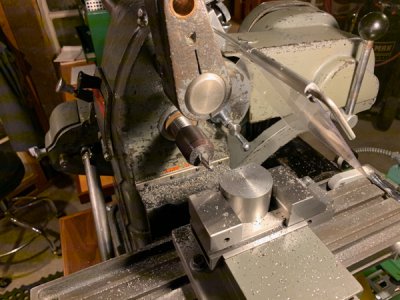
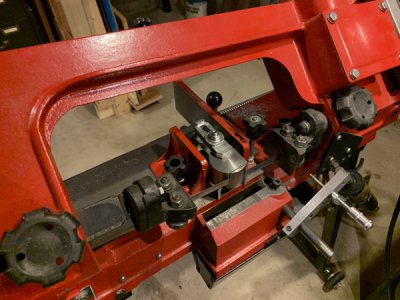
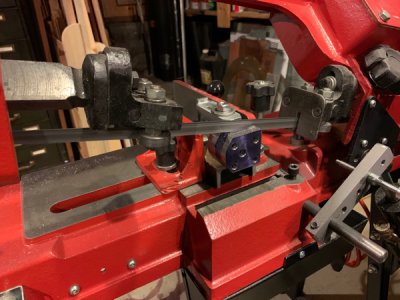
Then I trimmed off the two adjacent sides, drilled and tapped some holes, and sawed the blank in half. One half for the bottom, the other for the cap. I trued them up on the shaper.
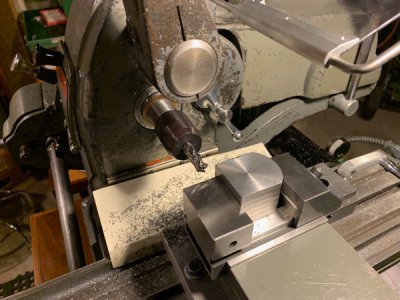
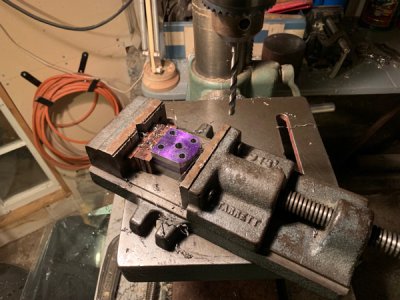
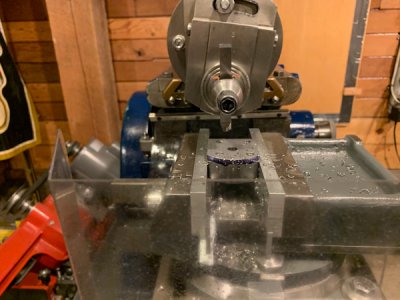
This is where my design got a little over complicated. I was trying to allow for using different types of blades in the same holder, so I designed in four adjustment screws that could be either wound in or backed out to depending on the blade. It looked good on paper, but in real time the available meat for the threaded holes was a little thin. I can still use the bottom two for ensuring the blade seats vertically, but I don’t know that the added effort and jigging around was worth it.
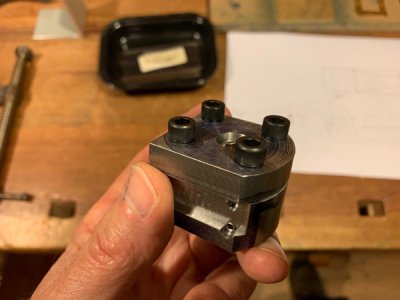
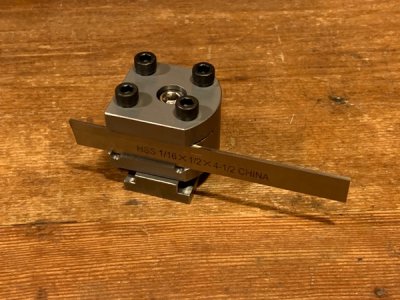
After a little cleanup and and a new T-nut I called it done. All in all it seems to perform as planned so I guess that’s a win. I’ve never used these P-type blades before so I’ll see how that goes. Thanks for looking!
-frank
I saw a number of good ideas here in recent weeks and was going to go with the one-piece block with the flexure slots, but at the last minute I decided to make a two-piece style with separate cap.
I started with a blank of 2” round, faced both sides on the lathe, and then squared up one edge for the nose.

Then I trimmed off the two adjacent sides, drilled and tapped some holes, and sawed the blank in half. One half for the bottom, the other for the cap. I trued them up on the shaper.


This is where my design got a little over complicated. I was trying to allow for using different types of blades in the same holder, so I designed in four adjustment screws that could be either wound in or backed out to depending on the blade. It looked good on paper, but in real time the available meat for the threaded holes was a little thin. I can still use the bottom two for ensuring the blade seats vertically, but I don’t know that the added effort and jigging around was worth it.

After a little cleanup and and a new T-nut I called it done. All in all it seems to perform as planned so I guess that’s a win. I’ve never used these P-type blades before so I’ll see how that goes. Thanks for looking!

-frank

