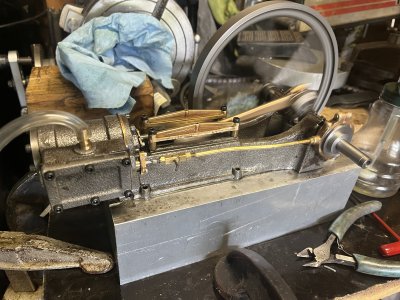
I needed another project after the PM #7 was completed. I jumped to the bigger PM #1. After many hours (I don't keep track) and afternoons it is complete and runs great. As usual I start with visions of perfection and end with a little less. There was some tweak to fit work. In the end it runs on something less than 7# of pressure. It is low enough that the gauge is really not useful.
I got lots of information from the series on the Youtube channel from Blondihacks. One of the ways that this channel is different is that she doesn't hide her mistakes. That allowed me to learn and miss some of the places where the drawings took some interpretation. I did indeed make my own mistakes. For instance, three tries before I was happy with the eccentric.
It was my first crankshaft and it is not quite perfection but pretty great.
Here is the finished product.

View attachment PM Steam Engine.MOV
I got lots of information from the series on the Youtube channel from Blondihacks. One of the ways that this channel is different is that she doesn't hide her mistakes. That allowed me to learn and miss some of the places where the drawings took some interpretation. I did indeed make my own mistakes. For instance, three tries before I was happy with the eccentric.
It was my first crankshaft and it is not quite perfection but pretty great.
Here is the finished product.

View attachment PM Steam Engine.MOV

