POTD- PROJECT OF THE DAY: What Did You Make In Your Shop Today?

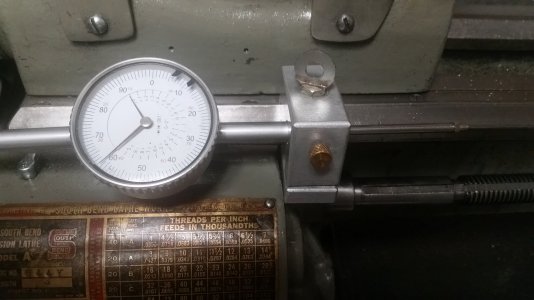
I had done this the other day, I got tired of taking out the wrench, and I kept procrastinating making a new screw with a head that I could add an arm to. So I silver soldered a nut after slitting the head of the screw and grinding a flat on the washer. I used to do this all the time when I didn't have thumb screws. debur the edge of the washer and all is good.
20220623_114638.jpg
 
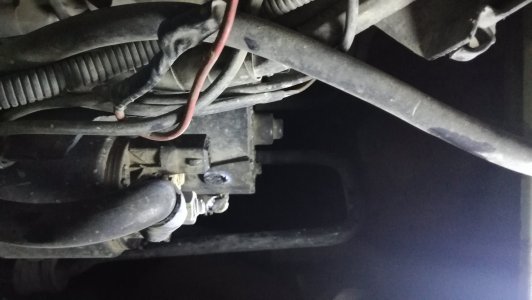
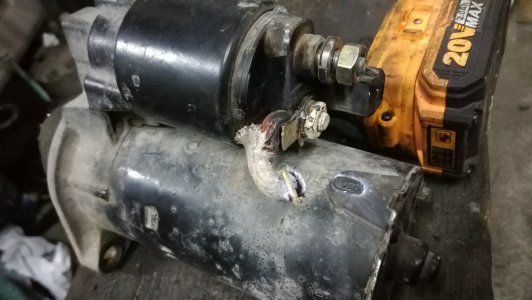
Another week another starter motor burned. This time i've replaced it with a used unit. This is the starter from white elephant No: 2, this car has been having issues very often lately. Thankfully is not so hard to remove and install, but the battery and battery tray need to come out. From the looks that starter is overamping, in the past it had similar issues. The new (to this car) i install has one more tooth on its bendex that should help.
IMG_20220528_191403.jpgIMG_20220528_192433.jpg
 
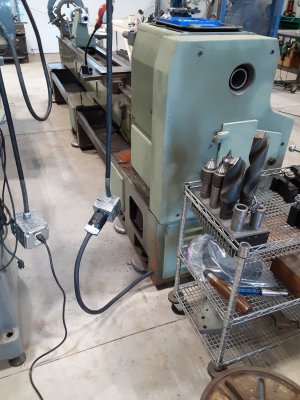
Finally got the big Jet lathe powered up today. Holy cow electrical supply costs are through the roof. That male & female 60 amp 4 prong connectors were $334 dollars from McMaster- Carr. o_O My local supply house couldn't even get them.
lathe power.jpg
 
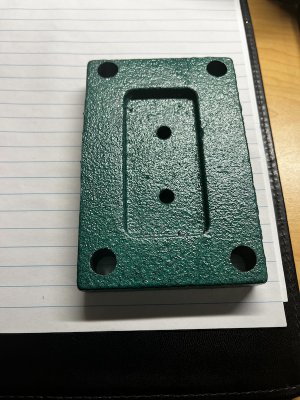
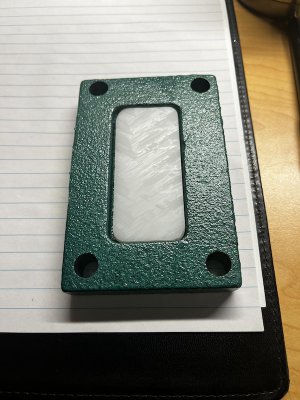
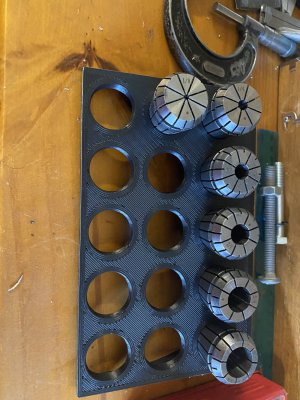
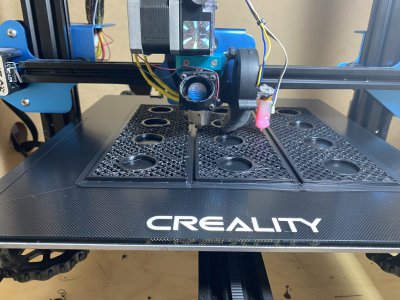
Was printing off a collet rack for my er32 spring collets. Somehow, pressure built up in the hit end head and it blew out the threads holding the heat break to the heater block. Melted abs went absolutely everywhere!

With the threads gone, I needed a new heater block. I run an e3d volcano hot end, so it was going to take several days to a week to get replacements.

So down to my new mill and start taking stock of what I have to work with. I’ve literally had the lathe 3 days now, so nearly no tooling for it. So I took the drill press vice and bolted it to the table on the mill. I only have a couple end mills and nothing to hold them in. So I had to use the drill chuck to hold the cutters. Not ideal for many reasons, but I kept the cuts very light and only shaved half width at a time.

To sum up, i got it done after a couple hours fiddling around and the 3d printer is up and running again. Should be able to pull the collet rack off the print bed within the hour.

So I’m not sure if my POTD is the 3d printed collet rack or the heater block I had to make for the printer on the mill so I could make the rack for the mill….o_O
 
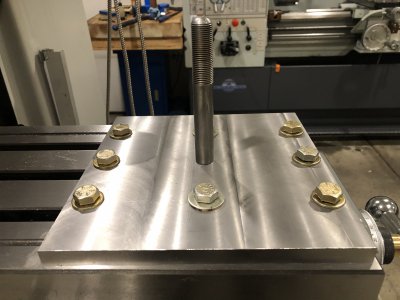
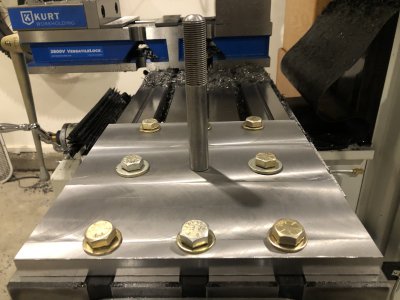
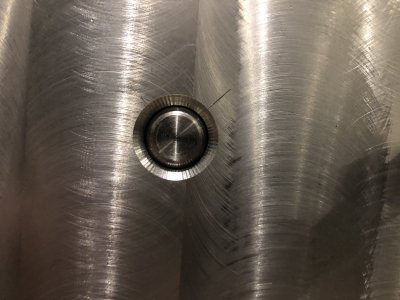
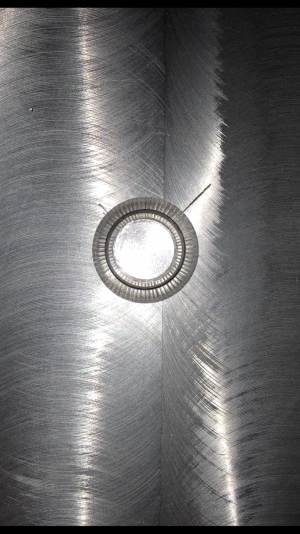
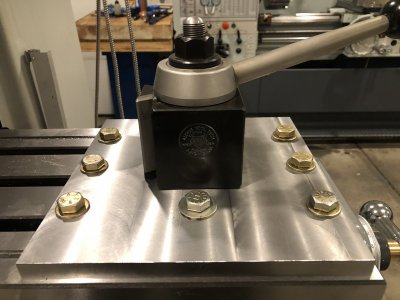
This isn’t done, but it almost looks like it in the photos. I still need to do a combination bevel/plug weld in the bottom & then face that weld down flush.

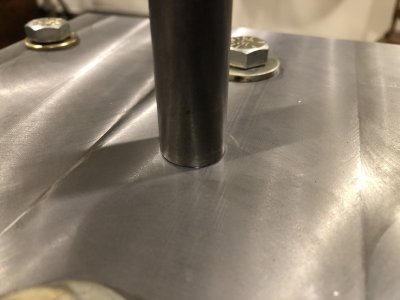
This is 3/4” A36HR plate with an Aloris tool post press fit in the center. I turned down the bottom of the tool post (thereby removing the threads) to a .629” OD shoulder. I purposely made the shaft a little too short in order to leave room for the plug weld.

On the plate, I drilled 5/8” and then bored it out to .630” for a press fit. I used a hydraulic press to press it in. I had to hit the post a few times with a plastic-tipped hammer to get it square.

I love to machine the bevels before I weld. You can see where I machined 45° bevels on both the plate and shaft. I got some chatter on the bevels in the plate.

This project is a home for a tool post crane. One has to remove some of the mounting bolts if one is to swing around the tool post.

My vise weighs 145 pounds, and I will use to crane to remove or replace the vise. I didn’t buy the tool post crane for the milling machine. I already had it for my heavy lathe chucks.

E64A5ACA-77CB-4CB0-9FC8-579475B77B07.jpeg
89E73BB4-AC6C-4A65-BD26-415A83348C56.jpeg
D45D3583-06DE-4100-8E0C-4EBECB902F72.jpeg
996FD555-E137-4C21-96B2-56644BF40924.png
0CFDD721-0E83-4801-B4E6-D1E6315B5269.jpeg

3F57AD1F-A073-47B5-AE80-37709F945D21.jpeg

Edit:
I can see that I will need to recess all those bolts & washers so I can swing the tool post around.
 
Last edited:
Spring collet rack:

9A852604-7F22-4EB8-ACE6-D802A68F3681.jpeg

Turned out so well started a coupke R8 collet racks:

5DEEDF09-5530-45B3-ADC5-7617C33FBC07.jpeg
If you look closely, you’ll see the aluminum heat block I had to turn out on the new mill. Its not perfect, but it works fine. It has a little more mass than the original and while it takes a smidge longer to heat, it holds a more stable temp when printing. The nozzle in the block has a tendency to cool a lit when printing with a nozzle as large as I’m using (1.0 mm).

The racks are meant to wall mount on a set on DIN rails. But, those are nearly impossible to find around here.

So I cruised the local hardware store and came up with some deck edging which had a “Z” section that fits the racks perfectly. Best part was they were on clearance for a buck a piece. So I grabbed ten 3 foot sections. Only thing is they’re a sage green color, but a quick rattlecan pass will fix that right up.
 
Last edited:
Back
Top