POTD- PROJECT OF THE DAY: What Did You Make In Your Shop Today?

Forgot to put a center on my steadyrest project ... was taking big honking cuts. Using my 4 jaw (the one that crashed) The 4 jaw had no issues, the problem was the bore in the back of the 4jaw was not allowing the chuck to sit on the spindle landing . So big cuts, no center...
For this video, I backed off on the cut, admittedly, I didn't want to have egg on my face, or the part flying. I was taking a 40 thou cut, I backed it down to 20 for this.
 
I finished building my cutter grinding fixture. Now I need to study up on the relief geometry. I made it so it can accommodate up to 6 inch cutters. And up to 5/8's wide.

Nice project.

I'm wondering what material it's made from?
Also, what is the brass looking disc inlayed into the top of the base?
 
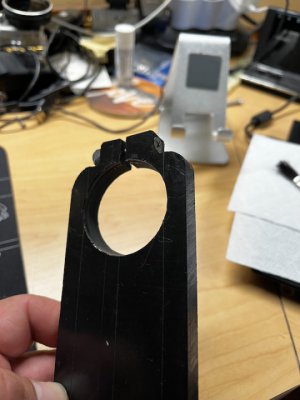
Making a bracket for the tailstock... to hold the inexpensive DRO on the Grizzly G0709 Lathe...

The lathe is at the other house... so I still need to cut it to length when I get there...

I have a lot of pieces of Delrin to practice, so used that for it...

IMG_4152.jpeg
 
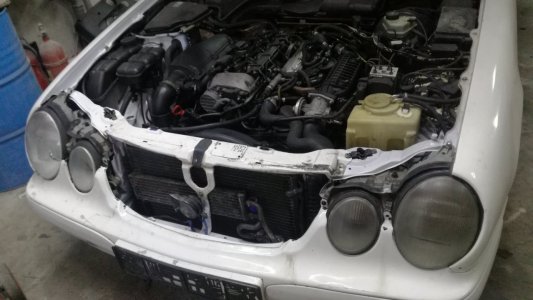
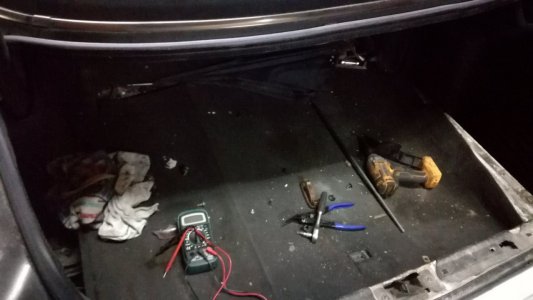
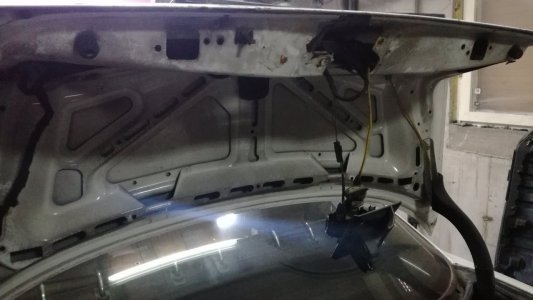
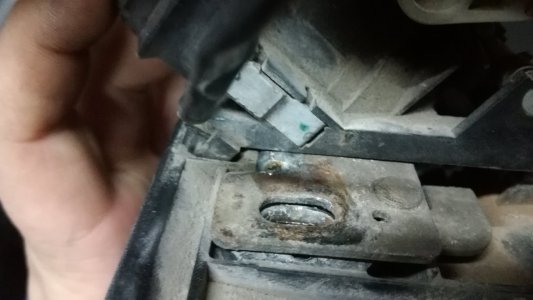
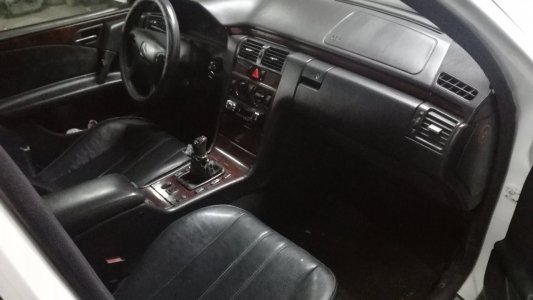
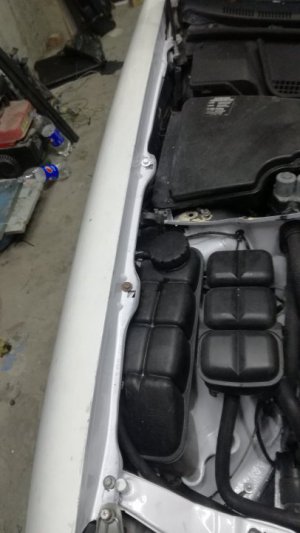
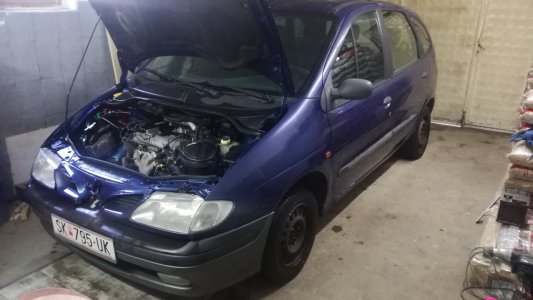
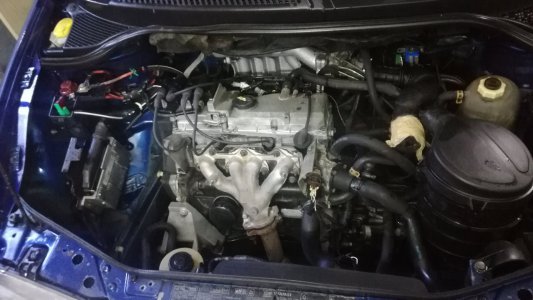
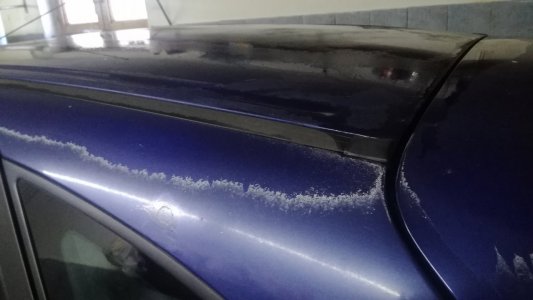
Today i had the day off work so i spent it working on cars. First on the list was to move couple of cars. The new to me Scenic got moved to the small garage and the W210 went back in the big garage. I needed to fix the trunk lock, it was broken into pieces, i had to take it apart and weld the cage together. But at the end i found out the central locking module has been changed with a module that doesn't have air open trunk so i had to sneak a small cable to be able to open the trunk. I also did a quick clean up on the interior. And drove it to storage. By this time was middle of the day so i got the pressure washer out and gave the new to me Scenic a good wash, engine bay and out side. I leaf it to dry in the heated garage and tomorrow i'll be inspecting it over the inspection pit. If the under is solid as the outside it will get a new engine in a day or two.
IMG_20220116_123238.jpgIMG_20220116_110128.jpgIMG_20220116_110132_1.jpgIMG_20220116_110151.jpgIMG_20220116_123126_1.jpgIMG_20220116_123307.jpgIMG_20220120_144455.jpgIMG_20220120_144502.jpgIMG_20220120_144523.jpg
 
good luck with those valves. I have a pool, and when I use those they always fail shortly ... They won't turn, the handles break off. But sometimes I can't get a Jandy valve. They seem to do better.
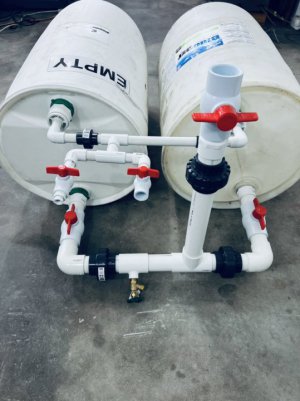
Nice design, can you explain it, how it works?
 
good luck with those valves. I have a pool, and when I use those they always fail shortly ... They won't turn, the handles break off. But sometimes I can't get a Jandy valve. They seem to do better.
Nice design, can you explain it, how it works?
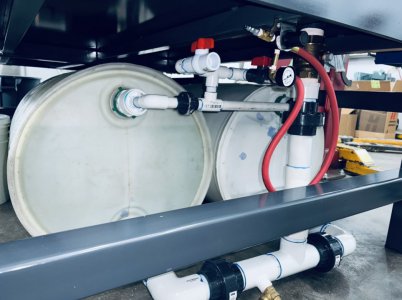
I had read similar online about the pvc valves. The 2" tank isolations are never operated. They are there in the case I want to isolate a tank. Mostly for testing the connection to the tank prior to assembly and installation. The water table isolation is a brass full port ball valve and should last the life of the table.

Operation.. starting with table is empy and fluid is in the tanks. As I mentioned, I leave the tank isolations open. Table isolation valve is open from previously draining table into tanks. Close air vent valve, open air regulator outlet and then inlet isolation valve. Water will flow into the table. When table is full close regulator inlet, table isolation and regulator outlet. To drain, open air vent valve and table isolation.

It works remarkably well. Takes a few minutes to fill and much less to drain.
The Jandy's are pvc but might have a different ball. They last much longer, and they come apart.

So why are you doing this? is it required to empty the table everytime you use it? I always thought you just left the water in the table.. Over time the water loses it's free oxygen and will stop any rusting. You can also add an additive that removes the free oxygen to stop oxidation.
 
I don’t want a 45 sq ft lake in my shop evaporating and rusting machines, tooling, etc. I will drain the table at the end of every day I use it. And, there are times it’s nice to lower or raise the water level while using the machine. This makes the water level adjustable as well. I am using a plasma additive in the water.
 
Back
Top