POTD- PROJECT OF THE DAY: What Did You Make In Your Shop Today?

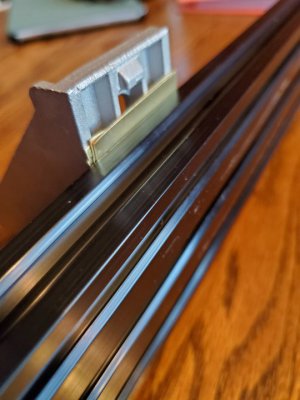
After another request to re-saw some boards after seeing the table (you know how it goes, "if you did that for my brother, you need to cut me some boards because lumber is too expensive"). My fence I had cobbled together had warped, and I got tired of c-clamping boards to my miter gauge in order to set the fence in place. For the first time in my life, I bought extruded aluminum. That, with some angle brackets, became my new bandsaw fence (a MUCH smaller bandsaw than winegrowers a few posts back). Checking for square, and the fence was not at 90 - it was 0.035" off over 3", and that was too much. I used brass shims on the end (three layers of 0.012"), and re-tightened it all. It's square.
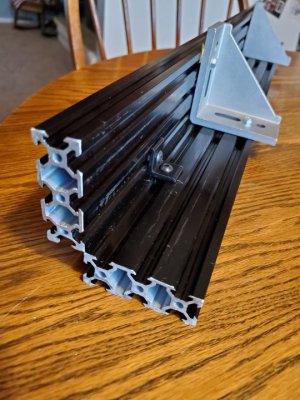
20220211_173704.jpg

20220211_173714.jpg

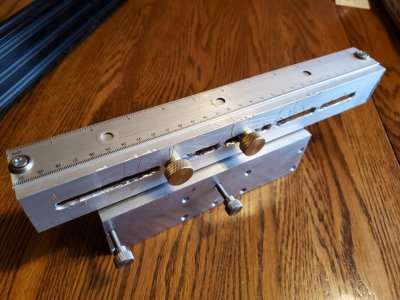
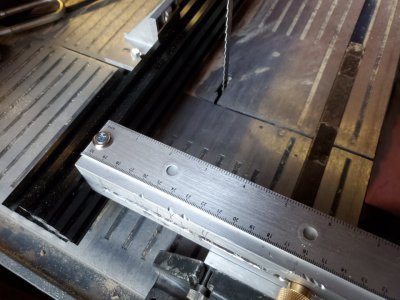
Next up, the mitre gauge measuring hack had to be replaced. I used some drop stock I had, and some thumb screws, to build the attachment. Screw holes were measured to fit the mitre gauge face slots, and for the angle aluminum slots, I drilled lots of holes and filed them down. The ruler was a craft-store ruler that had a plastic handle on it - that handle was softened using a heat gun, and then the ruler was trimmed and installed to the device.
20220211_173641.jpg

20220211_174349.jpg

Now I have an accurate way of measuring depth of cut, then setting the fence to square based on that depth of cut by using the attachment at each end of the mitre slot to set the fence position.
 
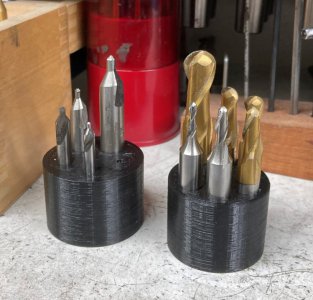
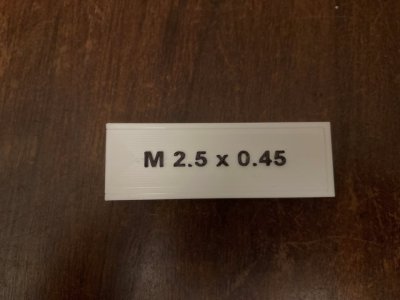
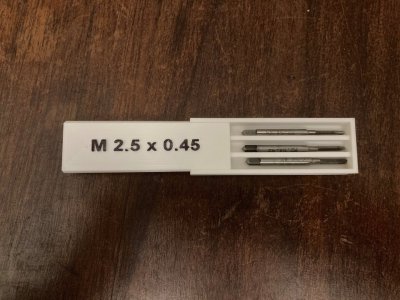
On the 3D printing theme, I decided to organize my center drills, ball end mills and taps. Used a parametric model for the tool holders so that hole size, spacing and number of holes can be easily changed without having to redesign the model.

Tool Holders.jpg

Tap Box 1 (2).jpg

Tap Box 2.jpg

Cheers,

Adrian
 
That is the beauty of 3D printing. From concept to part can be pretty quick with most of the time being with the printer while you can make something else or watch TV or drink beer. Also low cost material makes it practical for a little trial and error (successive approximation) style of design. In my first version of the Transfer punch holder, I did not oversize the holes quite enough but it was easy and quick to enlarge the holes slightly and print it a second time.
Exactly. The second part we're working on is a cover for the battery. I had to estimate a radius (since I don't own a gauge), so we printed a thin slice of the part to check if I got it right. I didn't, so we'll adjust, but the ability to do that saved time and material.
 
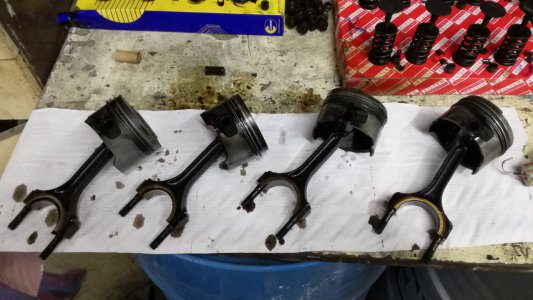
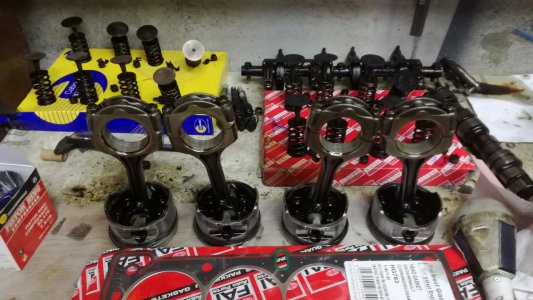
Last few days i've been spending few hours a day cleaning parts from the scenic engine, it took 2 hours a piston to clean them good. I also file to fit new piston rings and bought new bearings and gaskets. i have almost everything ready to put the bottom end together, i'm debating should i replace the oil pump, its working fine and new one is rather expensive. The cylinder head still need a good clean and lots of work done to it.
IMG_20220207_135828.jpgIMG_20220213_172545.jpg
 
@Shootymacshootface

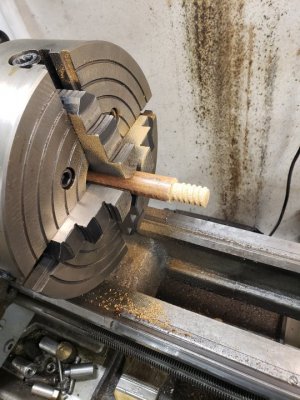
What tool did you use to cut the wooden threads?
I would expect a solid blade to result in a lot of tear out. Your threads look good.
My junior high shop teacher made a wooden cradle to mount a router to the compound of a Rockwell 11" lathe. We used it to cut a "V" thread in a wood round (4 tpi). I recall it doing a pretty good job with a 60 deg. "V" router bit.

Our son inherited some exotic wood scraps from his high school shop. We used a Harbor Freight 1/4" die grinder mounted to the compound of a Rockwell 10" lathe with a taper attachment to make some chop sticks. It worked really well and gave a glass finish. Idea was to spin the cutting tool instead of the work (though the work is still turning). We mounted a shop vac hose at the router to capture as much dust as possible. And for the safety nazi's, yes, we wore a respirator as some exotics are toxic.

Bruce

p.s. I recall Sears selling a helical cutter for a router that worked with cables/pulleys. Rotated the work as you moved the router along.
you remember correctly. I have one.
 
Back
Top