POTD- PROJECT OF THE DAY: What Did You Make In Your Shop Today?

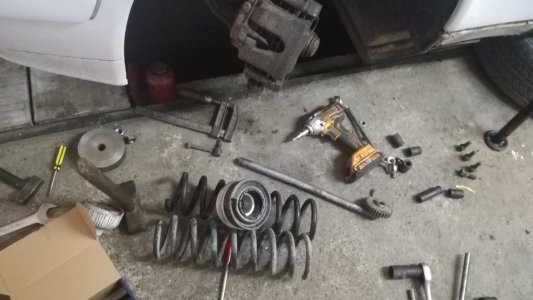
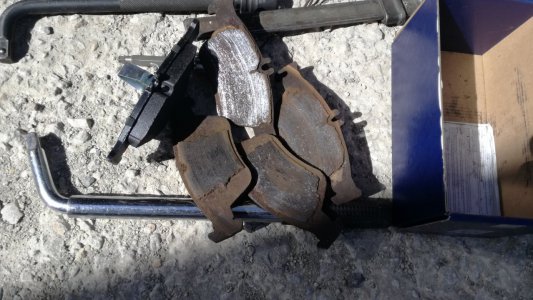
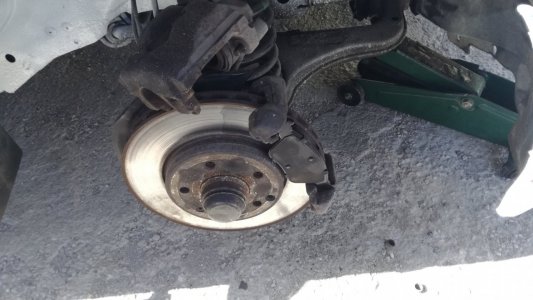
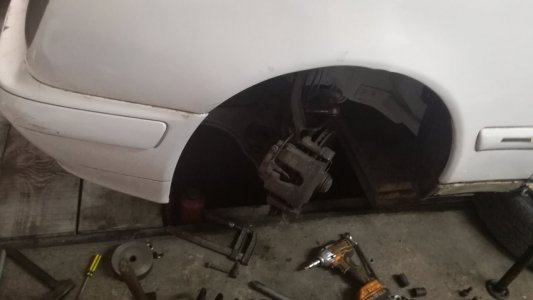
Well, i left the W210 over the inspection pit for over a week while i was busy, suprasing it did not put itself together. Compressing the spring was a bit more difficult than i thought but slowly but surely i managed to assemble everything. Drove it over some bumps to set the suspension and its now more level the front end is at stock ride height, driving it i noticed the brakes are a bit week so i bought and install new brake pads, the old one wore gone. After that i gave it a wash and parked it. It as a hard day of work, at work and in the garage.
IMG_20220423_084416.jpgIMG_20220423_084420.jpgIMG_20220424_191153.jpgIMG_20220425_101318.jpgIMG_20220425_101320.jpgIMG_20220425_110108.jpg
 
Well this is not one days work, but almost 3.
I started Monday night after dinner, this has got a lot of steps. 5 are accomplished before parting off.
Size the rod for the head diameter, then size the diameter for the major thread diameter. Then thread , chamfer thread, file threads and head underside corner. Then part off.
I made a template out of plastic to make sure I was hitting my lengths. I was using 2 micrometers 1 set for the head diameter one for the major thread diameter.

upto the 4th screw things were going well, but my foot was really starting to bother me standing on it. The next 2 I missed my numbers ... threw them out, and called it a night. I didn't need a 3rd.
Next day after sitting on the tractor in the morn, I tried again and got 6 more done, but I decided to make some extras in case.
Glad I did... I then made 3 more this morning. Then re-adjusted my form tool a little. I then formed the head on each screw. I found the best way was to use the carriage to come in, that seemed to give a better head than the cross slide. But sometimes the carriage would stop cutting and I would have to back out the crossslide and finish it up plunging the cross slide back in. Then onto the mill for slotting.

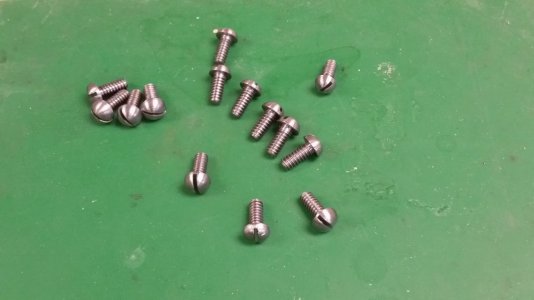
Glad I only had to do 10. BTW the thread is a #12-20 a special thread. He needed 10, I made 13... one the head is way undersized.. so really 12... This is for a hand plane, and only the first couple of threads will be used, the rest is in the wooden handle. The one in the front was the original sample he sent me.
20220505_153102.jpg
 
Man, it’s hard to follow Bruce’s thread with my little project, that was so impressive.
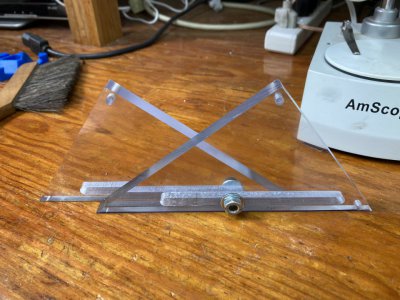
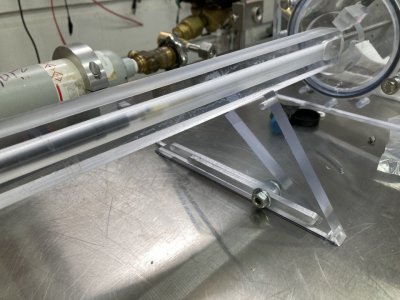
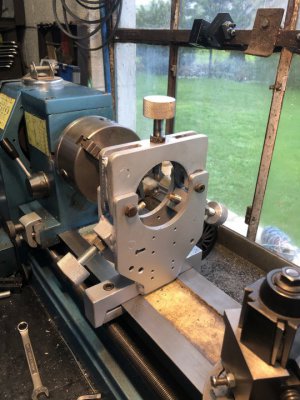
I needed a quick adjustable support without spending much time on it. I had a rectangle of 1/2” polycarbonate, bandsawed it along the diagonal and milled a quarter inch slot along the long side. Put a screw and nut through, slide them together or apart to set, tighten a bit (finger tight is plenty), you’re done.

708D1E51-7810-44CE-9AC9-E806606AF7F6.jpeg01344FCA-BBEB-4285-B393-9C1AA12BB472.jpeg
 
Well this is not one days work, but almost 3.
I started Monday night after dinner, this has got a lot of steps. 5 are accomplished before parting off.
Size the rod for the head diameter, then size the diameter for the major thread diameter. Then thread , chamfer thread, file threads and head underside corner. Then part off.
I made a template out of plastic to make sure I was hitting my lengths. I was using 2 micrometers 1 set for the head diameter one for the major thread diameter.

upto the 4th screw things were going well, but my foot was really starting to bother me standing on it. The next 2 I missed my numbers ... threw them out, and called it a night. I didn't need a 3rd.
Next day after sitting on the tractor in the morn, I tried again and got 6 more done, but I decided to make some extras in case.
Glad I did... I then made 3 more this morning. Then re-adjusted my form tool a little. I then formed the head on each screw. I found the best way was to use the carriage to come in, that seemed to give a better head than the cross slide. But sometimes the carriage would stop cutting and I would have to back out the crossslide and finish it up plunging the cross slide back in. Then onto the mill for slotting.

Glad I only had to do 10. BTW the thread is a #12-20 a special thread. He needed 10, I made 13... one the head is way undersized.. so really 12... This is for a hand plane, and only the first couple of threads will be used, the rest is in the wooden handle. The one in the front was the original sample he sent me.
View attachment 406176
Would love work like that! Nice job.
 
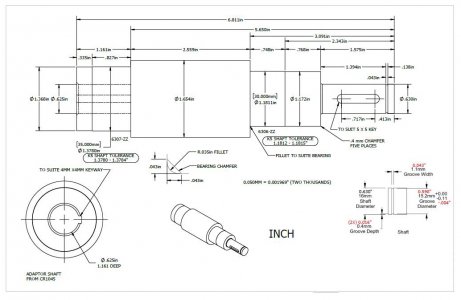
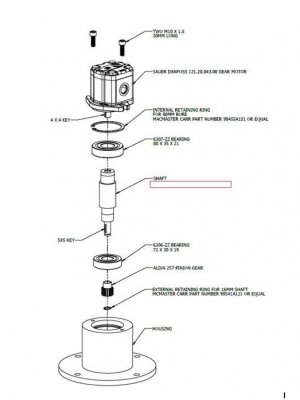
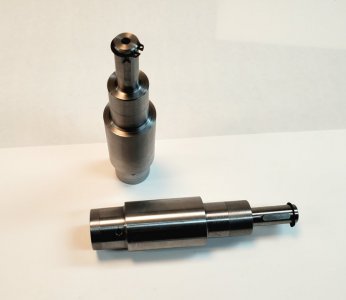
A paying gig came thru my shop recently. Customer required two adapter shafts. This is an adapter that converts a gearbox from electric motor drive to hydraulic motor drive. The shaft is quite involved.
  • two bearing seat areas
  • external retaining ring groove
  • close fit area for pinion gear
  • key-way for pinion gear
  • close fit bore for hydraulic motor shaft
  • internal key-way in bore for hydraulic motor (I had to farm this out)
I'm quite happy with the way they turned out. All turning was done with my diamond tool holder.shaft.jpg
exploded.jpg

20220505_200806.jpg
 
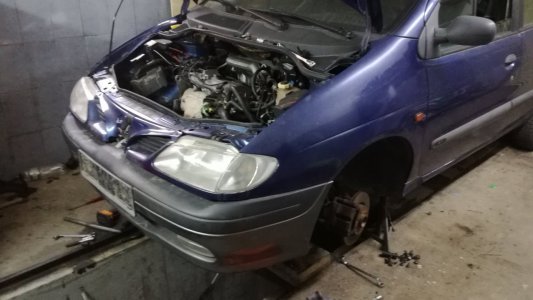
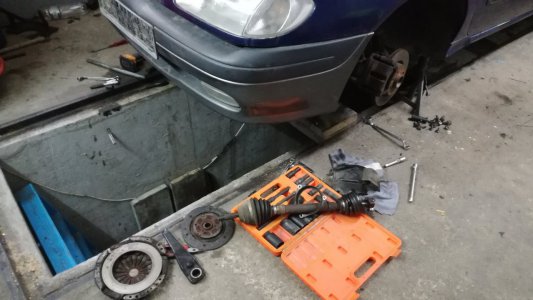
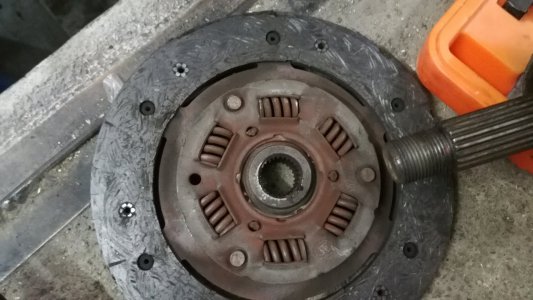
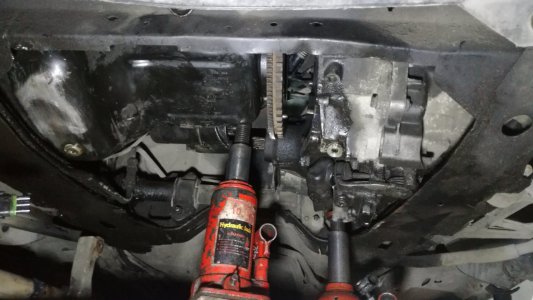
Today i have a day off work so i thought it's the day to fix the scenic as i should, it needs a clutch. So i pulled it over the inspection pit and started with draining the trans oil, removing the axles, dropped the front suspension, unhooked lots of other things and managed to move the gearbox over to get the pressure plate and disc out, also removed the throw out bearing out. If this looks strange and difficult it is, its a french car. The engine has a long stud that doesn't allow you to remove the gearbox. i've ordered a new OEM Valeo set and it should be here tomorrow.
IMG_20220430_175412.jpgIMG_20220430_175415.jpgIMG_20220430_175601.jpgIMG_20220501_154157.jpg
 
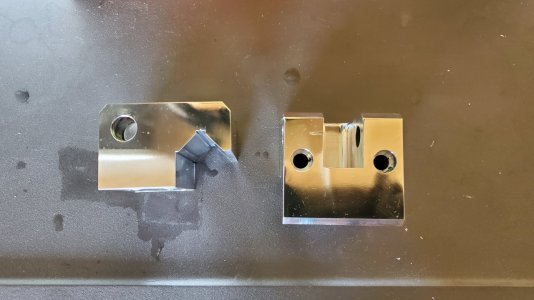
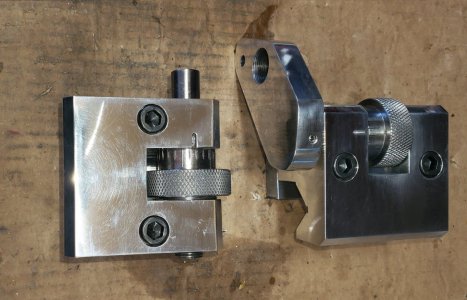
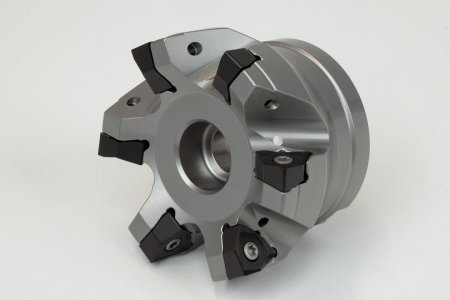
I occasionally make micrometer stops for lathes when either the manufacturer is out, or for machines that they are no longer available. These are for the PM-134/1440GT style lathes, since there are supply chain issues. Bodies are 7075 aluminum, shaft is O1 steel, foot is CRS, and with these I decided to machine the thumb wheel out of 1144 vs. O1 steel. Personally I prefer to work with O1, it polishes out nicer and seems to turn well with my lathe setup. The bodies are cut down from 7075 block, I used a Haas face mill for both facing and shouldering which gave quite a nice finish, and then lightly-buffed the aluminum. Making these usually takes me about 12 hours of shop time over 2-3 days, so I prefer not to make them if the factory one's is available, finished these two today.

Micrometer Stop  1.jpg
Micrometer Stop  2.jpg
Haas HS6NP
Haas HS6NP.jpg
 
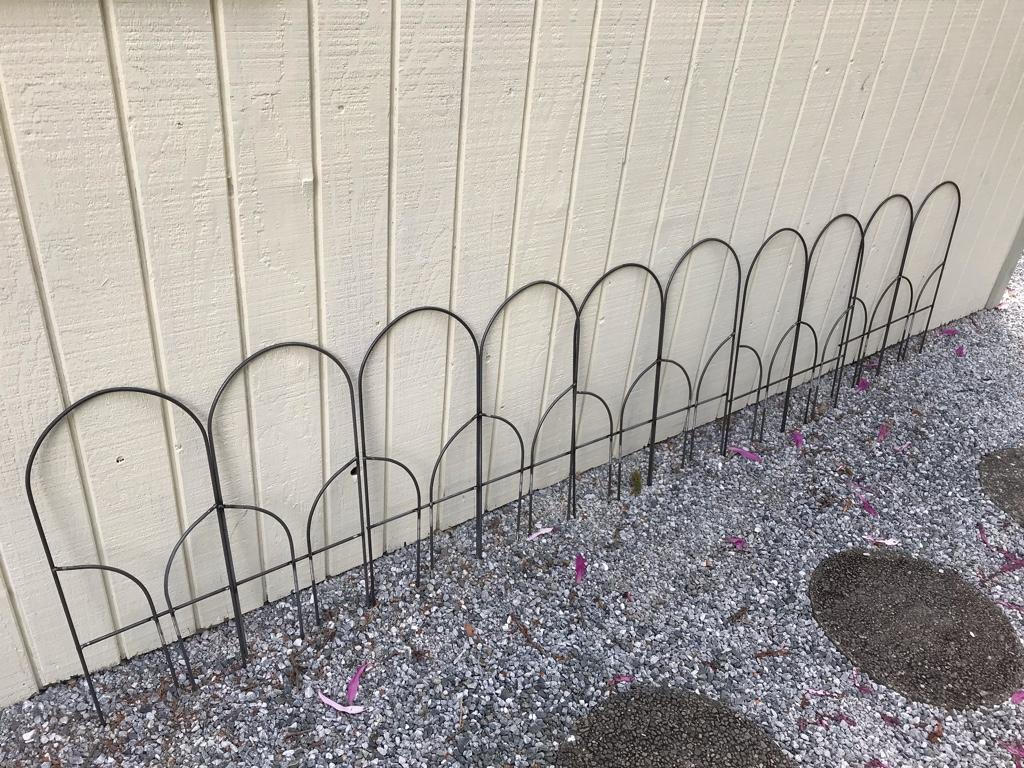
First batch of garden bed fences for my lady on Mother’s Day.
c0018b182f0dfeae51039419dbad2409.jpg


Sent from my iPhone using Tapatalk
 
Back
Top