POTD- PROJECT OF THE DAY: What Did You Make In Your Shop Today?

I needed a small vise for the Walker Turner drill press... turns out I had this piece of carp in a corner... It has never been used... Figured, to avoid spending on a new one, that I would at least give it a try.

View attachment 391702

Needed a lot of cleaning to remove all the factory grease, surface rust, deburring everything, etc.

View attachment 391703
View attachment 391704

I still need to clean the threaded rods.

Then decide on what color I will give it before assembly... But it is at least cleaning up nicely... still carp, but working carp...

View attachment 391705
So I guess you're polishing a "trud"???? :D
 
I finally got my hands on a VW Beetle line boring tool. The guy that had it before took very good care of it and it is in excellent shape. In fact I used to have him do our boring when needed so I trust the machine.

He had made an adapter to use a drill to power the bar, apparently the original got lost somewhere. I didn't like the look of his adapter and figured I could make one a little better. There is a hole drilled in the back of the bar and a steel pin near the edge. The tool slides into the hole and around the pin to drive the cutter. I made my tool to go nearly to the bottom of the hole and fit pretty snugly so there wouldn't be much movement there. I also made the drill end a little smaller to be able to use a 3/8" drill on it. Most guys use a 1/2" drill on it to keep the speed low for cutting, and I have one of those old gear drive drill, but I hate the wind down time on them. I figure I can moderate the feed speed with a variable speed 3/8" drill well enough, or if not I can use the 1/2" instead. Both will chuck up on the end of the adapter.
Is the line boring tool the one that removes the landing at the top of the cylinder where the ring wore up to? I'm not familiar with the name..
 
The line boring tool does the case. You bolt it into the empty case and it has 4 discs with brazes carbide bits in them. You drive it with a drill and it has a feed lever you engage to advance the cutters. It bores the case and trues it up, then you get bearing to fit the case and crank.

Here are a couple of pics of the tool. You can see the tool with the feed unit and guides to fit into the case. Next shot is the cutters. Third shot shows the end of the tool that my my new adapter fits into.
 

Attachments

  • IMG_0955.JPG
    IMG_0955.JPG
    58 KB · Views: 47
  • IMG_0956.JPG
    IMG_0956.JPG
    65.4 KB · Views: 40
  • IMG_0957.JPG
    IMG_0957.JPG
    74.3 KB · Views: 41
The line boring tool does the case. You bolt it into the empty case and it has 4 discs with brazes carbide bits in them. You drive it with a drill and it has a feed lever you engage to advance the cutters. It bores the case and trues it up, then you get bearing to fit the case and crank.

Here are a couple of pics of the tool. You can see the tool with the feed unit and guides to fit into the case. Next shot is the cutters. Third shot shows the end of the tool that my my new adapter fits into.
ah, so just like using the lathe, and carriage to line bore. Gottcha , wasn't thinking like that, was thinking about tools I used when I built an engine back in the day.

edit: a Tool like that would help me replace my headstock (cast iron bearings) with new bronze bearings.. I could true up the head stock and be confident.. But it's probably easier to replace the lathe.
 
There is another case tool for if you replace the cylinders with oversize versions. You bore the jug holes in the case and the head to match for the bigger jugs. you use the drill press for it. I also have that tool, but it is almost easier to mount the heads and case halves on the mill and use the boring head , at least on the heads. You get less chatter and better control on the mill.
 
IMG_1721.jpeg

Yesterday I made an M6 bolt with a magnet in it: this is the trigger for a speedo sensor on one of the motorcycles. I know these can be purchased, but I couldn't find what I wanted so...

The challenge was to mill the pocket in the end of the bolt. I don't have a mill, but I do have a few end mills I've picked up along the way,
so I started experimenting. With the end mill in my tailstock and the lathe in back gear and dead slow, it cut perfectly. Used JB Weld
to secure the magnet.
 
I bought some Harbor Freight "roller stands" for the table project I'd posted earlier. While the stands did the job at hand, I ran into some issues. One issue is that the nuts holding the "feet" on keep sliding to the side and the feet come loose. Not too worried about this one right now, as it can be resolved with a drill, tap and some machine screws to lock them into position.

The other issue I had is that these things roll the material on top, even when you don't want it to. There are small divots on the sides of the rollers that might be able to be used, but that's a plastic surface that might not last for a while if I use a pin to keep them from rolling. I had an epiphany and measured the outside diameter of the rollers themselves (1.974"), and realized 2" PVC pipe has a 2" inside diameter. So I cut some the lengths of the rollers, and ran them up the table saw to put a length-wise slot in the pipe to get them past the roller frame (slot was just big enough). Just a note - PVC pipe is under tension. As soon as the first cut was made, the pipe clamped down on the table saw blade and I panicked just a bit. The pipe sizes did compress once the slot was cut, but they ended up fitting pretty well.

20220112_201911.jpg

I drilled and countersunk the pipes from the inside (not perpendicular to the slot - I wanted it offset so part of the pipe would stay between the roller frames so nothing would slide off), and then screwed them to a backing wood.

20220113_091403.jpg

I screwed a "table top" (1/2" plywood) down onto those (no glue, I want to be able to replace the top), and the surface was MUCH more stable.

20220113_095727.jpg

Now I have a multi-purpose tool - they can be the out feed rollers when I need, and can also instantly become a fast work bench when needed (though I wouldn't use a hammer - I don't fully trust the efficacy of the holding power even though I tested it pretty thoroughly on the table project).
 
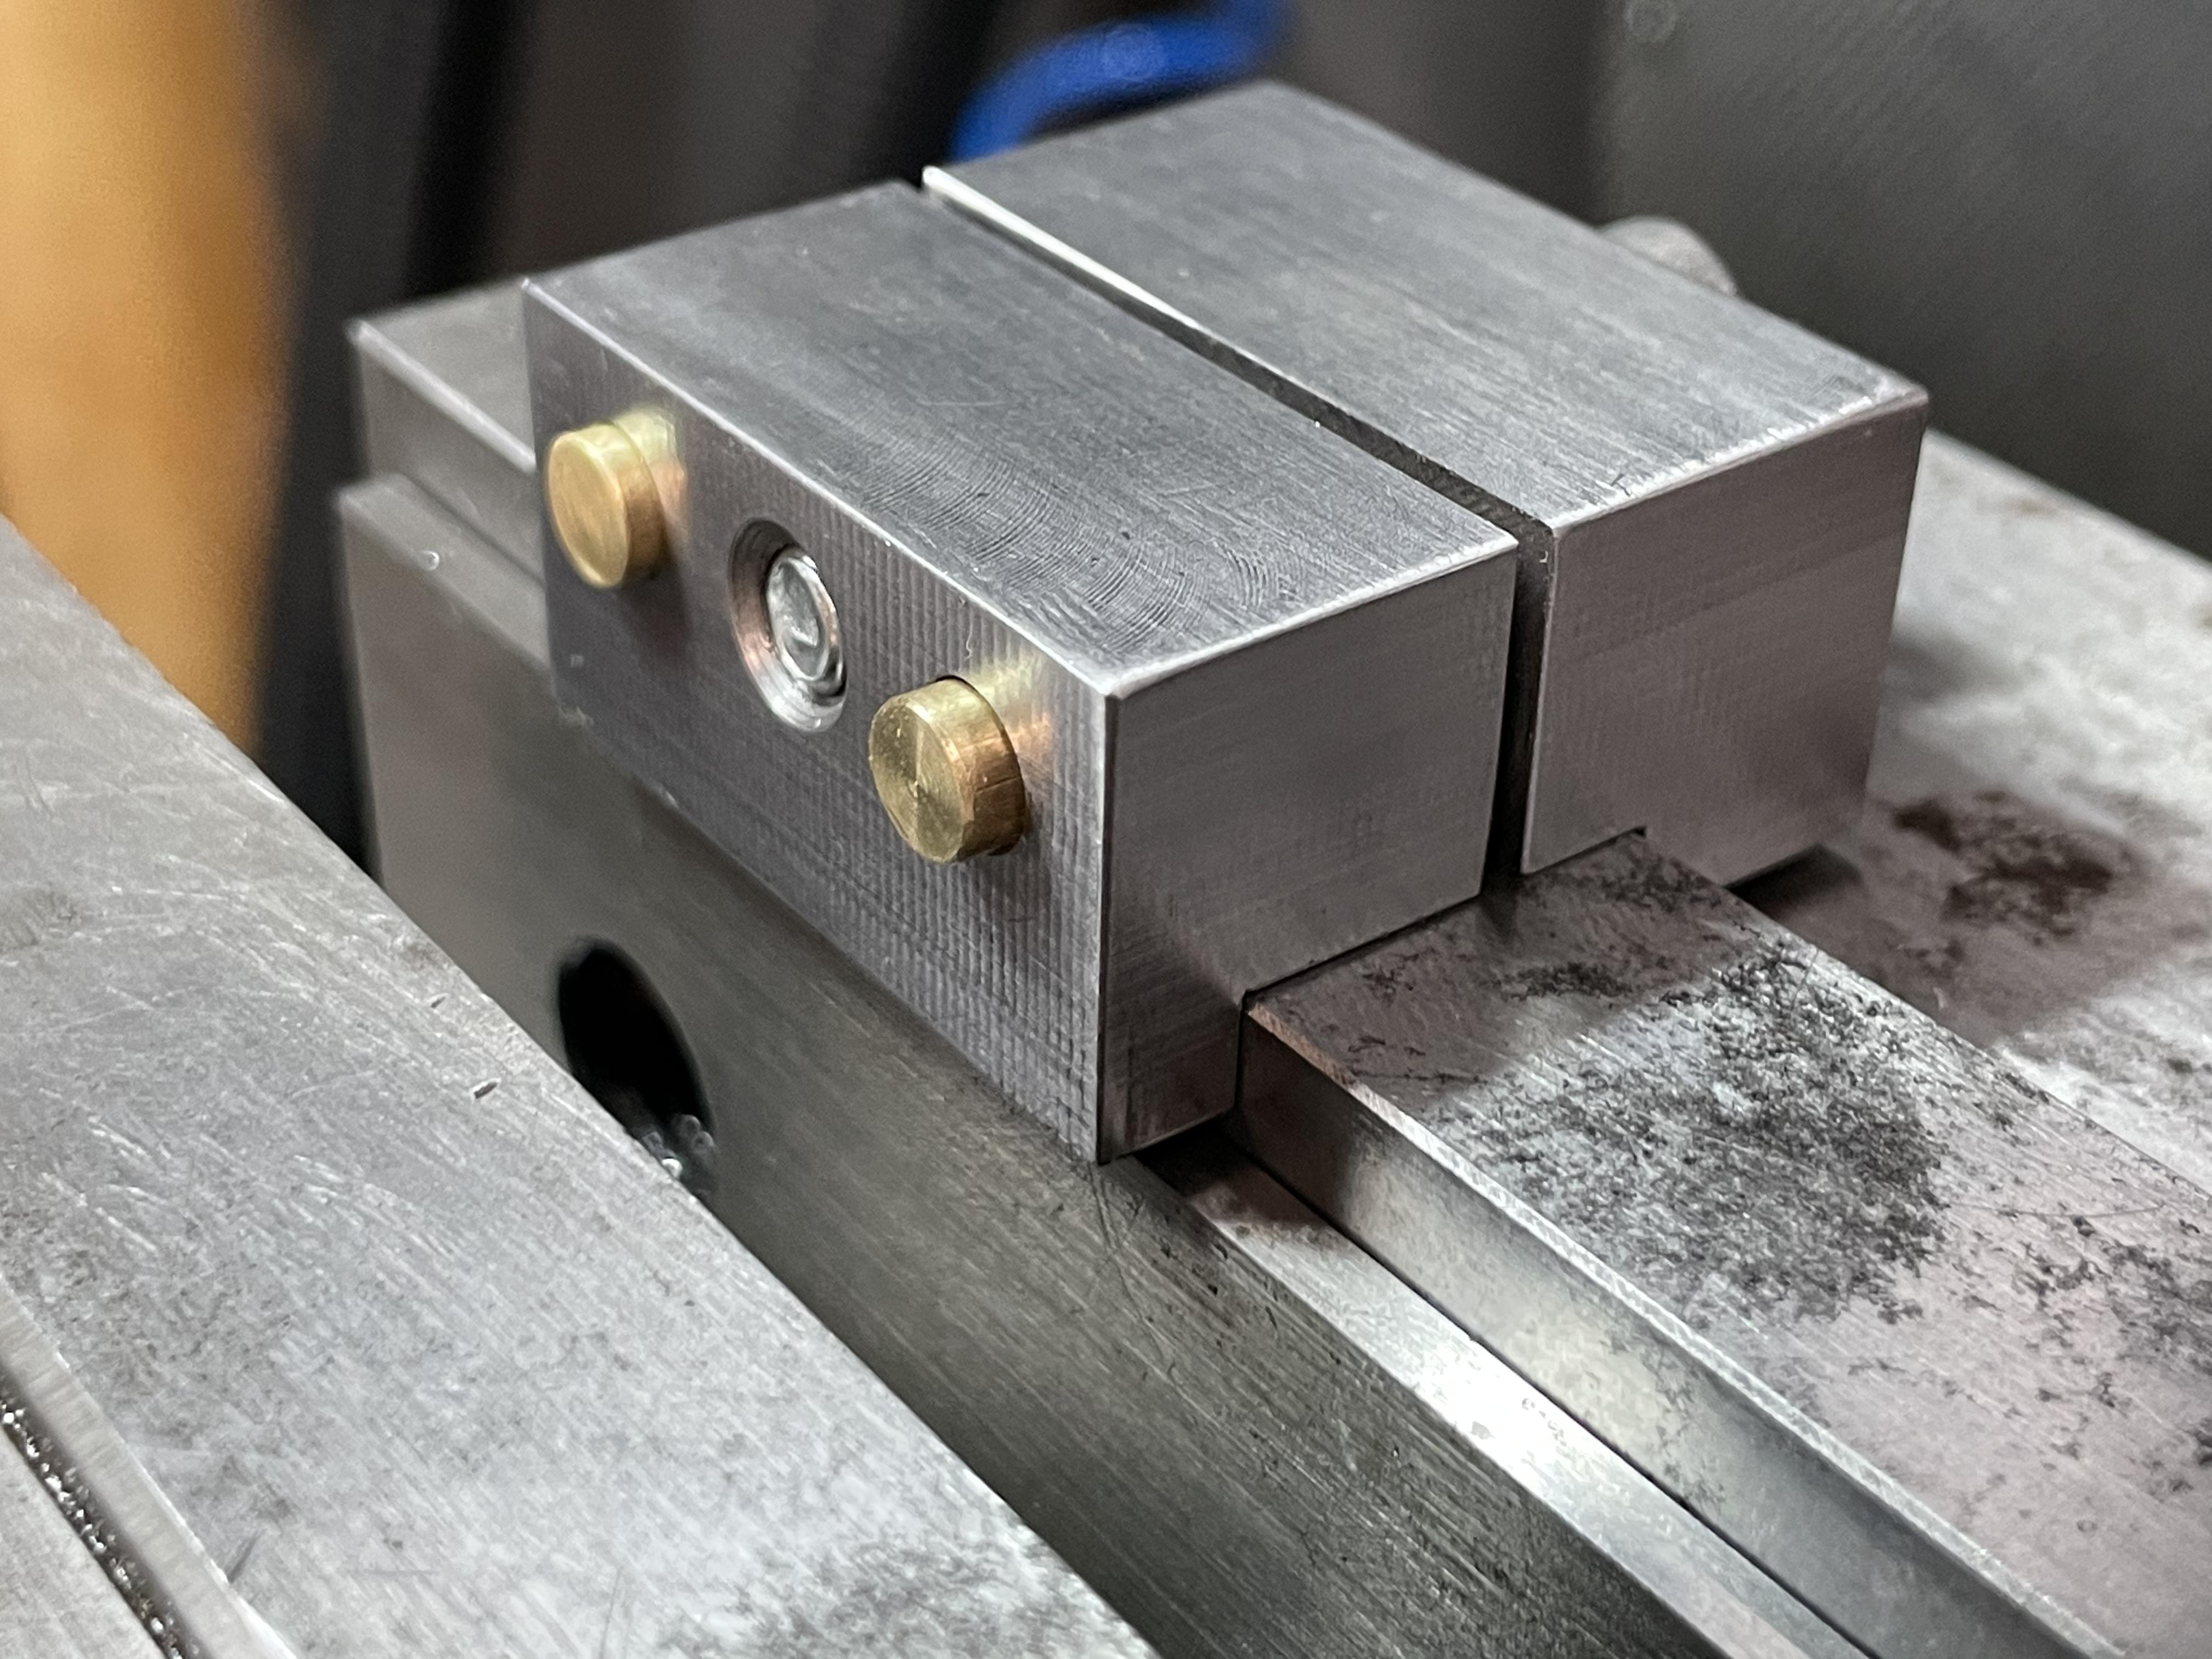
For some reason, I really hate aluminum. I think it's the mess, and the possibility of galling up on a cutter...

Went back and forth on how to make this part. Couldn't decide between lathe job, or Mill. CNC mill won out. Milled pocket for a 26mm OD bearing, and clearance for a bunch of other stuff. And, yeah, I didn't deburr on the mill. Feeling lazy.

BearingPocket-Milled.jpg

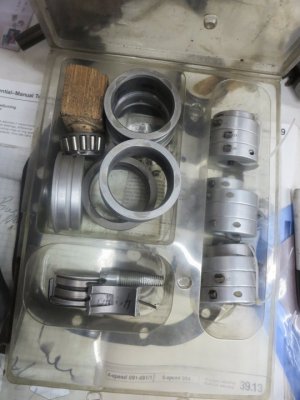
Of course, it's far from done, but just glad the bearings fit snug. What really made me decide on the CNC mill was the need for two identical units. G code once, mill twice was faster.

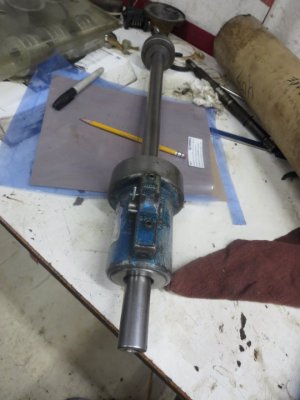
Any guesses on what this is for?

Grinder.jpg


I you guessed diamond wheel dresser for the surface grinder, you'd be correct! Started thinking about cheaper options than the drag or powered wheel dressers that seem hard to find used. Bench grinder was what came to mind. After a quick youtube search, I found a guy who used a cheapie 3" grinder, so the concept seemed reasonable. However there was almost no rigidity in this $30 grinder. So, if you're going to over engineer something, go all the way!

Need a bunch of clearance for what's left of the base and around where the wheel guards go. Then a few holes for the steel plate that this aluminum will bolt to. But in general, Good enough for who it's for! :)

Dresser.jpg
 
I made a small vise stop.
065772a5d0a4e61325ea5cc1b8c760d5.jpg
 
Back
Top