- Joined
- Sep 28, 2013
- Messages
- 4,302
this light is like Grandpa's axe - this is its 3rd iteration (at least), with 2 different LEDs, 3 different batteries and countless switches. It's also the most important rear light on my bike as it is both on (distance perception for approaching drivers) and flashing (to get their attention). It even has a double-double flash which I wrote the code for myself. Only took me a year to learn how!
anyway, this is the old one - charger was failing and the switch was on the way out (turned the light off on bumps)

it's what I call a "sled light", where all the components are attached to a sled(s) that then slide into a tube. Super simple to make, even with hand tools, and relatively light. PITA to service though.
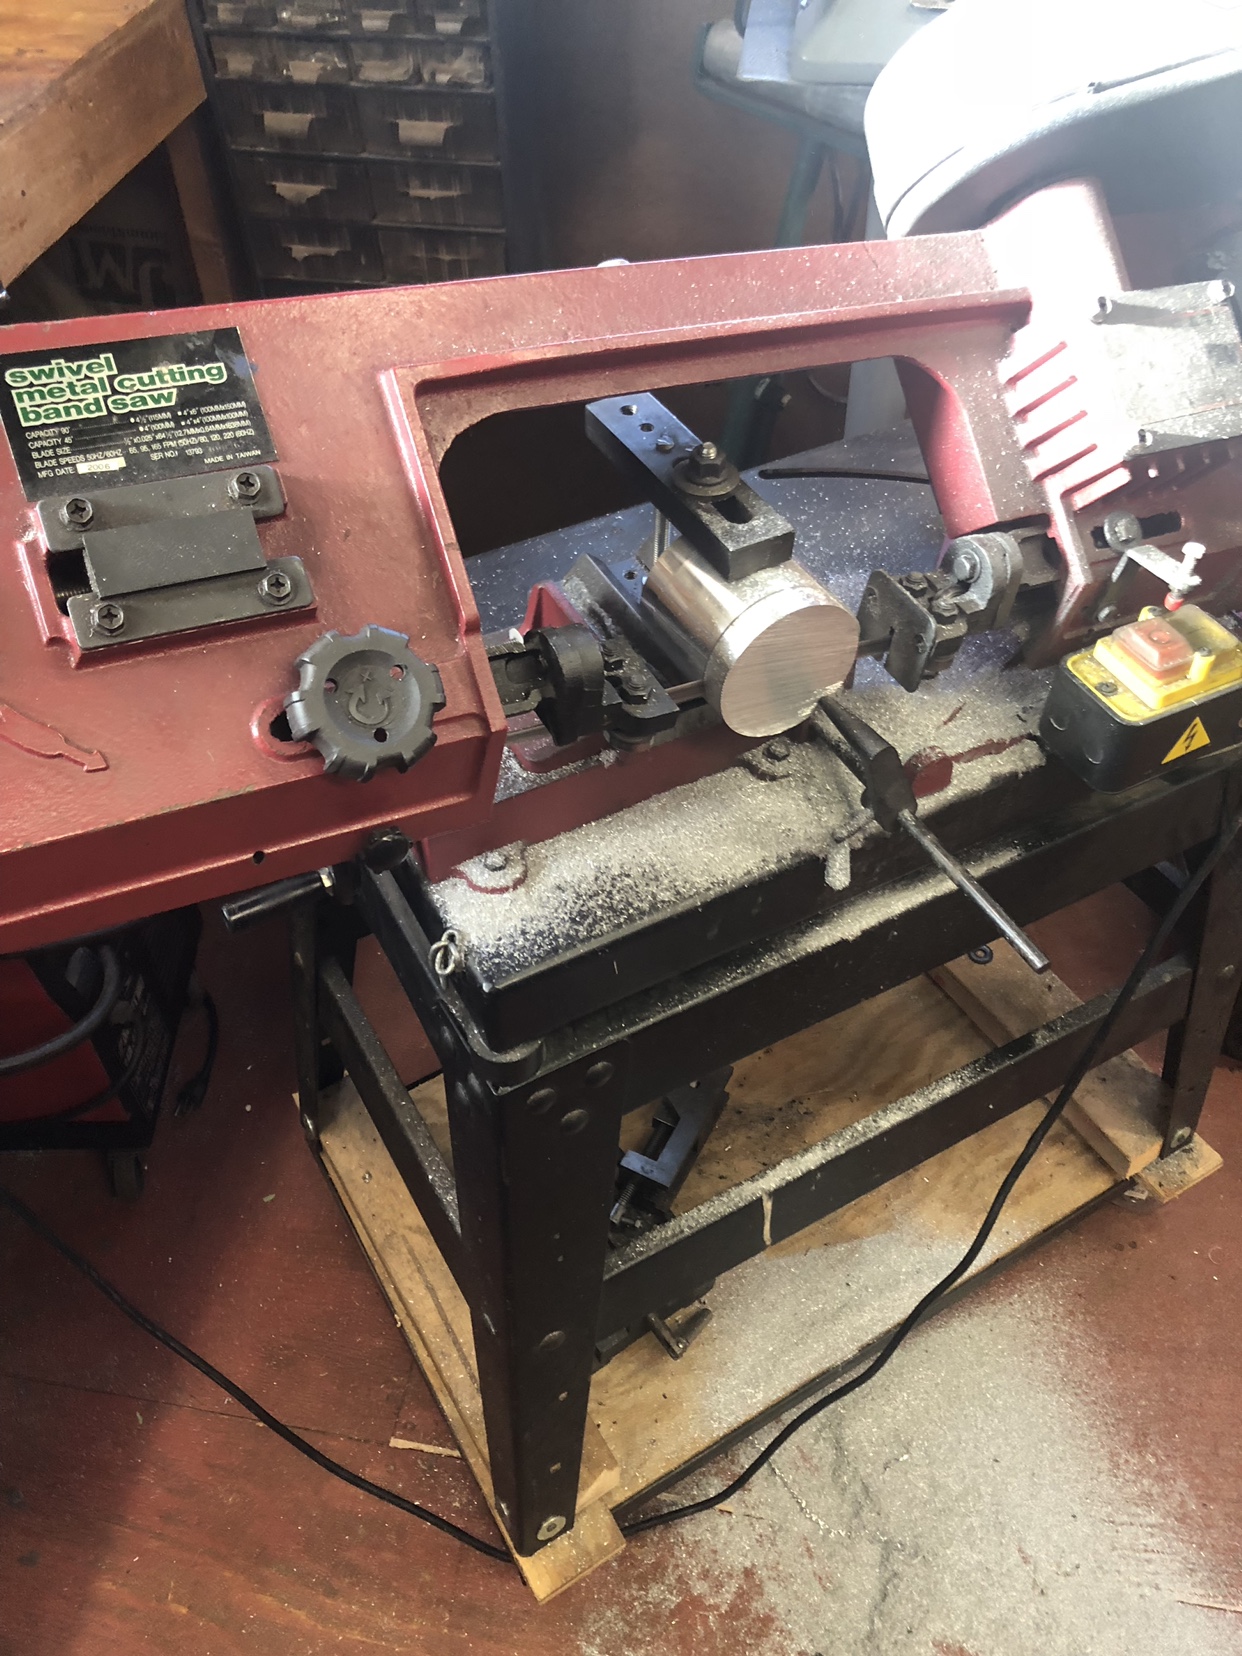
starting materials
some random alu scrap, some scavenged batteries (3 for a total of 4Ah) and a microUSB charging+protection circuit

some 1.5in square tubing from the scrap yard

pocket for charger milled out, then hacked out with a Dremel and carbide burr, plus a couple of screws for extra security

milling some slots in the back, plus the switch and charger hole. impromptu machinists jack stopped the whole lot from singing too badly

sled and housing finished and polished prior to anodising

ta da! Didn't come out bad. The mystery tubing allow didn't anodise as well, some smut and it didn't take the dye as deeply. Next time I'll anodise different parts separately so the settings are right for each part rather than the whole assembly.

starting the wiring process

showing a whoopsie where I cut deeper than intended while carving out the charger hole and cut into that when I did the o-ring groove. Nothing a bit of JB weld can't cure

driver holder. Fatigued solder joints has been a major source of problems with the previous versions, especially as this light sees a lot of road vibration, so this should reduce any chance of wires and parts moving relative to each other

LED star installed. These are relatively old XP-E red LEDs. The new XP-E2 LEDs would be brighter still. The star is parallel wired so the forward voltage is the same as 1 LED (about 2.5V) and the current draw of each LED is 1/3 of the output of the driver (~1.8A).

everything installed. Didn't take pics of the finished wiring job as I was trying to get everything finished before dinner. The 3 batteries only just fit.
Clear part is made from 2 pieces of lexan, one bored to fit the optic, 5 minute epoxied together. Then the edges were milled to send some light back and forward at an angle to increase side visibility.

the back

front on view

Cateye clip on the bottom and extra screw to increase thermal transfer from the sled to the housing

on full

I was happy to have this riding home in the rain tonight. I'm much less worried about being hit from behind with a couple of bright lights out back.
Now to get back to the front light!
anyway, this is the old one - charger was failing and the switch was on the way out (turned the light off on bumps)
it's what I call a "sled light", where all the components are attached to a sled(s) that then slide into a tube. Super simple to make, even with hand tools, and relatively light. PITA to service though.
starting materials
some random alu scrap, some scavenged batteries (3 for a total of 4Ah) and a microUSB charging+protection circuit
some 1.5in square tubing from the scrap yard
pocket for charger milled out, then hacked out with a Dremel and carbide burr, plus a couple of screws for extra security
milling some slots in the back, plus the switch and charger hole. impromptu machinists jack stopped the whole lot from singing too badly
sled and housing finished and polished prior to anodising
ta da! Didn't come out bad. The mystery tubing allow didn't anodise as well, some smut and it didn't take the dye as deeply. Next time I'll anodise different parts separately so the settings are right for each part rather than the whole assembly.
starting the wiring process
showing a whoopsie where I cut deeper than intended while carving out the charger hole and cut into that when I did the o-ring groove. Nothing a bit of JB weld can't cure
driver holder. Fatigued solder joints has been a major source of problems with the previous versions, especially as this light sees a lot of road vibration, so this should reduce any chance of wires and parts moving relative to each other
LED star installed. These are relatively old XP-E red LEDs. The new XP-E2 LEDs would be brighter still. The star is parallel wired so the forward voltage is the same as 1 LED (about 2.5V) and the current draw of each LED is 1/3 of the output of the driver (~1.8A).
everything installed. Didn't take pics of the finished wiring job as I was trying to get everything finished before dinner. The 3 batteries only just fit.
Clear part is made from 2 pieces of lexan, one bored to fit the optic, 5 minute epoxied together. Then the edges were milled to send some light back and forward at an angle to increase side visibility.
the back
front on view
Cateye clip on the bottom and extra screw to increase thermal transfer from the sled to the housing
on full
I was happy to have this riding home in the rain tonight. I'm much less worried about being hit from behind with a couple of bright lights out back.
Now to get back to the front light!