2018 POTD Thread Archive

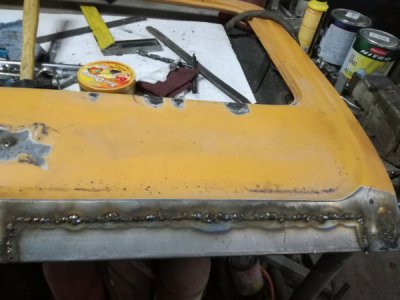
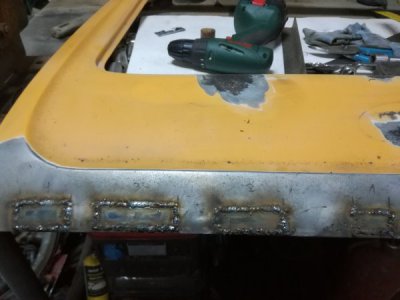
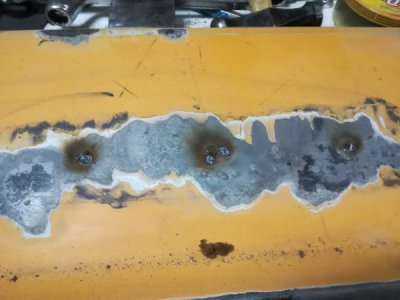
Today i continued working on the trunk lid for the little Niva, i had one big hole to fill and some considerable amount of welding to do to repair this panel, started with the big hole on the right corner, then i welded the big piece all the way around and finally moved to the smaller pieces, i waited in between tack welds for the panel to cool down to avoid distortion but i still have some but is not too bad, i'll need to ground back some of the welds before flipping it over and welding some more, this took some time also my welding mask is so bad i'm literally welding blind.
IMG_20181213_192844.jpgIMG_20181213_192830_1.jpgIMG_20181213_192836_1.jpg
 
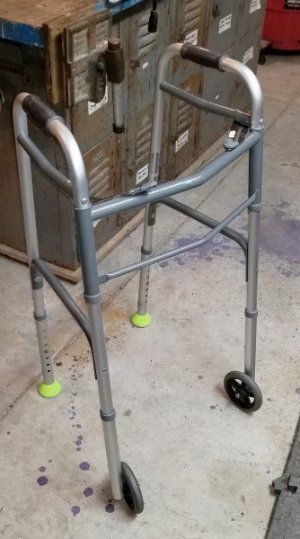
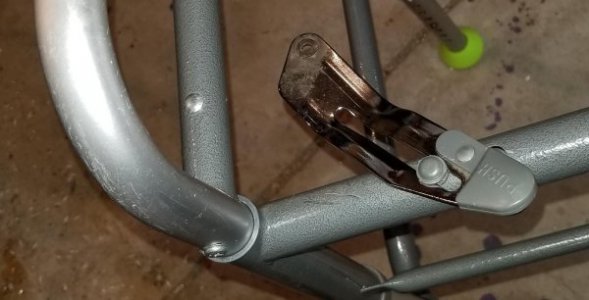
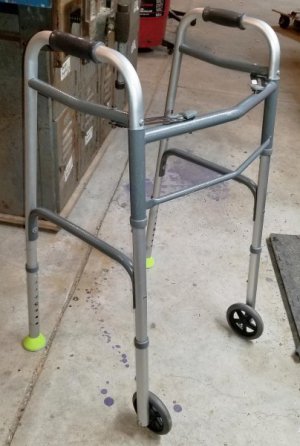
POTD was fixing a walker for my dad. He suffered a stroke about 5 years ago which really sapped his mobility. The walker side frames fold up for storage. He tends to lean really hard on it and peeled one of the corner braces off from the side frame. The corner braces are held in place with a tinner's rivet, he peeled the bracket right off the rivet.

20181214_102235.jpg
20181214_102243.jpg

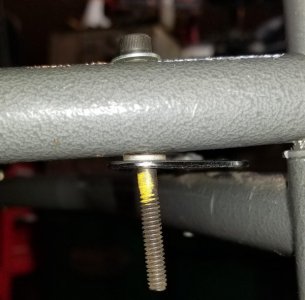
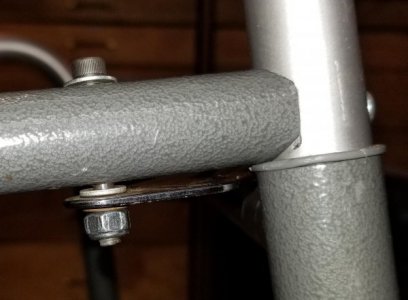
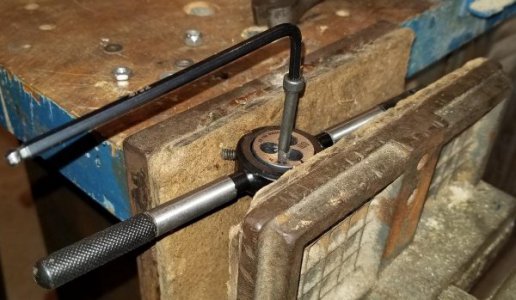
Pretty simple fix. The tinner's rivet is around 0.186" in diameter, so same as a 10-24 screw. I used a long cap screw so the shank went all the way through the tubing and bracket. The bracket would pivot to some extent on the bolt, so made sure I had one long enough so the bracket was bearing on a smooth shank, not the threads. 10-24 bolt was slipped into place along with the corner brace and the bottom marked with a paint pen. That told me how far up to thread the cap screw. Did that work with a die held in a vise.

20181214_103941.jpg

20181214_104321.jpg

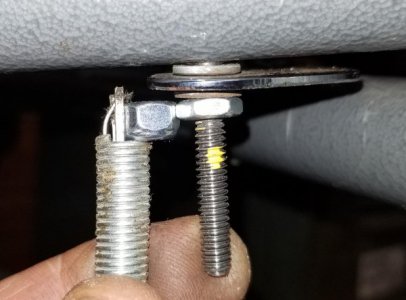
Dry fit things together with a regular nut and marked the bottom of the screw with a nylock nut set in place. Cut the screw with bolt cutters and cleaned up the end with a 2 x 42" sander.

20181214_105116.jpg

Fix works great! Too bad there isn't such an easy fix for folks who've had a stroke, but that's life. At least he'll be able to shuffle through Cracker Barrel again!

20181214_110142.jpg
20181214_110212.jpg

Thanks for looking, Bruce
 
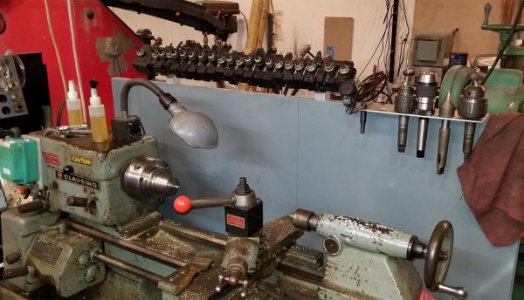
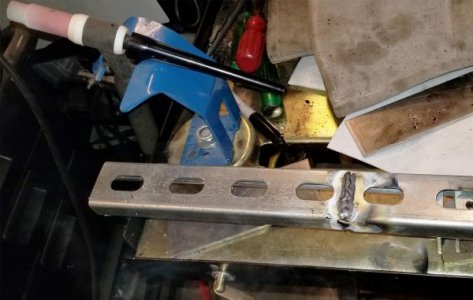
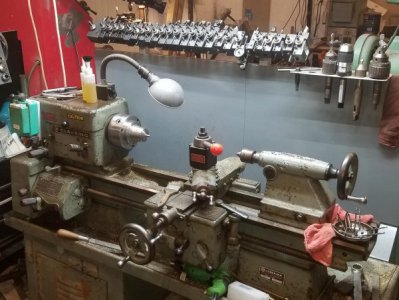
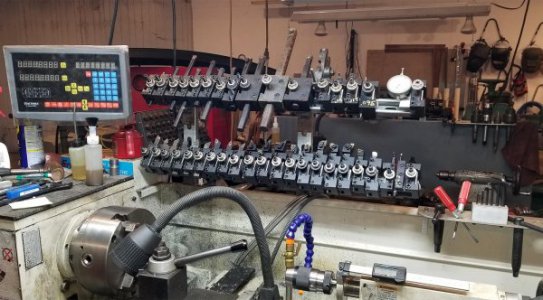
Quick POTD for my lathe's QCTP tool holder racks. Wouldn't you know it, have a few new tools on their way and I ran out of space . . . Tons of designs out there, my racks use uni-strut. They make extension bars for them, but I used low profile uni-strut so TIG-welded another 6" on each one. The uni-strut is zinc-plated, so sanded that off first around the weld area (just in case the safety Nazi's read this). Still had a little of the white powder, but (for the safety nazi's) I had a fan going to blow the fumes away.

Before
20181214_110533.jpg
20181214_110557.jpg
20181214_113131.jpg

The Grizzly extension was easy to put back in place, dropped onto the vertical supports using the same holes drilled in the uni-strut. Not so lucky with my Clausing lathe, so drilled a couple of new mounting holes to slide the rack down the splash shield to the left. Was drilling the holes and noticed a funny sound coming from the drill press . . . Opened the cover and voila, turkey feathers! Yeah, mice making a nest in my drill press.
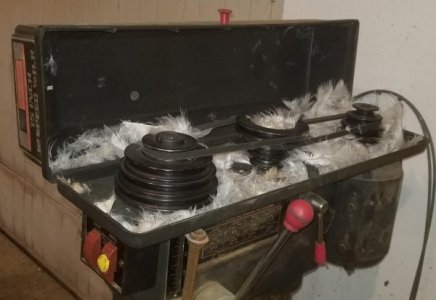
20181214_123227.jpg

So where'd the feathers come from? We raise turkeys for slaughter. Had a tom a couple of years ago that weighed 72 lbs.! Breast meat alone was 22 lbs. We give them all the corn they can eat, they go from chicks in the spring to 35 - 70 lbs. in 7 months. Anyway, here's my better half with Thanksgiving dinner. My morbid sense of humor, but it just struck me very funny to see her with the bagged bird with the legs and butt sticking out. Guess next year I'll clean up the feathers after plucking instead of leaving the task to the mice. . .
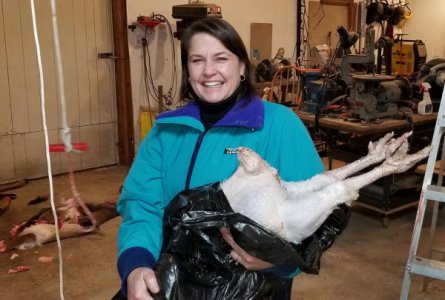
20181119_184045.jpg

Final product on the lathes. Yes, CDCOtools knows me very well . . .
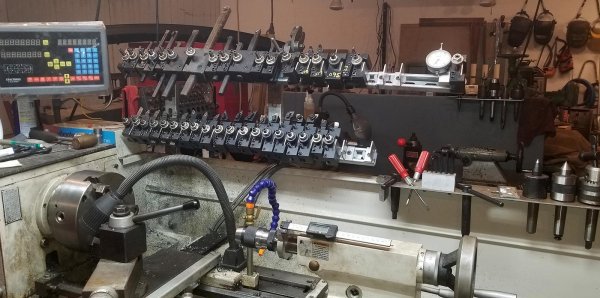
20181214_122619.jpg
20181214_125821.jpg

Thanks for looking.

Bruce
 
Last edited:
Nice fix. Be thankful that he uses it, my Dad would hardly be caught dead using the one I bought for him. Sold it for a fifth of cost when we sold off the estate, still had the little nubbly things on the wheels.

-frank
 
“Just a reminder than the stars at night are big and bright”

Now—- why did I just feel like clapping my hands three times??
 
I’ve been working on a rear mounted stop system for my Kurt vice. Today I released a video showing getting all the brackets sawed, and squared up from things in my scrap pile.


Sent from my iPad using Tapatalk
 
wasn't there just an eclipse that went through Texas? Or am I think of somewhere else..

this was what was supposed to be the 2nd pic:
attachment.php


made a new boring head arbor after discovering why making one in 2 pieces is a bad idea. Hopefully this one will last
attachment.php


and the reason for the funny stuff at the end
attachment.php


now onto the real project which is a mortar and pestle for the wife
 
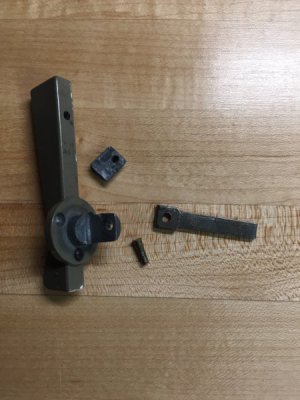
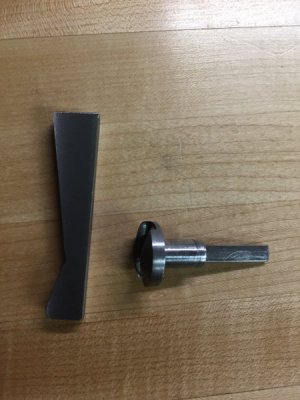
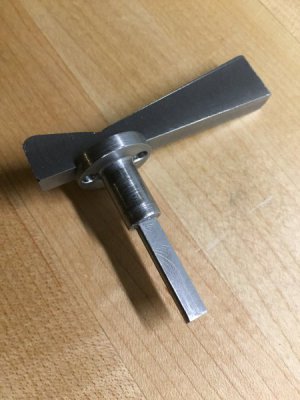
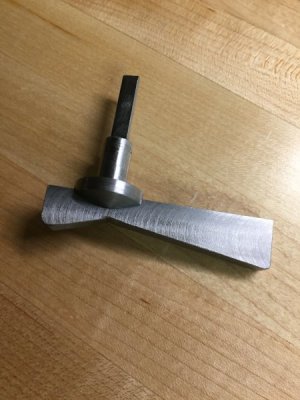
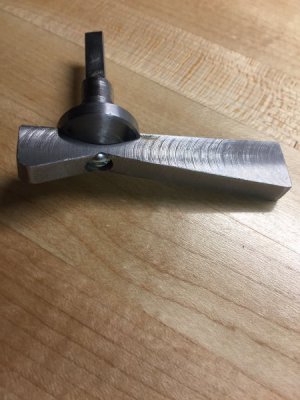
I’m on a kick of repairing broken things around the house. My new project is fixing the latch handle on my Andersen sliding glass door. The original latch was made of some sort of cast mystery metal. Of course, it is weak and it broke. The molded latch was connected to a small metal “key” with a brass pin. Initially I was going to replicate the molded part, including cutting the slot and making a new brass pin (if the original didn’t fit). It dawned on me that it would be far easier to make that section as a single part. (It was made separate by Andersen to simplify the mold most likely).

My plan was to drill two holes on the turned part and spot weld through the holes to attach the handle section. That failed miserably. I didn’t hit the welds with enough time and they came apart during clean-up.

I cleaned up the parts and decided to drill and tap them for a screw to attach them instead. That came out pretty good. I will be using JB weld to cover the screw hole before I sand and paint it.

Rick

8E60B089-2A06-46DF-AB87-C5EAACBACE92.jpeg

75896526-17B4-4C4B-9458-CACBFA6383D5.jpeg

767E8CD5-FDAD-4A57-95C6-E705A5BD5A08.jpeg

6BF27494-EDED-42DE-807D-DFAC69F1A769.jpeg

BF073603-EF1E-44FB-905F-30D33708ADAA.jpeg
 
I finished the snowblower conversion from 3PTH mount to front mount and got all the hoses set up but didn't have any dust covers or plugs for the QC's (quick connects). The place I bought the QC's from doesn't carry any dust covers or plugs that size. So I figured I would make some plugs. Haven't figured out how to make the covers yet though.

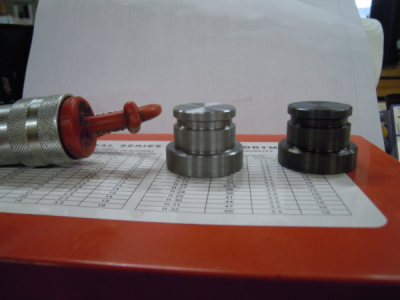
Here's a pic of a smaller 1/2" QC and 2 of the 3/4" plugs I made. The bright shiny one is before heat treating and dunking in an oil bath.
1545020631251.png

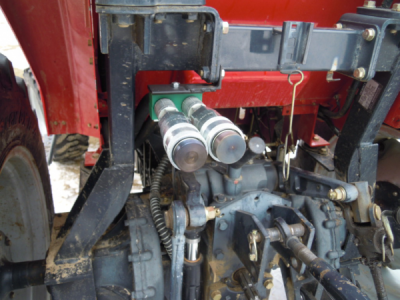
and here are 2 of them in the rear QC's. There are 2 more in the front.
1545020726059.png
 
Back
Top