2019 POTD Thread Archive

I posted a quick shot of this in another post as an example. Wanted to share it here.

Fly cutter befor I ground the cutter.
View attachment 288346View attachment 288349View attachment 288347View attachment 288348

Great work, I made a fly cutter to hold a insert tool holder, the one I made uses the opposite side of a CNMG insert.
1bcab463a890c9204745cea9a43668a0.jpg


Sent from my iPad using Tapatalk
 
Is the speed handle aluminum or steel? I can’t tell from the photo. I recently mad a set for a similar vice for a friend. Like the simple design


Sent from my iPad using Tapatalk

It is Steel. It is what I had on hand. Cheers
 
Today i continued working on the little Niva, couple of days ago i remove the last piece of the original exhaust and i plan to reuse it, it has two 40mm pipes joining i to a single 35mm pipe, so i cut off the join and shape it to weld on a graphite impregnated bull joint that is 63mm in diameter, this will allow the exhaust to move without a flexpipe and flow better, i welded on couple stainless bolts and plan to use only stainless and copper hardware for the exhaust, last thing i did is to run a file on the engine side flange to see how straight it is, and is a mess, i'll spend some more time hand filing it to get it straight.
288404288405288406288407288403
 
Today i continued working on the little Niva, started with what i thought it will be easy, straighten a dent from the drivers side wheel arch, but the russians used steel more than 1 mm thick, so it took a big hummer and my largest daly, after some hard work i did manage to straighten it, then mark the rusted arias, and took the paint off with a wire wheel and a flap disk on angle grinder and cut it off square, then i moved to the front, i need to make room for the bigger radiator and electric fans, i needed to remove the piece of steel that deflects air to the radiator and housed the horns, i used the small belt sander i got few days ago and it worked flawlessly, i also clean up the frame to make room for the radiator mounts, i'm having very little luck founding a wing at a decent price, i've bought new wings for mercedes for less then half price of the ones for a Niva, i have a lead on wrecked Niva with a good wing but is on the other side of my country may be too much of a hassle may be easier just to repair the one i have.
288457288460288458288459288465288466288467288461288462288463288464288456
 
WOW! Steel over 1mm thick, yet some areas were rusted completely through! That car must have led a very difficult life. Do they use huge amounts of salt on icy roads where you live?
 
WOW! Steel over 1mm thick, yet some areas were rusted completely through! That car must have led a very difficult life. Do they use huge amounts of salt on icy roads where you live?

Back when this car was driven they did not use too much salt on the roads, but i think my car has been flooded or submerged in water and that is the cause for this much rust.
 
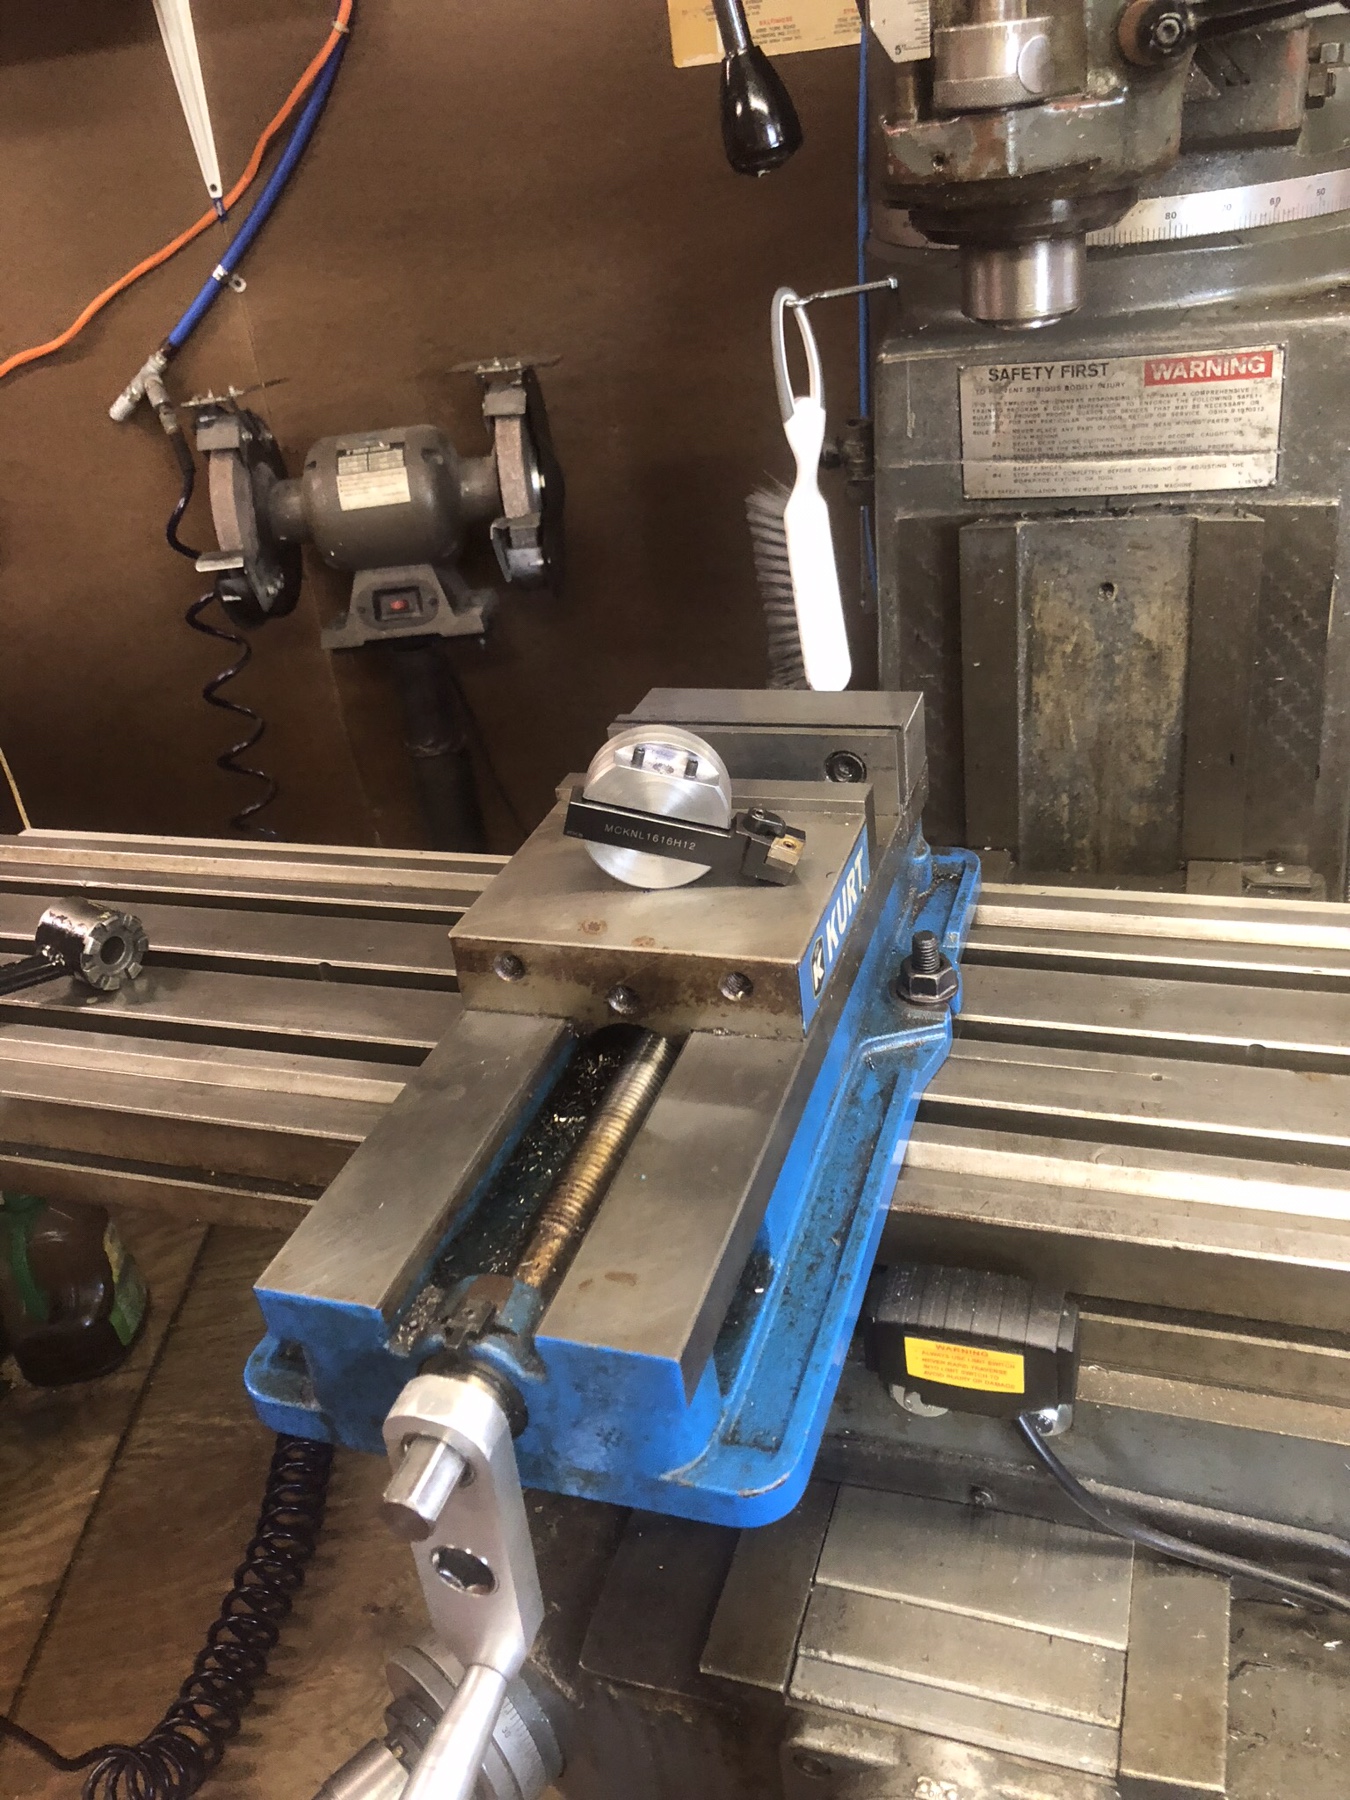
I've got a Gravely 36" walkbehind power brush, and it uses a rod in some slots, and then 2 3/8" bolts into some captured nuts to hold the engine/wheels to the brush assembly (the rod/slots are on the bottom, the two halves scissor together around the rod, then you put in the two bolts to hold them together.

Existing setup

Pic of the captured nut, as installed:
288543

Side/end view of the captured nuts. The nut itself is square, and just barely larger than the square hole it clips against (it overlaps the hole maybe 1/8" on 2 edges, and 0" on the other 2 edges.
288544
The problem is, those bolts/captured nuts are too small/weak to do the job (to provide enough force to pinch the sides together enough so they stay pinched together). From the action of lifting/lowering the brush (same as a walk behind snowblower, just the brush is a lot heavier), the bolts come loose, then the holes the bolts go through get ovalled and the brush drive belts get stretched a bit longer. And finally, the captured nuts stripped from trying to get it to hold.

So, I decided instead of spending money on Gravely replacement bits that aren't strong enough, to just toss 'em and use significantly heavier-duty parts.

I bought 2 flanged 12mm bolts, and 2 flanged 12mm nyloc nuts, 10.9, and then fabbed up a captured nut setup for those flanged nuts.

Pic of the new vs old setup for comparison:
288545

Forgot to take a pic of the setup I made for holding the nut in place. It's a short length of .25" x 1.25" flat steel, drilled a 18mm hole (same as the wrench size for the nut), then abused a deburring tool in a air die grinder to gouge out the 6 points so the nut would fit into it and be prevented from rotating, but could move a little bit, then welded that to a strip of 3/16" x 1.25" flat steel that is bolted to the frame of the brush head. 3/16" is slightly thicker than the flange on the nut, so when the assembly is bolted to the frame, the nut is held roughly in place and can't fall out, but it can move slightly. Then drilled out the corresponding holes in the drive unit frame (didn't have to remove much, as they were ovalled from the old setup, mated the two units together, installed the bolts and done.
288546
288547

I don't think I'll have a problem with this setup.
 
In this video I’m getting the saw up and running.


Sent from my iPad using Tapatalk
 
Today i got stock in welding on the little Niva, first i fill all the little holes with weld then i made couple of the smaller patch panels and tucked them in place, then i started with stitch welding, track by track every two inches and finished the upper part, this took me couple of hours but i had couple of others jobs to finish, but i'll be back to finish it soon.
288552288551288553
 
Back
Top