POTD was making an arbor to run the tilt crank on my Craftsman table saw. Didn’t count the treads on the adjusting screw ahead of time, but probably takes around 40 cranks to move the saw blade from 0 deg. to a 45. I don’t tilt the blade that often, but had to run it a number of times through full travel to check the clearance on my saw’s motor to the stand. Long story longer, I made an angle iron/plywood stand for the saw years ago and sized it for a HF 2 HP motor. Replaced the HF motor with a Baldour industrial commercial motor which has a lot larger footprint, so need to modify the stand so the motor doesn’t hit the angle iron. Lots easier to move it with a power arbor than hand cranking, plus a good excuse to get in the shop. . .
The original plan was to mount an arbor directly to the crank hand wheel and leave it attached. Happened to have a suitable chuck of CRS in my scrap bin that was used for a holding fixture for making a punch for Erector set ‘NU’ parachute guys.
Table saw hand crank and a piece of CRS used on another project. Original plan was to
pin these two together and put a hex on the end for driving the wheel.

The CRS round was 1.75” diameter; planned on turning a shoulder down to 1.125” so it could be held in a 5-C collet and a hex fixture block for milling a hex on the end. Plan was to use a ratchet to spin the hand wheel.
The hand wheel attaches with a screw to the tilt arbor shaft, so started by drilling a through hole to be able to access the attaching screw. Then started to turn the OD of the 1.75” round and changed my plan.
Drilled a through hole to access the crank wheel attaching screw. Then started turning to
fit the end in a 5-C collet for a hex indexing block and decided on a different approach . . .


Instead of using a hex collet block, went with a dividing head for indexing instead. Duh, have a 3-jaw chuck on the DH, so no need to turn the 1.75” round down.
I mount the head to the table with some 5/8” T-stud, but couldn’t find the 5/8” ID, 1.25” OD washers for clamping the head down to the mill table so had another side project. Made new ones by running a bolt through a stack of washers and turned the OD. Then made a 2x4 wood spider to drill out the centers.
Turned down some 1/2" ID washers to 1.25" OD so they'd fit the dividing head mounts. Didn't
show it, but stacked washers on a bolt/nut and turned the OD. Then drilled out the ID on the
lathe using a 2x4 spider.


Needed to index 6 flats, so with my L&W dividing head that 40/6 turns per index. Math works out to 6.6666 turns per flat. The head happened to be set on a 33-hole pattern, so needed to do 6 turns plus 22 more on the 33-hole pattern.
Set up on the BP with the L&W dividing head

My Bridgeport is 2-axis CNC, so wrote a quick routine to go back and forth to cut the flats. I kept the math simple for the depth of cut: planned a ¾” hex on a 1.75” round, so 0.500” needed to be removed for each flat. Measured a bolt with a ¾” head at 0.740”, so went 0.505” for my final depth of cut. Naturally did a spot check before the last cut to double check the final depth.
First flat done

2nd flat done

Finished the last flat

Finished hex and a 3/4" socket

Yup, socket fits fine

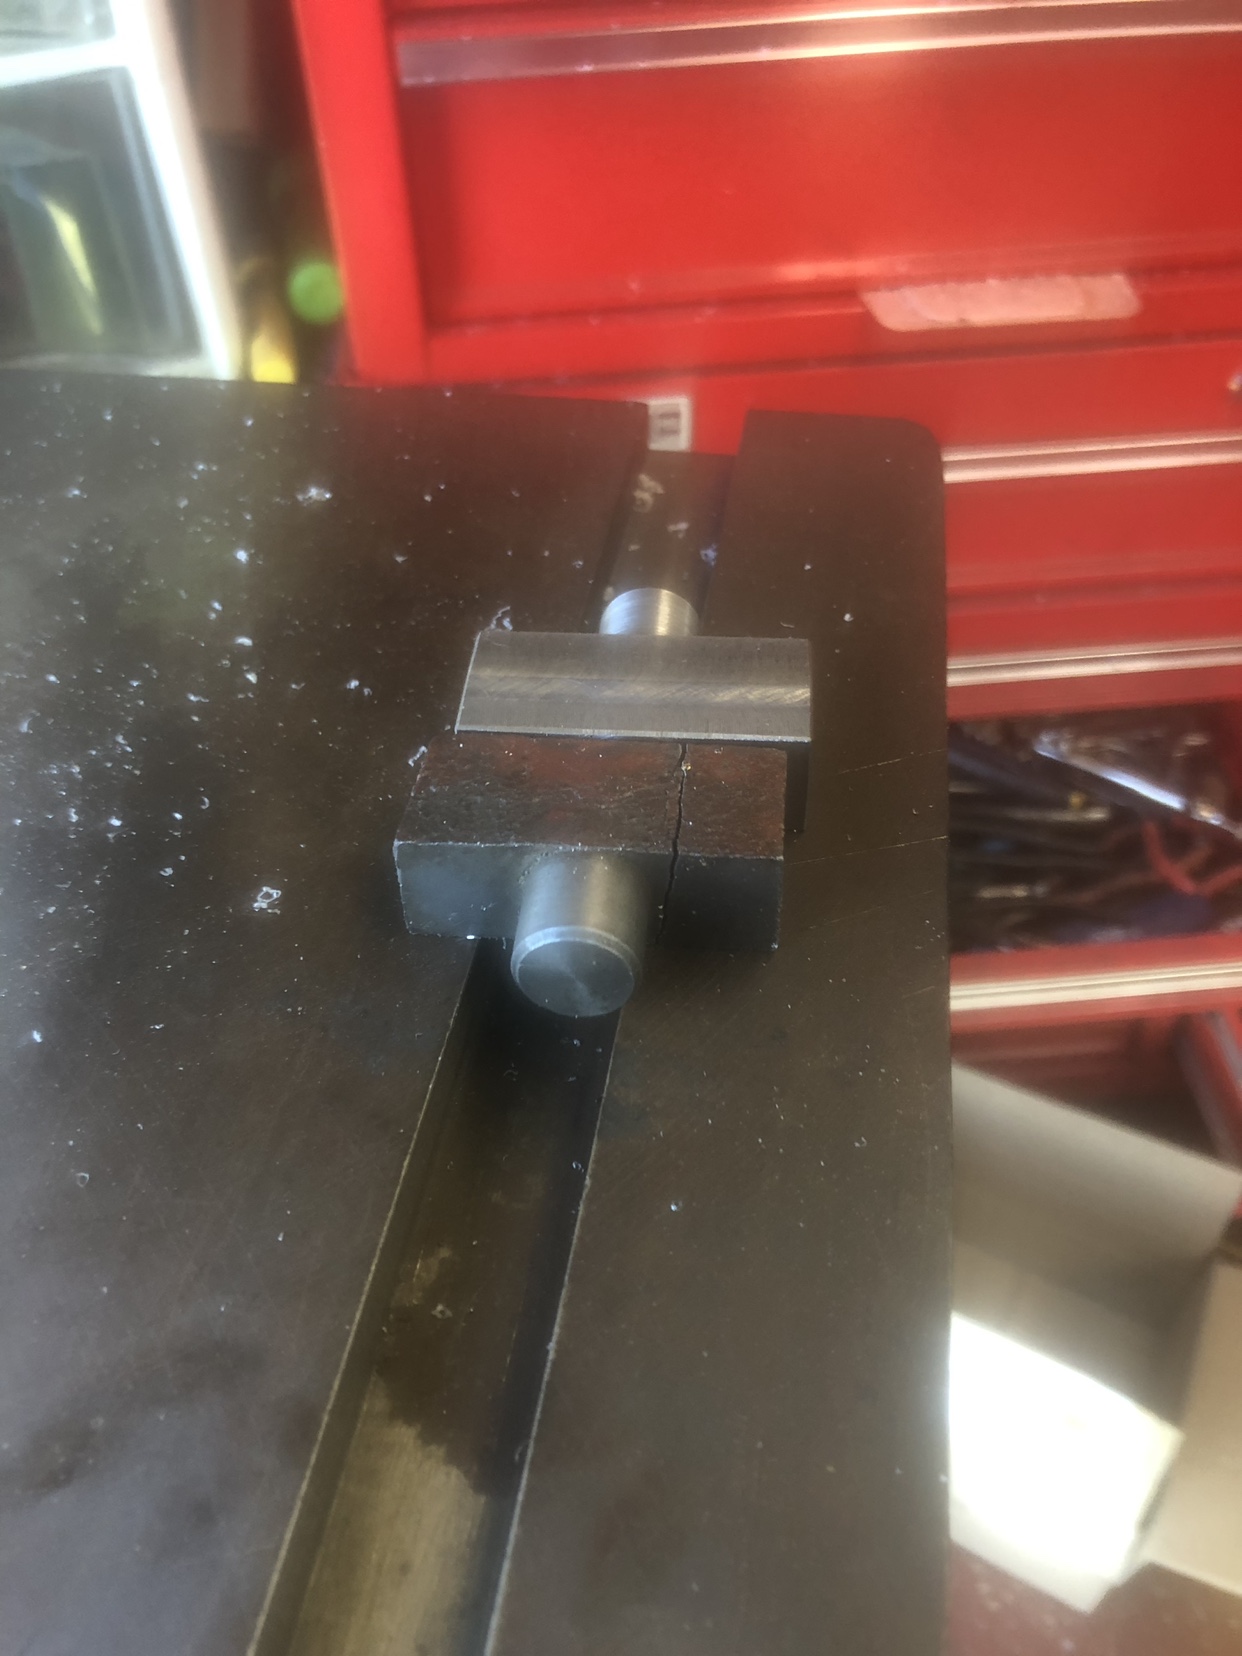
Went back to the lathe to chamfer the arbor and turn the OD down some.
Chamfered the hex

Turned down the body some to clean up the surface

Chamfered the sharp edges

For the hand wheel, set that on the BP with a couple of V-blocks and found center with a concentric circle laser edge/center finder. Then spot drilled, clearance drilled and undersize reamed a couple of ¼” dowel holes for pins. Loctited in a couple of ¼” dowel pins which the arbor engages with for spinning the hand crank.
Set up on the BP. Hand crank held between to V-blocks

Found center with a laser center finder. The laser works great for this type of work;
move the quill up/down so the line is right at the size of the feature and you're there.

Spot drilled

Clearance holes

Under-size reamed

Hand wheel with pins in place

It works great. I use a Milwaukee 3/8” cordless ratchet with a ¾” socket and crank away. It won’t get used every day, but sure was nice for taking the table through full travel to check for clearance between the motor and stand.

Thanks for looking.
Bruce