2019 POTD Thread Archive

You know Bruce, when you get proficient wait that CNC gadget, you may not want to use the manual tools.
Say it ain't so.
Golly, your barn sure is big! Good for you!
Hi Jeff,

Like everyone always says, "build it bigger, can never have too much space". Our original barn was a 40' x 56' x 10' with a 5" reinforced cement floor. Then I bought a Case 580 backhoe and a Ford F600 dump truck. So added on a 40' x 40' x 12' addition which still has a dirt floor. Back 40'x40' has the Case, the Ford, a Massey 35 tractor, 8 full cords of firewood, quad, John Deere mower, 5' x 10' utility trailer, brush hog, finish mower deck, and some other "stuff". Plan is to sell the Case and Massey within the next few years and buy a Kubota L-series diesel. Am probably going to have cement poured in the back half too which should run about $3500 for a 6" slab.

My shop is primarily in a 32' x 40' area of the 40' x 56' barn. Have a partition wall with a 12' slider dividing the two sides. Have a toilet and sink in the shop side though the bushes just outside the doors get watered regularly . . . . I've got wood and metal in the 32' x 40' side primarily because I store my brother-in-laws Rinker speedboat in the winter. Hoping he gets tired of boating so I can move the wood stuff to the back half, but the back side will be his to use as long as he needs it.

Yeah, freely admit we're spoiled. My wife was the one who told me to go to Denver with our son to pick up the Tormach. So currently working on a new chicken coup for her in the shop (photos to follow), and not playing with/learning the Tormach. I'll make up an aluminum sign engraved with something like "Coup designed by Tracy Hansen" and put it over the door when it's done.

Bruce


Our little slice of heaven in Charlotte, MI
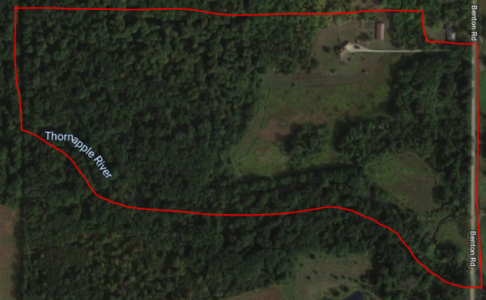
298034

Area to the left of the barn is my wife's raised garden.
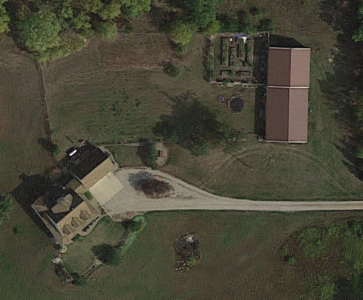
298035
 
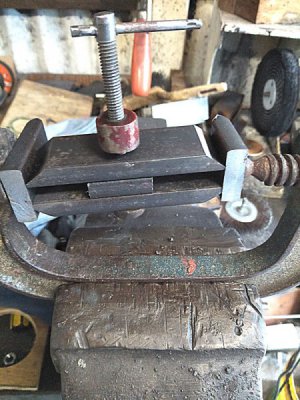
Having had the work spin many times in the past and catch me and being fed up with never being able to place "G" clamps in the correct position I felt it was about time I had some table clamps just for the drill press.
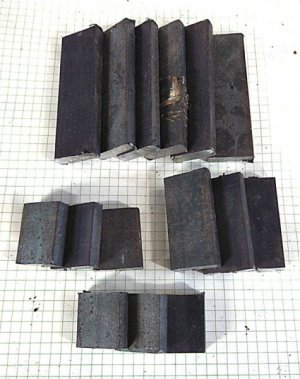
I started with around a metre of 8x25mm mild steel bar and cut a bunch of lengths off with the trusty angle grinder.
t-clamp-1.jpg
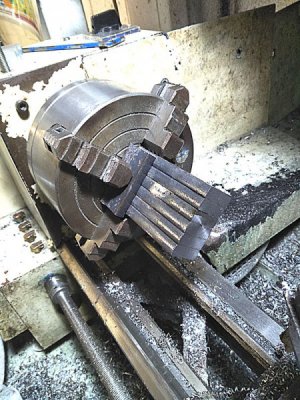
Then I mounted them in the 4 jaw to clean up the ends and ensure each set are equal in length.
t-clamp-2.jpg
This worked even with all that stick out with no problems.
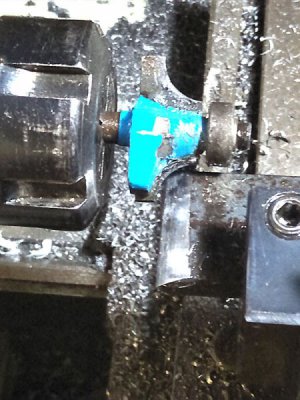
Next I rounded the ends of the six verticals with a woodworking router bit
t-clamp-3.jpg
This was done in one pass each side to give a sort of rounded profile for the feet of the clamp.
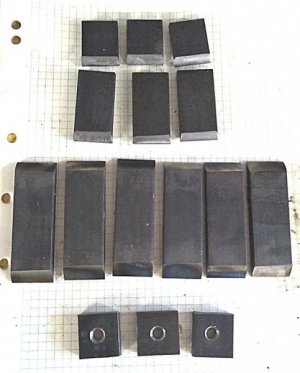
Heres all the bits prepped up ready for welding
t-clamp-4.jpg
The six long pieces are chamfered at 45' so as to provide plenty of weld depth. It doesnt look it in the photo but both ends are done.
One complete clamp clamped up for welding, the short length inbetween the two sides is a spacer only.
t-clamp-5.jpg
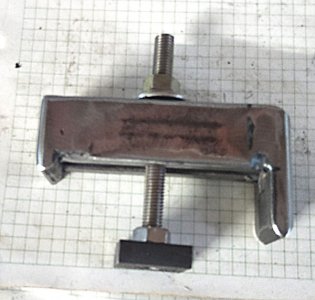
No pics of the welding but heres the first one after a bit of sanding to clean it up.
The threaded stud is M8x1.25
t-clamp-6.jpg
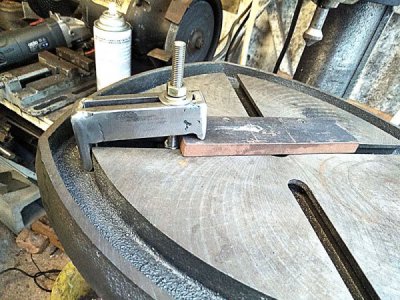
And the reason for one long leg?
So it can sit down in the outer ring of the table.
t-clamp-7.jpg
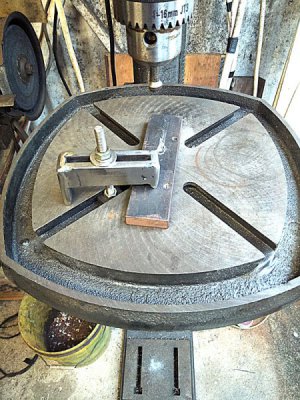
But it doesnt have to
t-clamp-8.jpg
The two feet sit flat with no rocking.
I should have made these years ago.
ps. thats the cleanest that table has been since purchase.
 
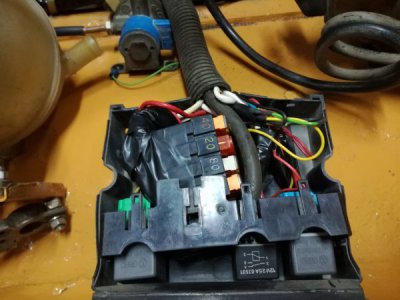
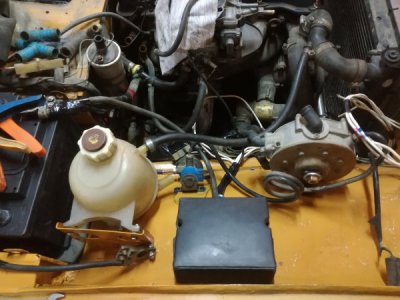
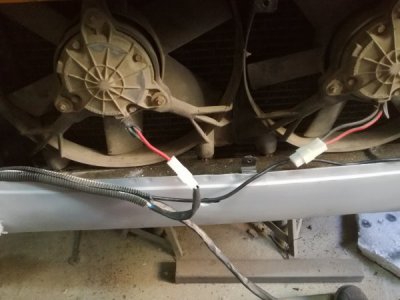
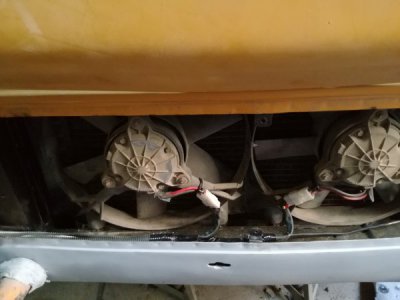
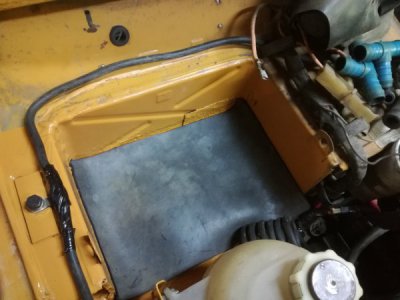
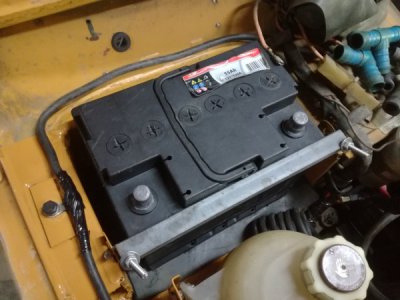
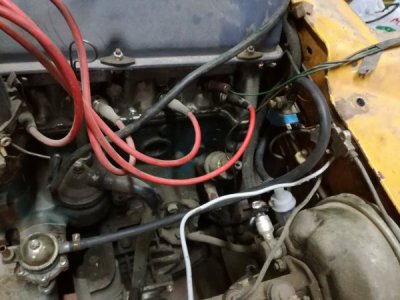
Last few days i've realised that the Little Niva has taken me close to double the time i expected because of the hidden rust issues, so after fixing most of them the right way is a shame to rush it at the end and fixing problems with the wiring now when is apart is much easier than later. Russian electrics are horrible and when i bought this car nothing worked i spent two evenings fixing broken wires and got some things working but with the dashboard out is much more accessible, so today i made and fitted a main distribution panel, i used Peugeot box and main fuses the niva never had main fuse they were known for catching on fire from electric shorts. I also installed three relays and a diode also two more 40 amp fuses for the radiator fans, i run thick wires to both fans and configure them to have two speeds maybe in the future if i add A/C i run two cables for switching the fans, one in the cabin and one to the thermo switch on the bottom hose, i used protective sheeting on all the cables and some nito wide tape to protect this wiring i also made a bracket to secure the battery and cut a piece of thick rubber for the bottom. Letter on found out the bracket is hitting the positive terminal so i put some red heat shrink but it will rub thru i'll have to modify it again, and lastly i cable tie everything. This took me close to 8 hours and my hands are tired from all the crimping new terminals and insulating.
IMG_20190708_171731.jpgIMG_20190708_155138.jpgIMG_20190708_170400.jpgIMG_20190708_171511_1.jpgIMG_20190708_122133.jpgIMG_20190708_123837.jpg
 
For the project above I needed a drill bit extension for the 7/64 drill hole that I press fit the 1/8 rod in.

Put a steel rod in the lathe. Using same 7/64 bit drill in one inch. Then on the drill press drill all the way through and tap all the way through for two 1/4 - 20 set screws.

It worked perfectly for what it needed to do.

Quick and simple extension to get into the deep spot.

View attachment 297960
I do this quite frequently. Rather than set screws, I just put some super glue in the hole before inserting the drill bit. I haven't had one come loose to date, The advantage is that the extension diameter can be much smaller which can useful in tight quarters.

In cases where I had to drill deep holes, I have turned down the shank of the drill so it could fit into an extension of the same diameter, I made an 18" extension for a a 5/16" drill to drill through holes for all thread in my neighbor's patio benches. Because drilling through wood can generate quite a bit of friction, I brazed the joint on that one.

The largest one that I have made was 4 ft. long for a 1-1/32" S&D drill bit. In that case, I made a collar with 1/2" holes so I could use a 1/2" shaft.
 
Released this video Monday. The saw fixture my interest some forum members. This lets me saw up rectangular stock to odd sizes in my horizontal band saw. So I can do other things.


Sent from my iPad using Tapatalk
 
Lost my clevis pin for the Kubota bucket for the LAST TIME ! I don't know why my cotter pins break and the pins walk out , but it always happens at the worst times . 2 6" 3/4" diameter pins with double lock collars are now on . Lets see how long they stay on .
 
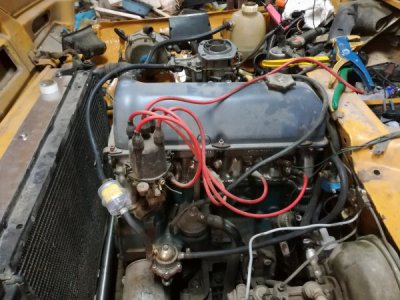
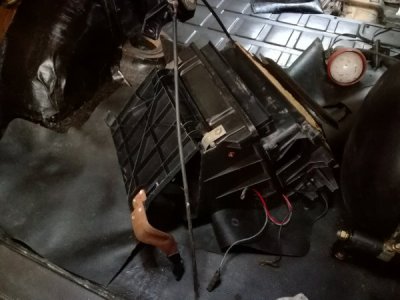
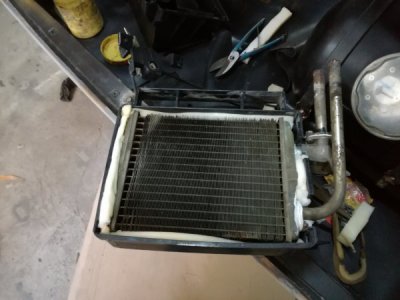
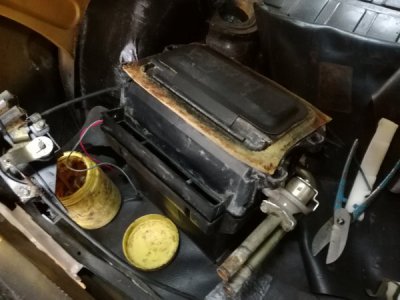
Yesterday i spent the entire day grabbing gears on the road. Today i had few hours to spare so i continue working on the Little Niva i started with mounting a pre filter on the fuel line, then i bolted the fuel valve on the firewall and run a new rubber line to the fuel pump then a short line to the fine fuel filter and one more line to the carburetor. With this the fuel system is finish apart from the wiring for the LPG, then i went and pressure wash the heater housings i used a heavy duty degreaser. I cut new spange strips to stop air bypassing the heater core and when i first put it together i installed the heater core backwards with the lines facing the cabin so i had to take it apart and redo it, finally i assemble it and painted the rusty lever at the bottom, i greased all the cables. I stopped at this point because i want to insulate the fire wall before i install the heater and with the heater installed i'll finish the cooling system.
IMG_20190708_175238.jpgIMG_20190708_181151.jpgIMG_20190710_103845.jpgIMG_20190710_110357.jpgIMG_20190710_110556.jpg
 
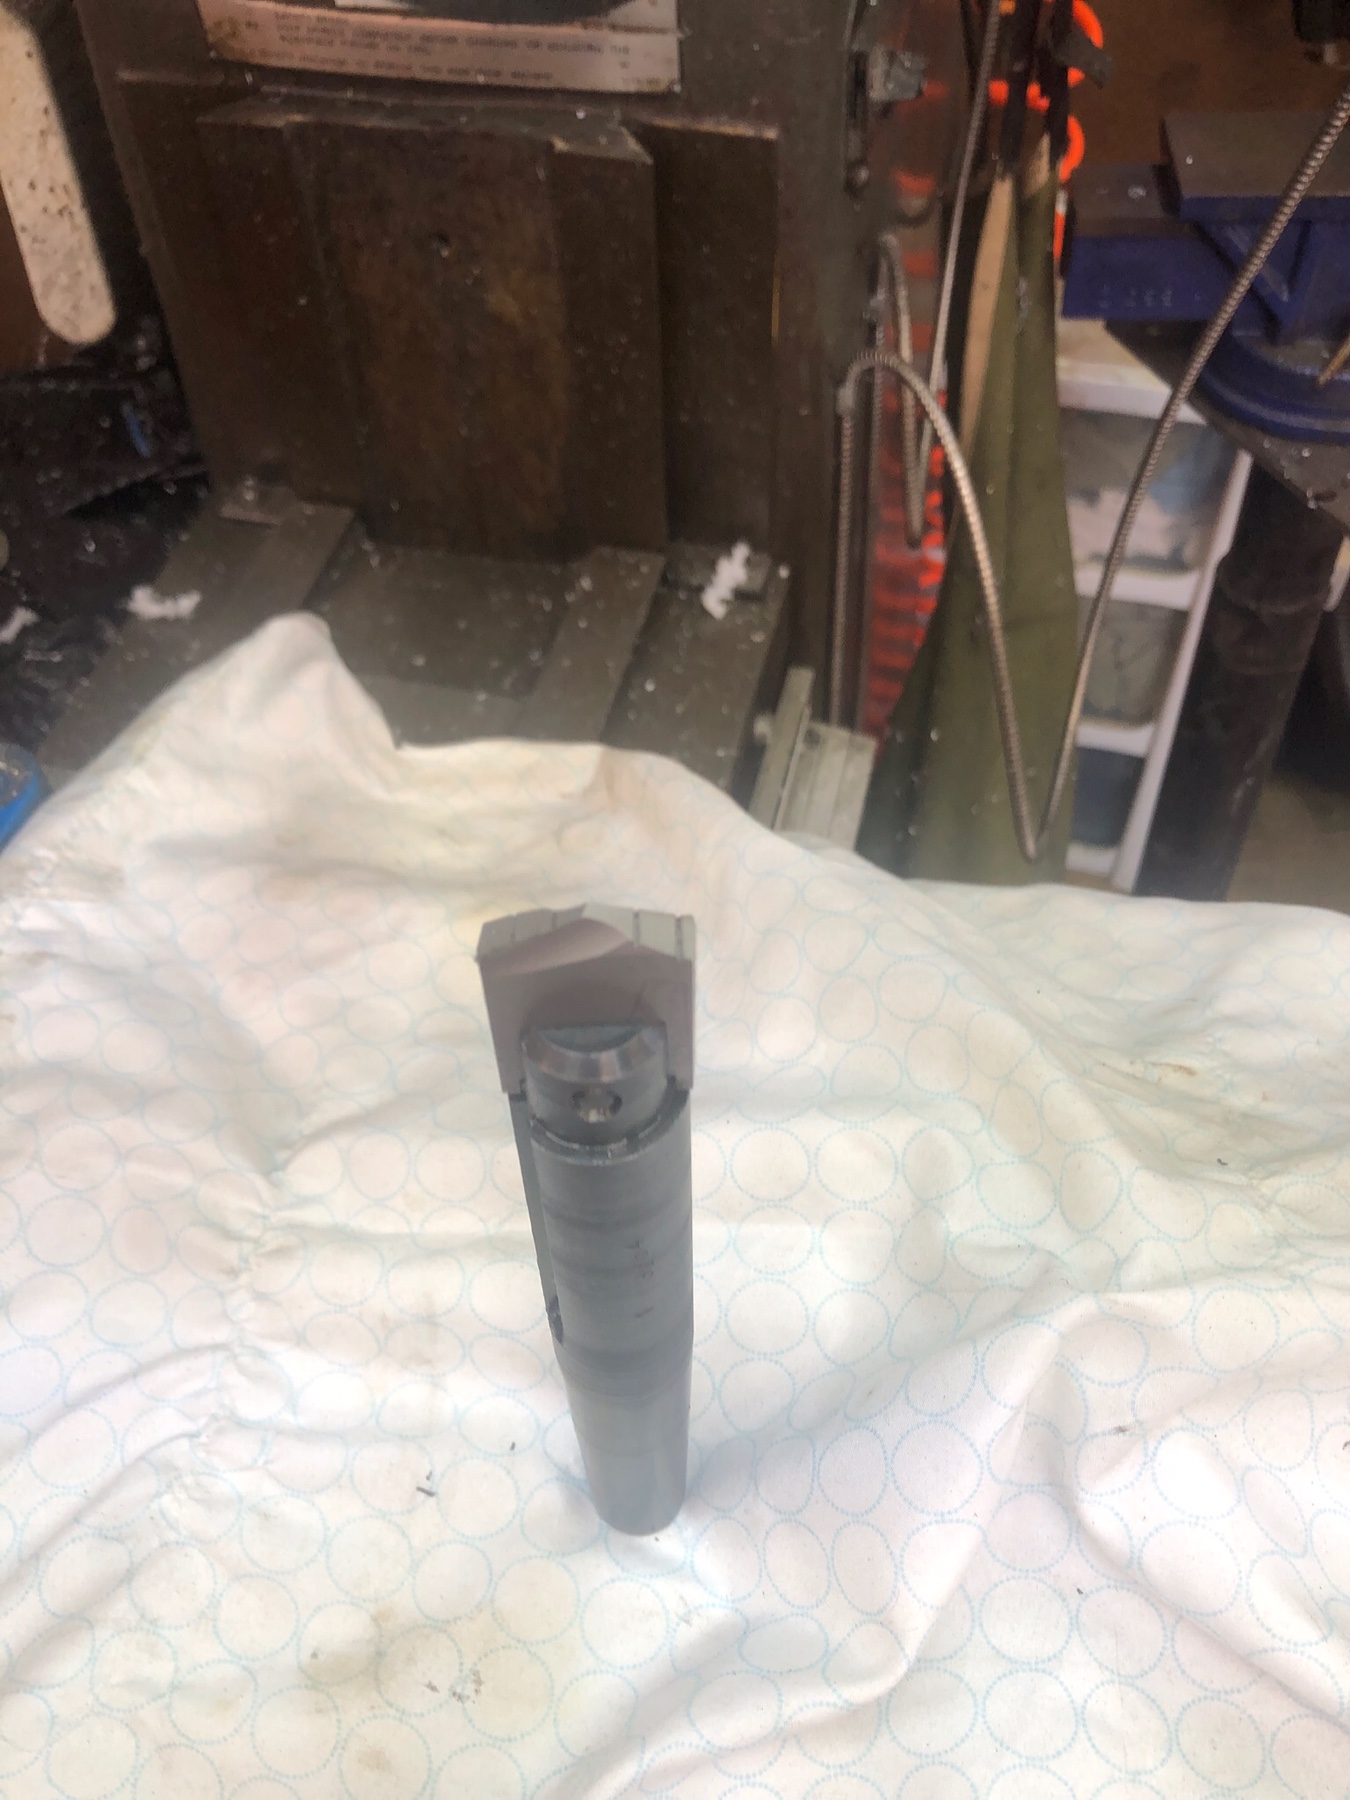
I thought I’d post this here also. I received several spade drill blades from a viewer. So I created a holder for one of them, so I will make several more, for the rest
b8f486c2c60083e8f3e8e815b1e86207.jpg


Sent from my iPad using Tapatalk
 
Back
Top